Woo Product Tab
Xpro Woo Product Tab for Elementor makes it easy for developers to create an appealing product description layout by Providing all of your product’s features and displaying them in an attractive arrangement. Help your customers understand your product by utilizing the widget in an attractive manner. It is preferable to implement this widget for your product page, where you will add product features in multiple tabs and collect consumer feedback.
In today’s world, having an e-commerce website is a must for any business. This is why Xpro Elementor recognizes the importance of a business website and provides a wide choice of WooCommerce widgets to help you build a product layout and webpage.
Using the Elementor drag and drop tool, add the Woo Related Product widget to the website. Customize the display’s overall layout to match your theme. Select between the choices of layout, color, typography, and much more.

How to Install Xpro Woo Product Tab widget for Elementor
Requirements
Using Woo product widgets requires the installation of the WooCommerce plugin. You need to install and activate the Pro version of Xpro Elementor Addons in order to use our Woo Product Tab widget. If you already have the plugin installed, just make sure the Woo Product Tab Widget is ‘Enabled’ from the plugins section of Xpro Dashboard, so you can find & use the widget in the Elementor editor.
To enable the widget, simply follow these steps:
Step 1
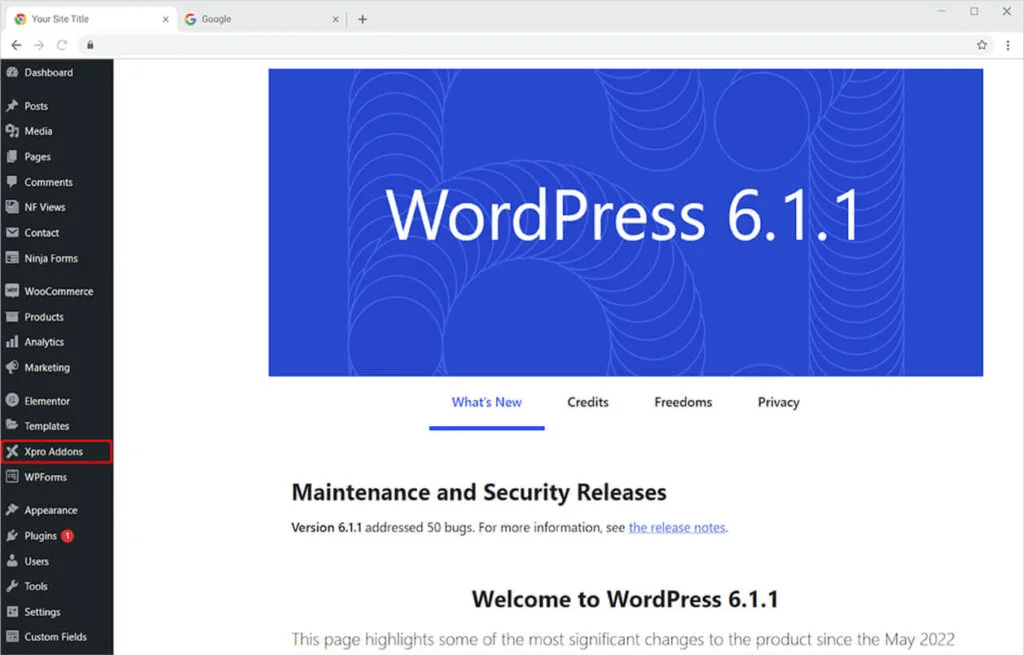
Click on the Xpro Addons option available on the WordPress Dashboard Menu.
Step 2
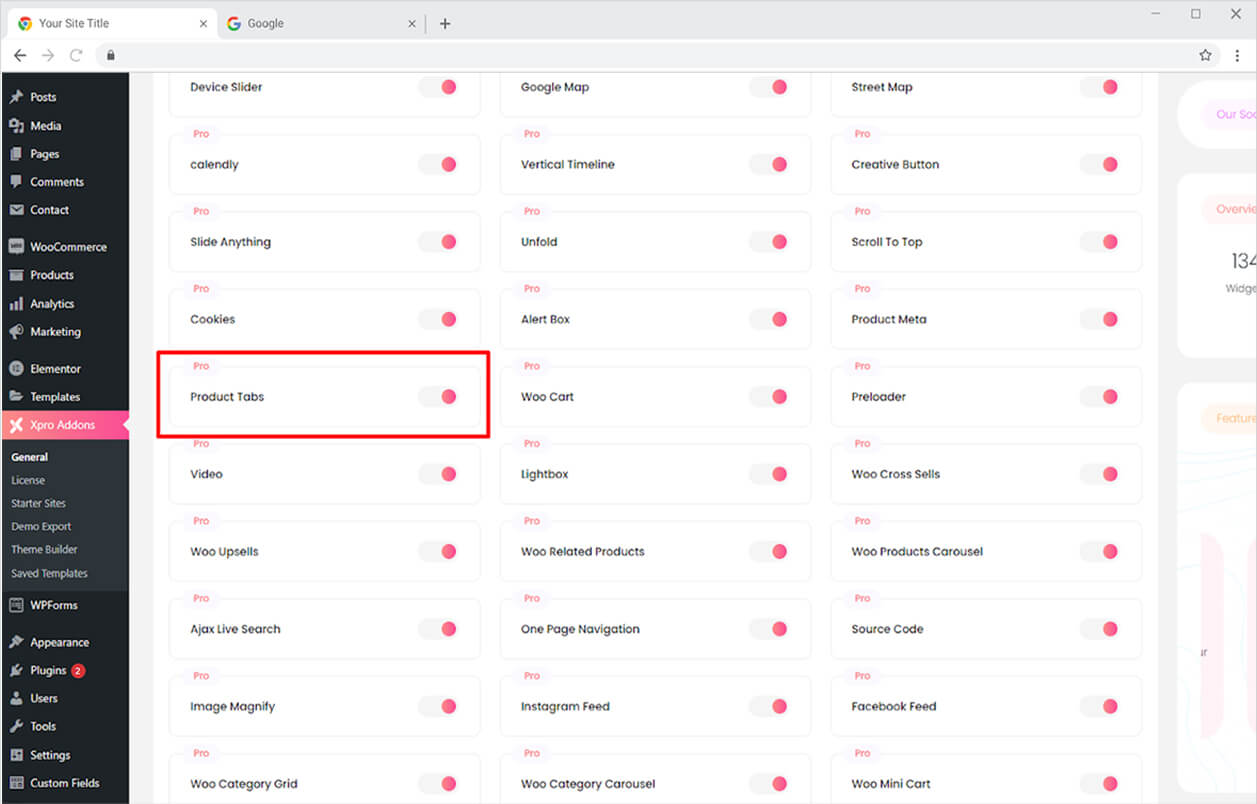
From the Xpro Addons Dashboard, click on the Widgets Tab, find the Woo Product Tab widget, and finally, toggle the button ON to enable it.
How to Use Xpro Woo Product Tab widget for Elementor
In your product layout, include the Elementor Woo Product Tab widget. Presentation of the details of your offering in an attractive tabbed display. Customize the appearance with a variety of choices. Modify the font and background color. Make borders and style the typography. Let’s go over how you can use this widget in detail.
Step 1
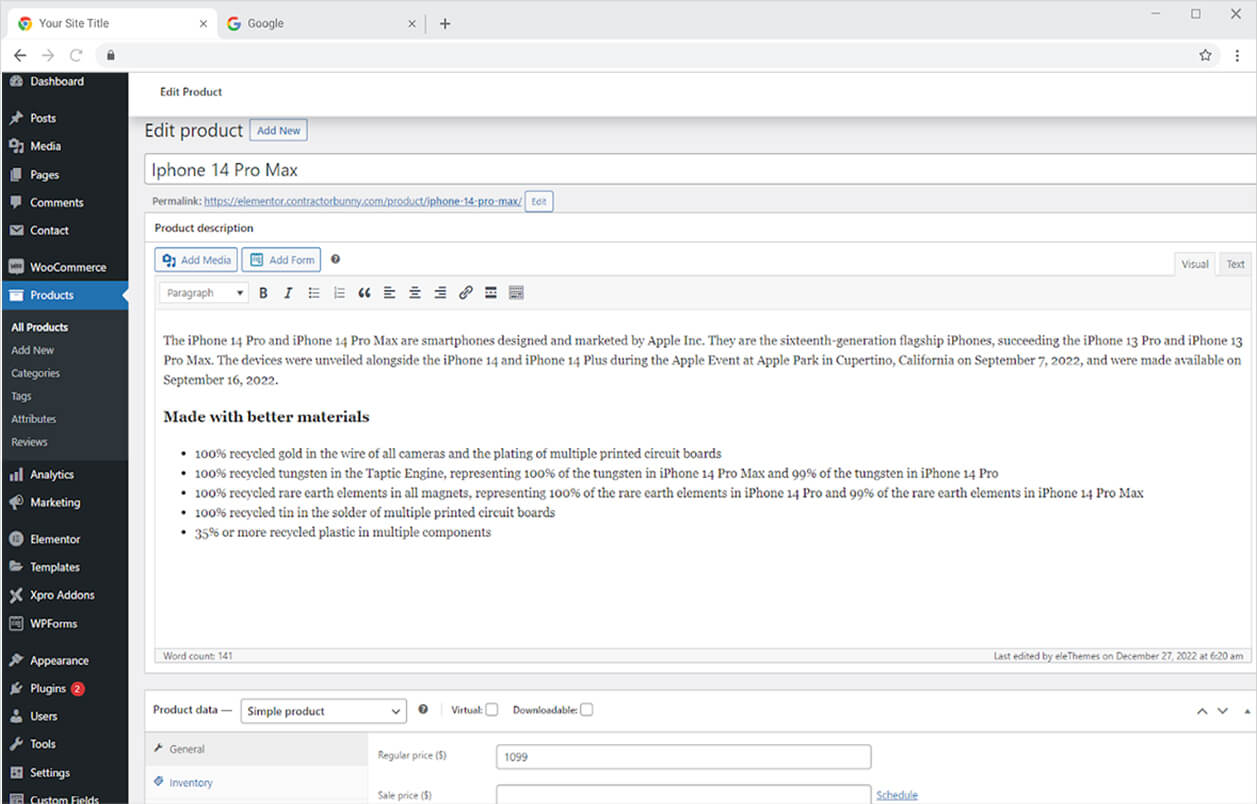
Add a product to the WooCommerce plugin from the WordPress dashboard before adding the Woo Product Tab widget to the Elementor Page. Remember that in order to utilize Xpro Woo widgets, you must have the WooCommerce plugin installed. Add product information and features in order to display them in the widget.
Step 2
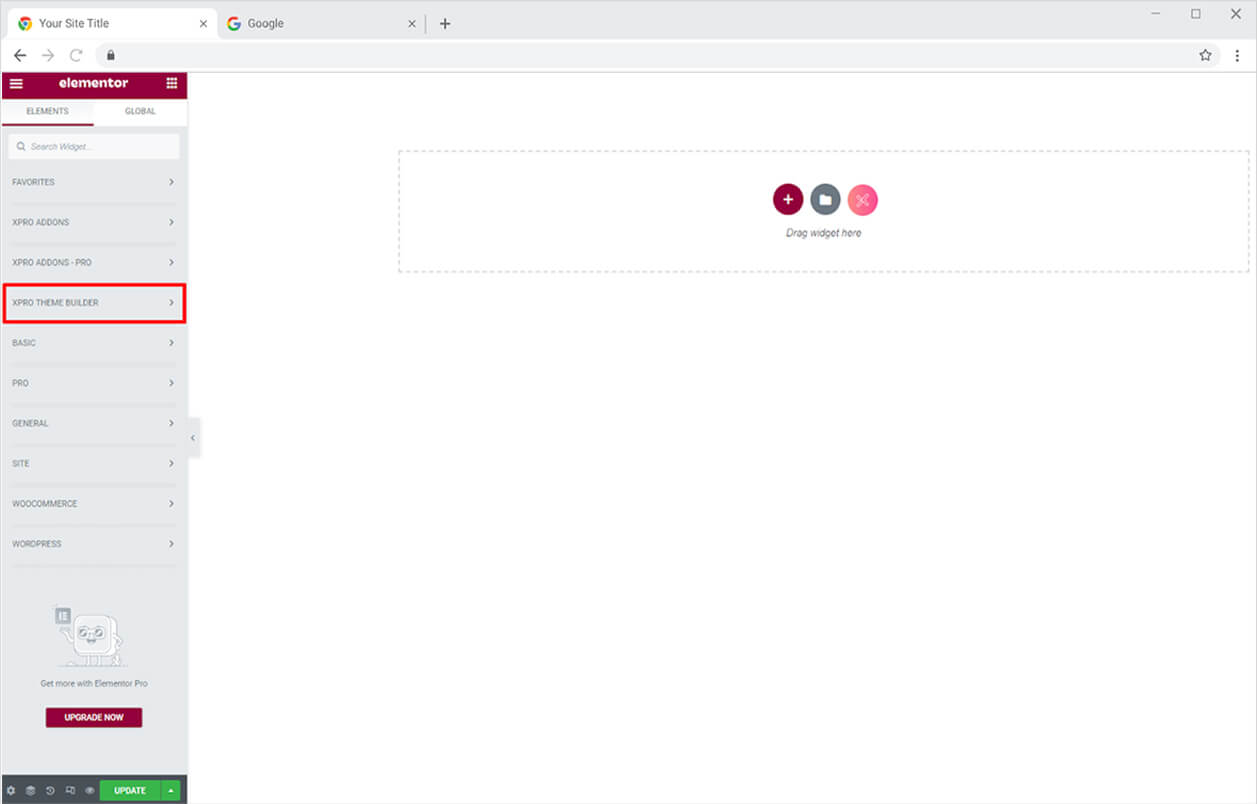
Click on the Xpro Theme Builder section available in the Elementor Editor.
Step 3
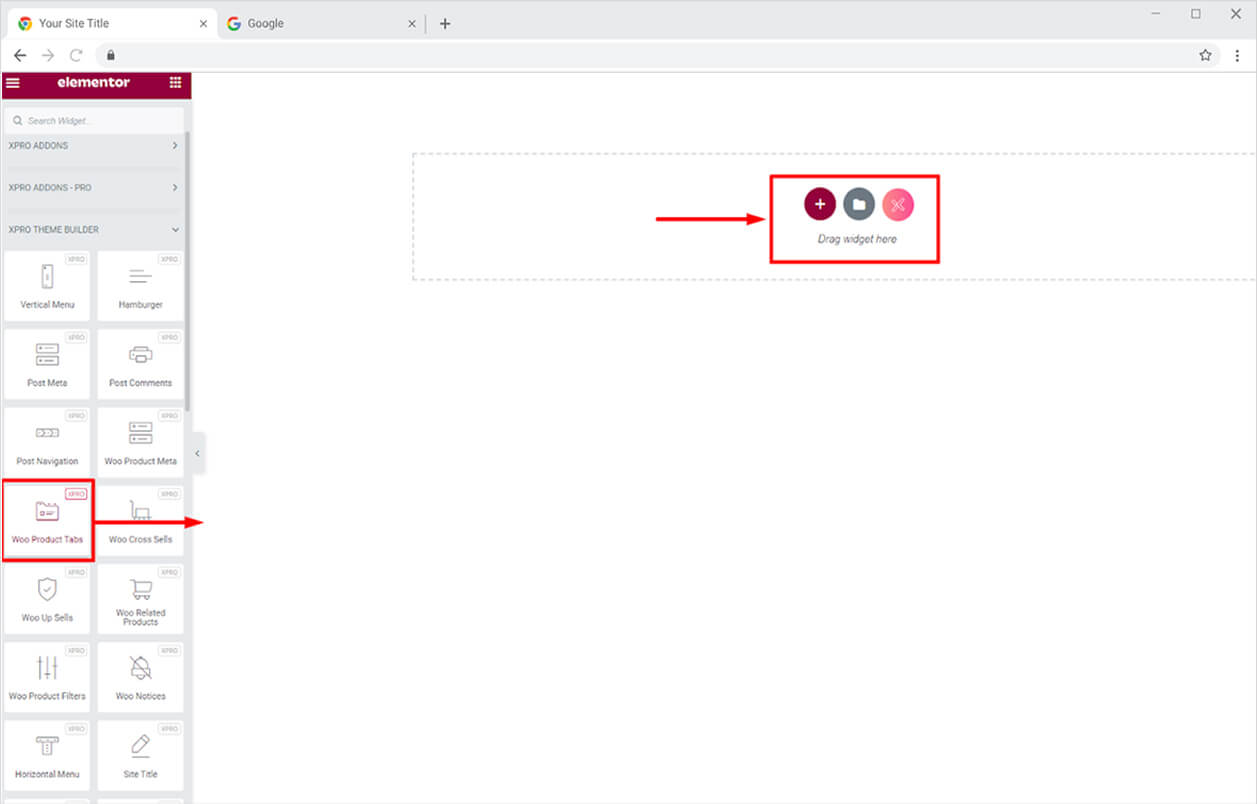
From the Xpro Addons – Pro section, search for the ‘Woo Product Tab’ in the search bar and simply drag’n’drop the widget to your desired page location.
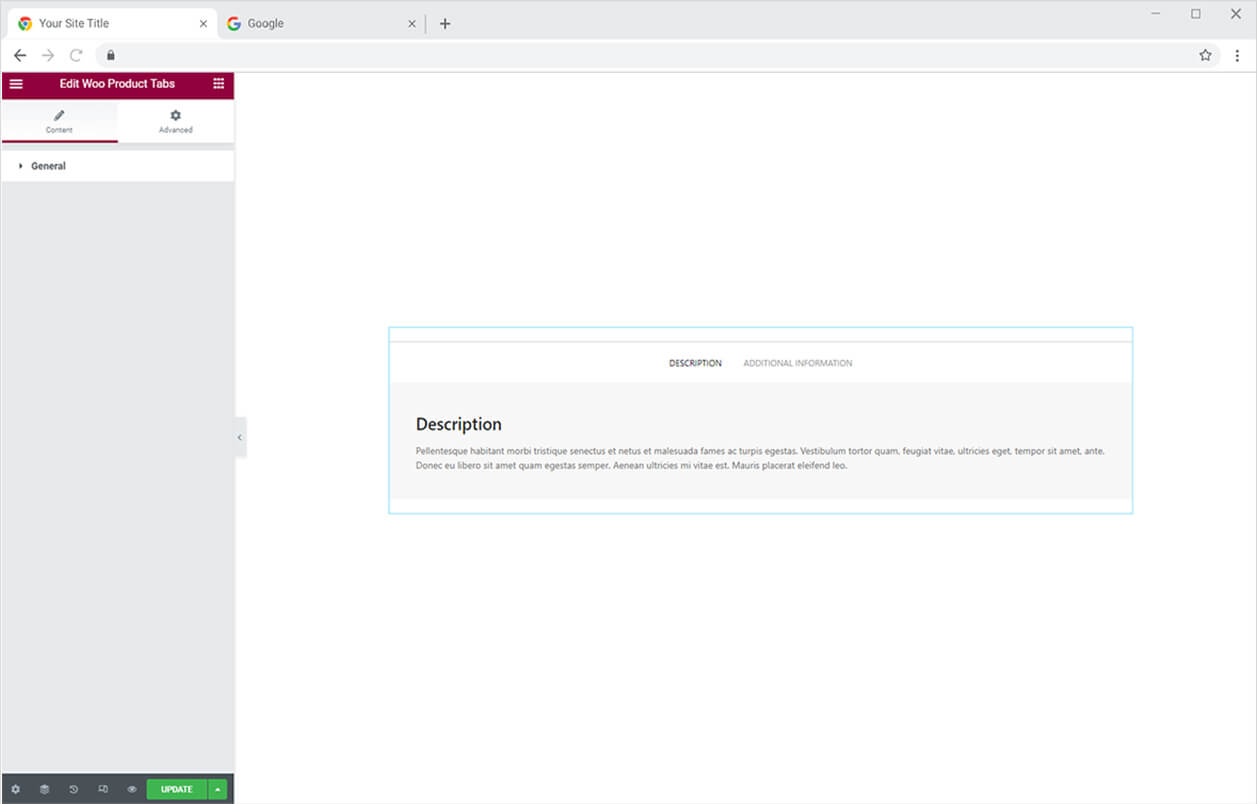
This is the default view of the widget. Remember that the Xpro Elementor shows a dummy display and the result will be shown in page view.
Content Section
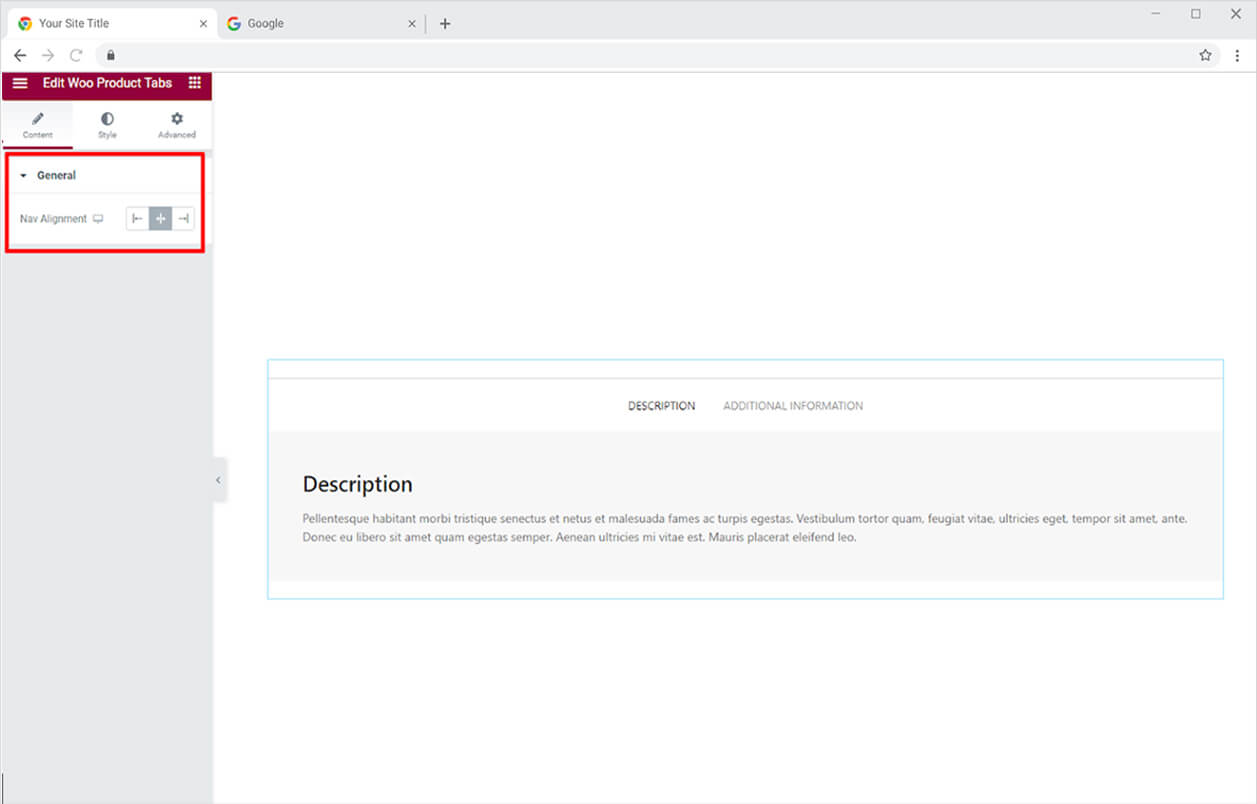
From the content section, you can set the alignment of the tab title to the left, right, or center of the box.
How to Style Xpro Woo Product Tab widget for Elementor
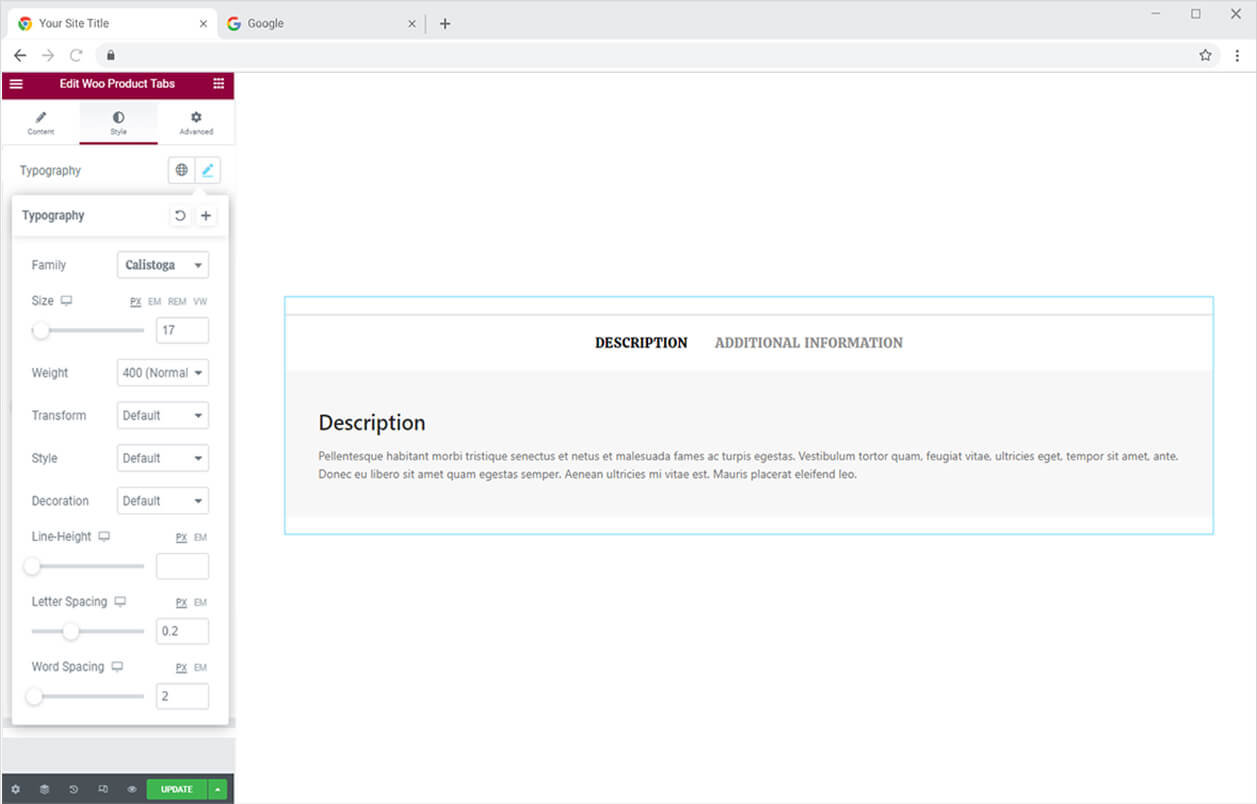
Start the customization process by styling the Tab List which is located at the top of the tab. Personalize the typography of the tab title. Click and open the typography box from where you can change font, size, weight, letter spacing, word spacing, and other text customization.
Make a border if you want to the tab list. You have the option of choosing between solid, double, dotted, dashed, and grove border types. You can change the color, radius, and padding for the border.
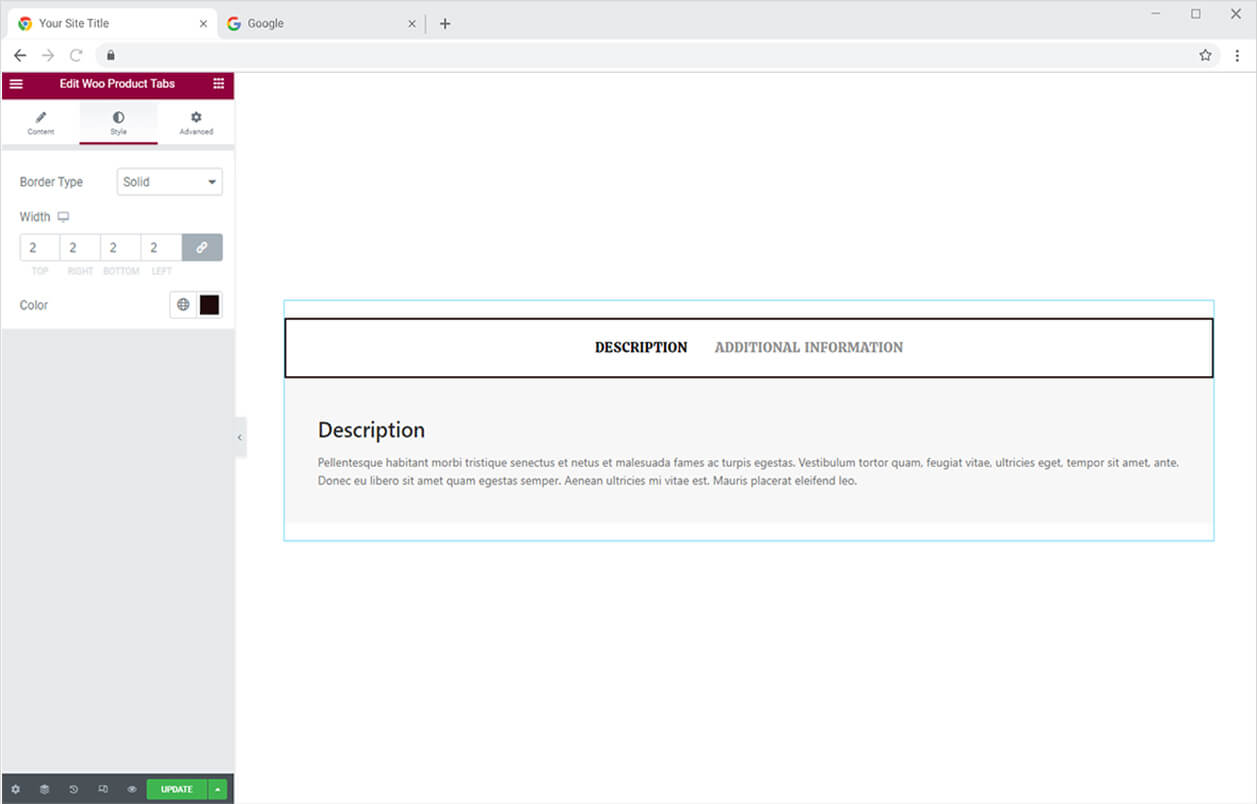
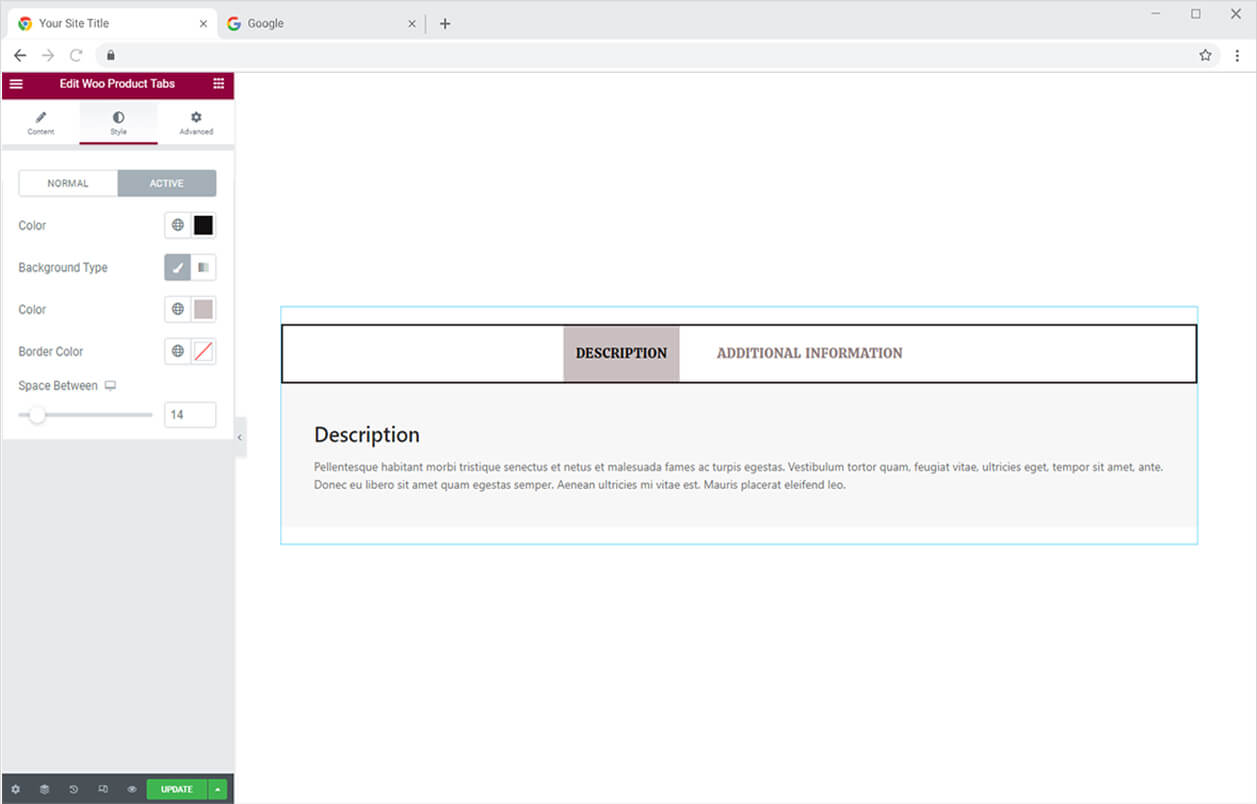
Color the title tab text and background for its normal display and the title tab which is active and showing the information. You may also adjust the space between two options from the Space Between option.
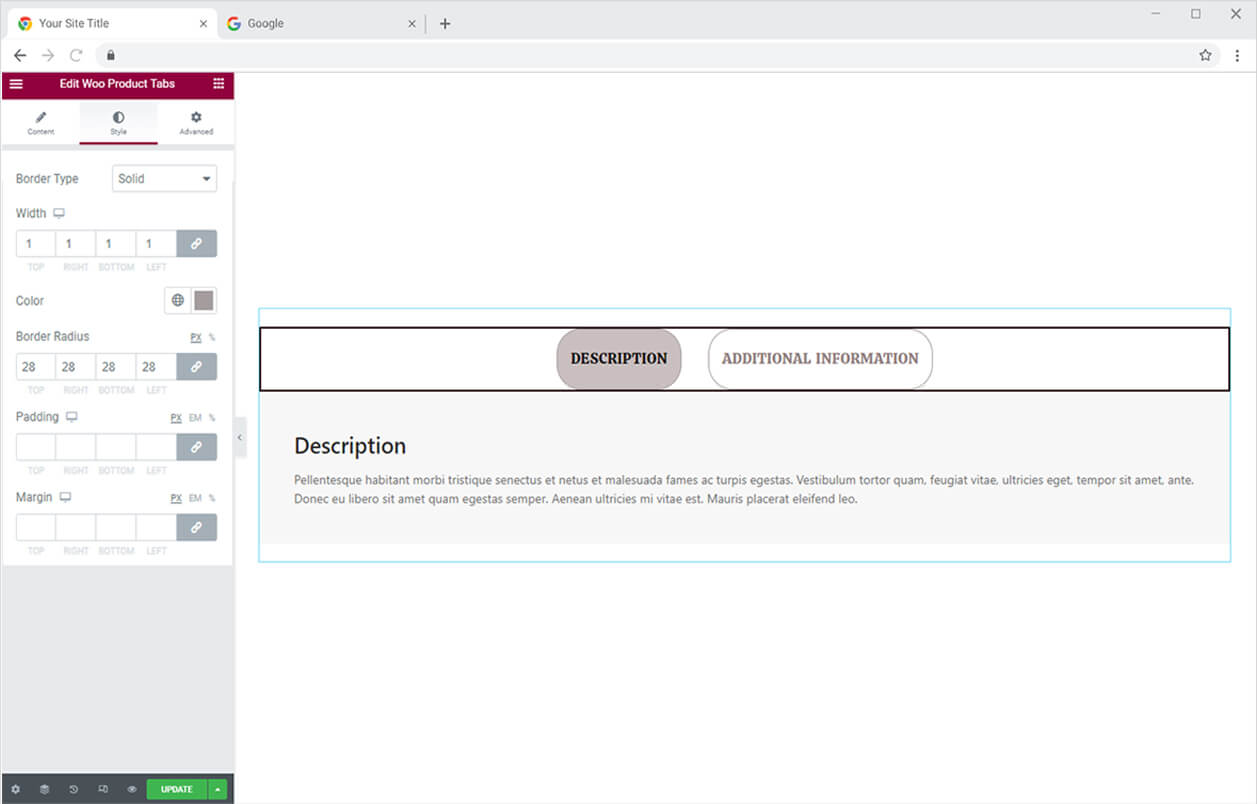
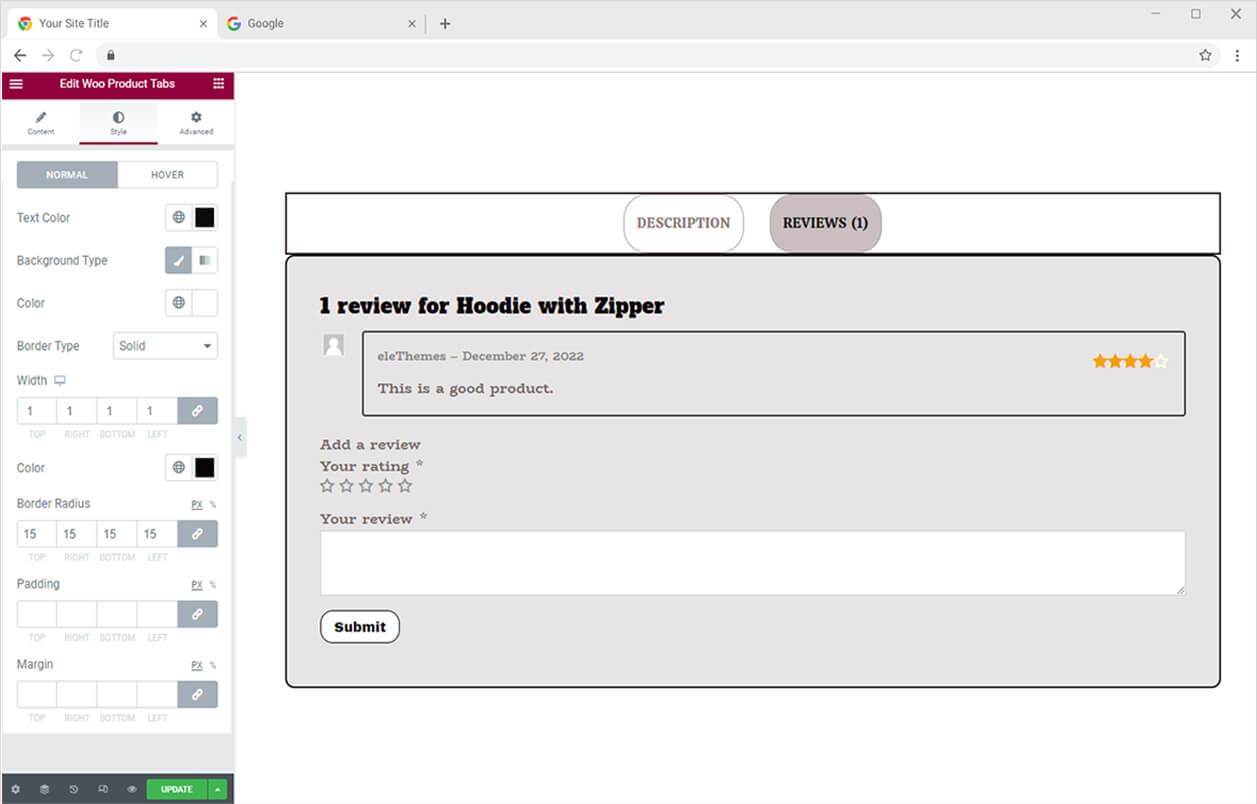
Make a border around each option in the title tab. Customize the border by color, width, radius, padding, and margin.
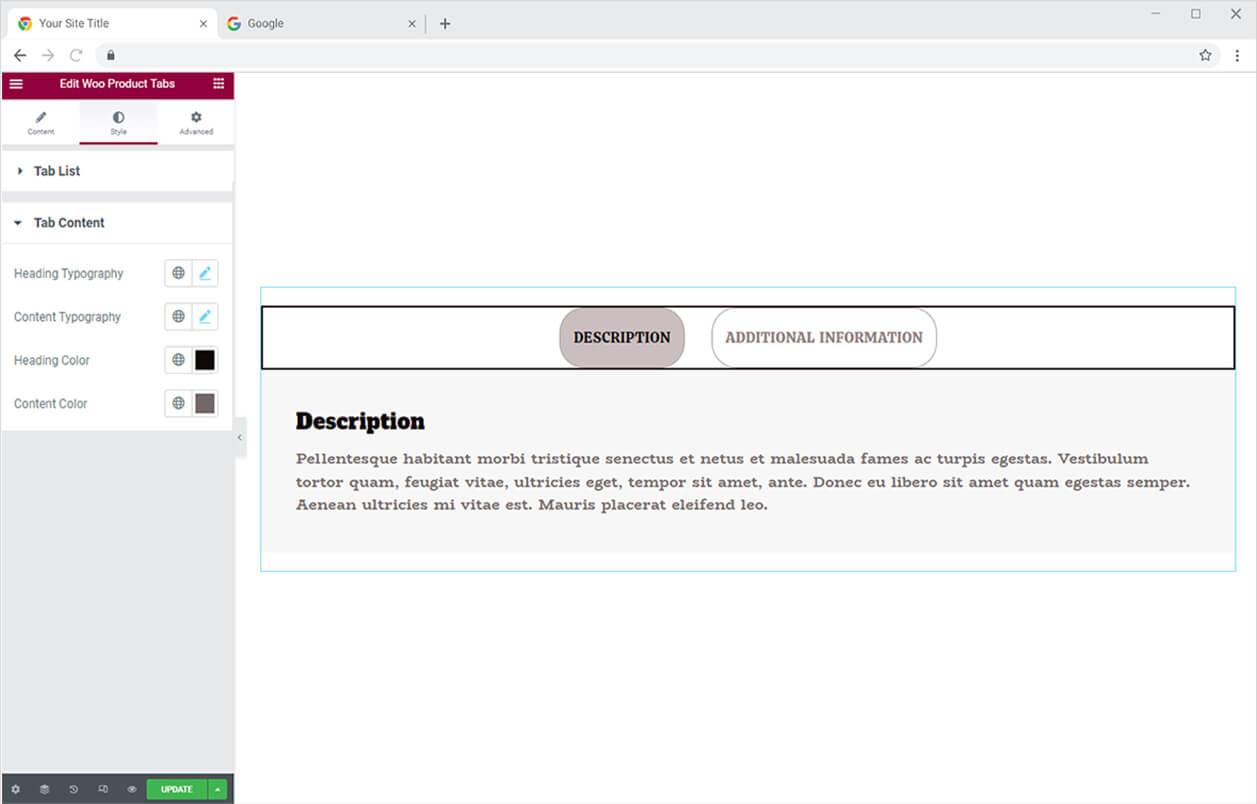
Click and open the menu of Tab Content from where you can perform customization to the content in each tab. Start customization by styling the typography for the heading and content. Change their font, size, and other text styling. Colorize both content parts from each color box option.
Add classic or two layers of background color with a gradient color option. You can also add a border around the content box with the border type option and further adjust the width, radius, padding, and margin.
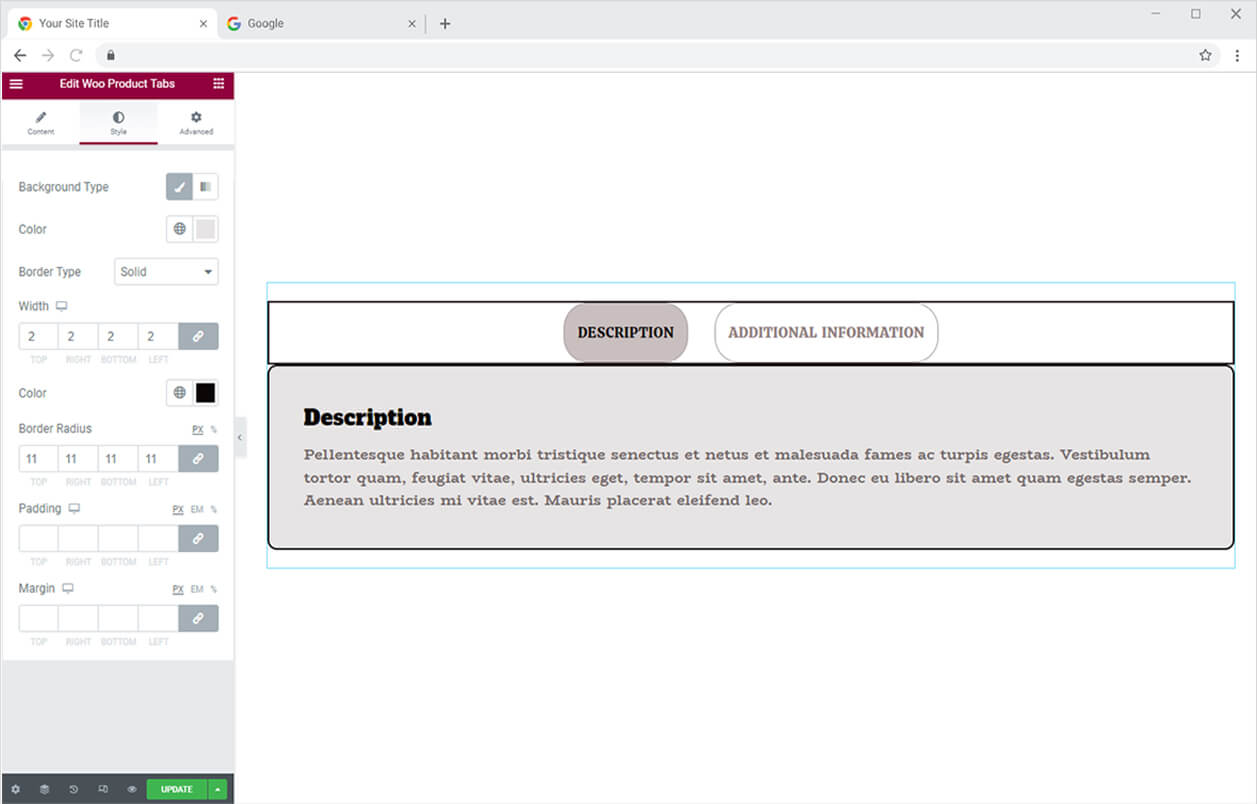
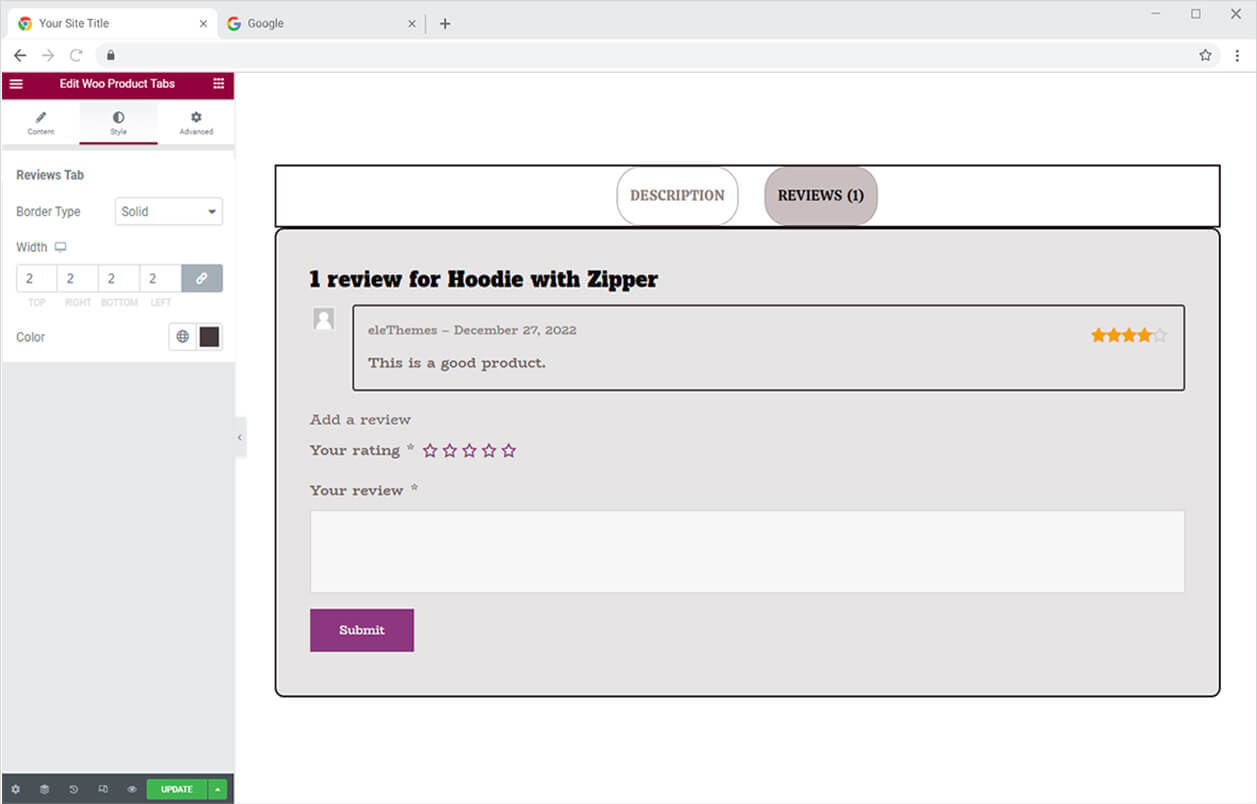
Customize the review box where customers leave their feedback. Make a border around the comment box and manage its width and color.
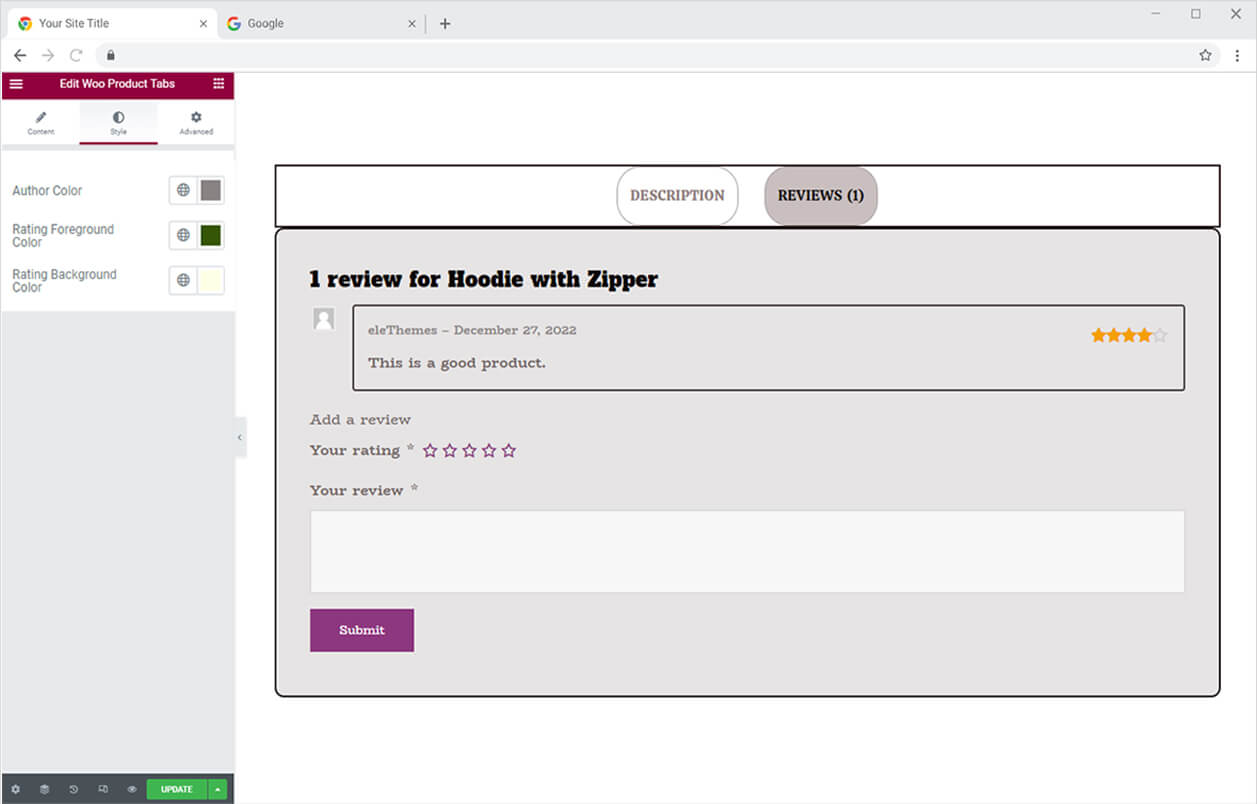
Color the author’s name text as well as the given rating by the customer and its background.
How to Style Button in the Review Tab
Personalize the typography of the text on the button. Manage the width of the button using one of three options: auto, full width, and manual. The auto option automatically sets the button width, the full-width option covers the area to the end, and the manual option allows you to select the length manually.
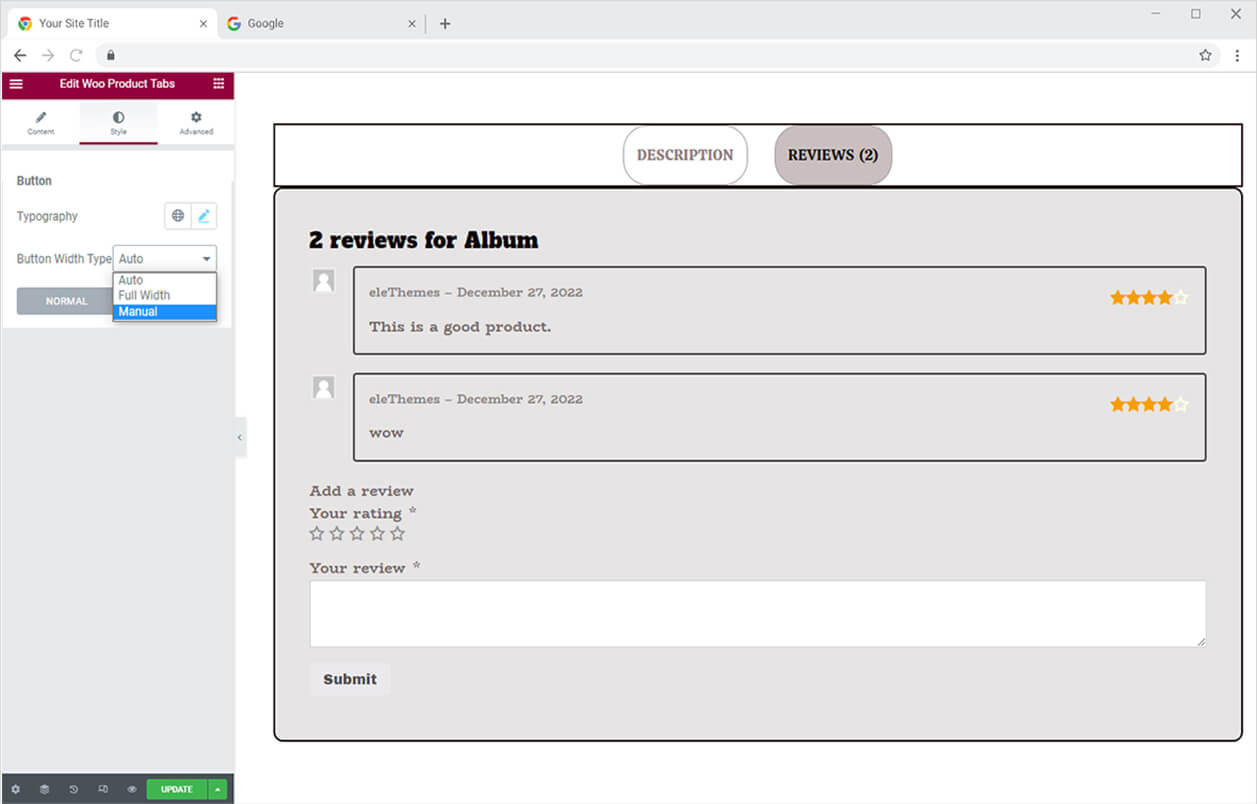
Color the text and background of the button for normal and hover displays. Make a border around the button and customize it according to your desire.
Best Woo Product Tab widget for Elementor
We hope you fully understand the functionality and complexity of this Xpro widget. Utilize this WooCommerce widget to create an appealing product layout. Moreover, if you want to add more amazing and trending features to your websites. See the list of the best Pro Elementor Widgets by Xpro.
Xpro Elementor Addons offer a wide range of widgets, theme templates, and features that help you develop an attractive site. Xpro Elementor Theme Builder can help you easily create a theme page. Check our 50+ free Elementor Addons which are enough to create a professional WordPress website. If you want to explore and add more attractive Elementor widgets then check our complete list of Pro Elementor widgets and download our Pro Elementor addons right now.