Introduction
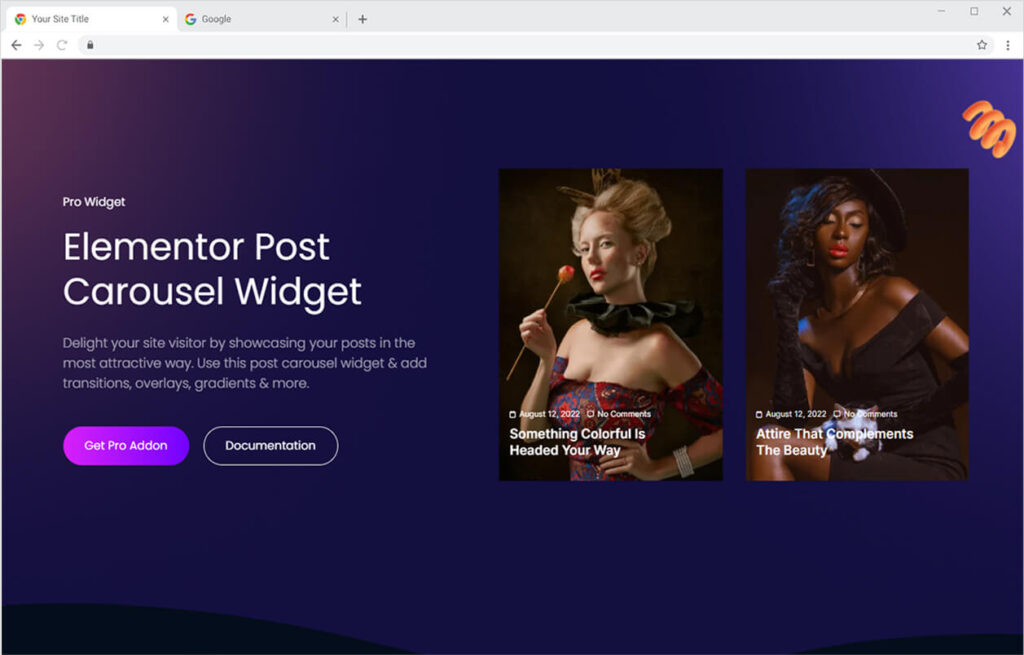
Xpro Elementor offers a wide range of powerful widgets that help you build a fully functional website. Post Carousel is another amazing offering by Xpro Elementor which help in enhancing the appearance of your website. Create a carousel for your posts, products, or pages to show visitors your work or guide them to a specific page.
Post Carousel Widget for Elementor is a powerful widget that comes with tons of customization and design options. It includes ten great post-display layouts to let you deliver visitors any information in the best way possible.
The premium widget is packed with great features that will attract the attention of visitors. Use this widget & add transitions, overlays, gradients & more. Other features include the ability to add a loop and autoplay. Add navigation arrows to make it easier for visitors to navigate and explore topics or pages.
How to Install Post Carousel Widget for Elementor
Requirement
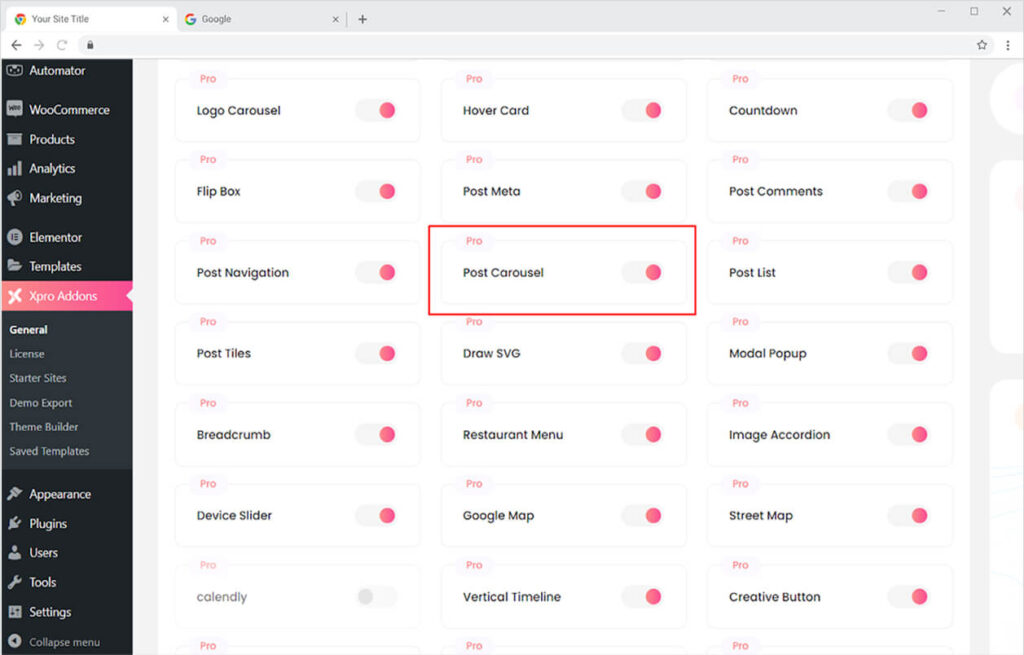
You need to install and activate the Pro version of Xpro Elementor Addons. If you already have the plugin installed, just make sure the Post Carousel Widget is ‘Enabled’, so you can find it in the Elementor editor.
To enable the widget, simply follow these steps:
Step 1
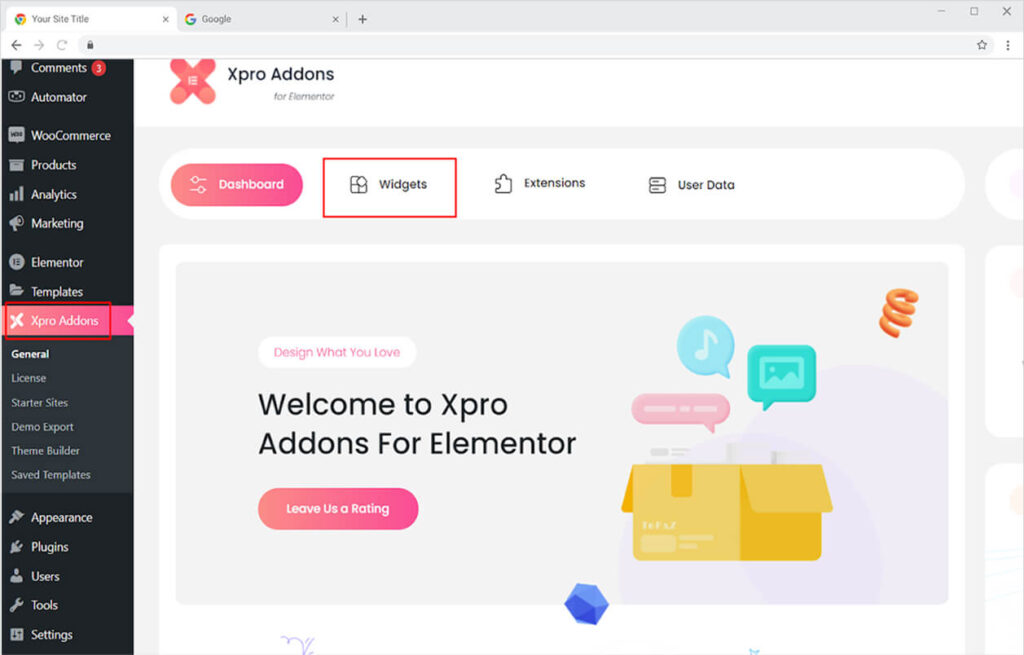
Click on the Xpro Addons option available on the WordPress Dashboard Menu.
Step 2
From the Xpro Addons Dashboard, click on the Widgets Tab, find the Post Carousel, and finally, toggle the button ON to enable it.
How to Use Xpro Post Carousel Widget for Elementor
Display a summary of your posts to tell visitors about your other offerings. Create a beautiful and appealing layout to direct visitors to the other page. Use the exciting layouts by Xpro Elementor to create a beautiful display of your post in the carousel.
The design options are extensive, allowing you to construct a display of your choice. Make the most of the Elementor Post Carousel widget to capture your users’ attention. Let’s go over how you can put this incredible tool to use.
Step 1
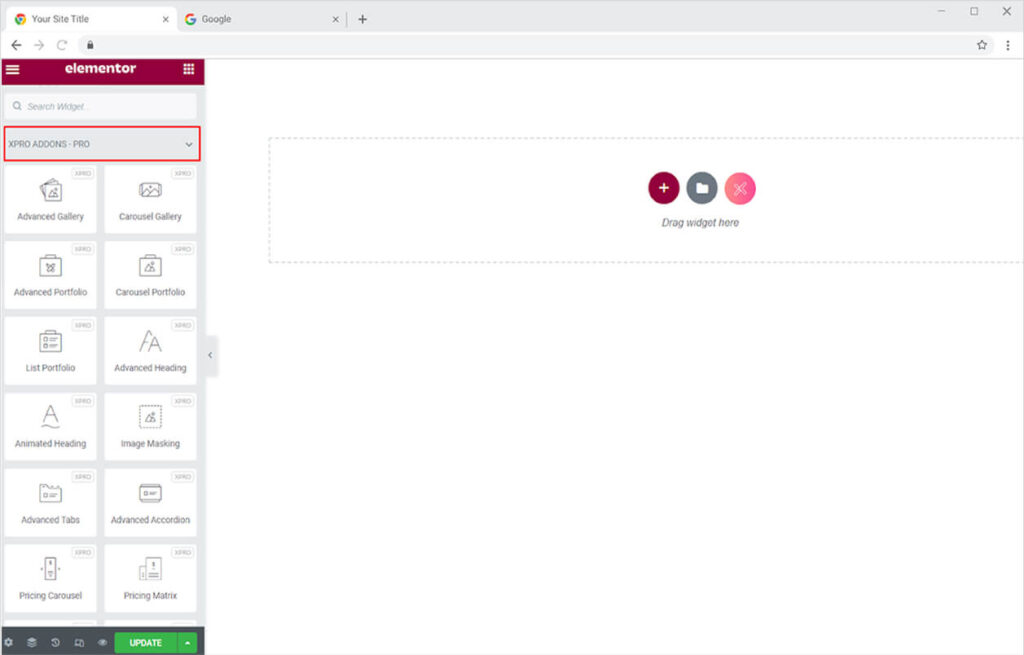
Click on the Xpro Addons – Pro section available in the Elementor Editor.
Step 2
From the Xpro Addons section, find and simply drag’n’drop the Post Carousel widget on your desired page location.
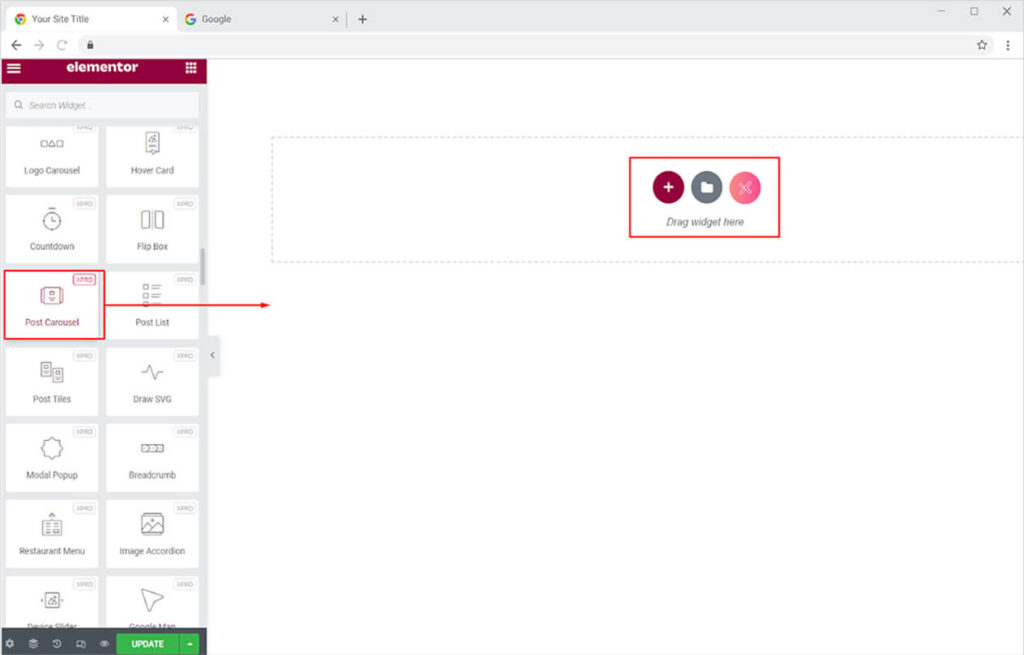
This is the default view of Post Carousel. It will show the display for your pages.
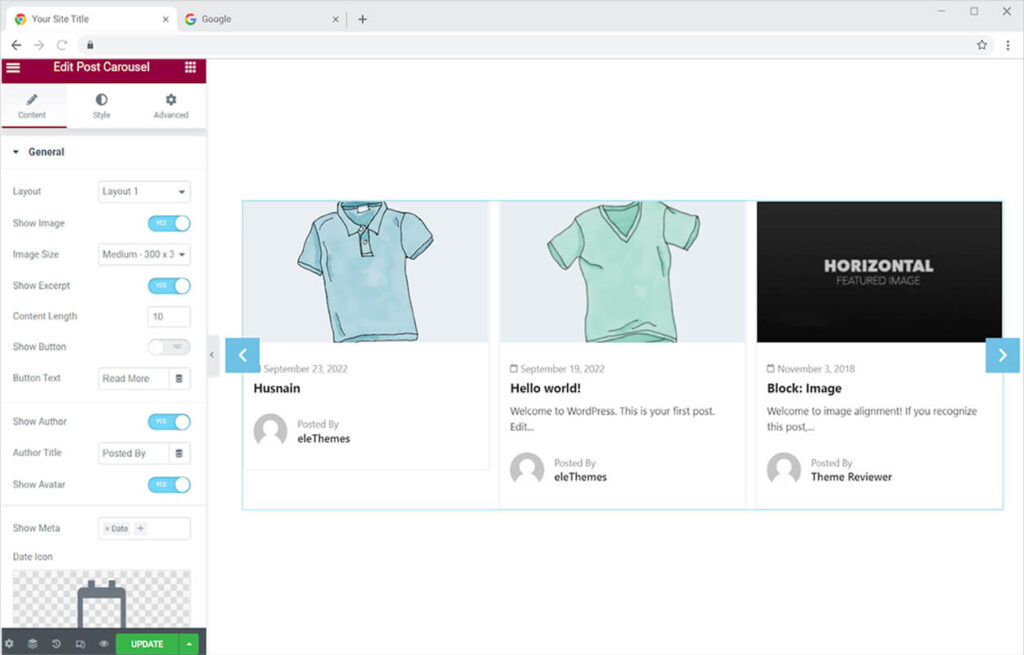
How to Change Content of the Display in Post Carousel Widget for Elementor
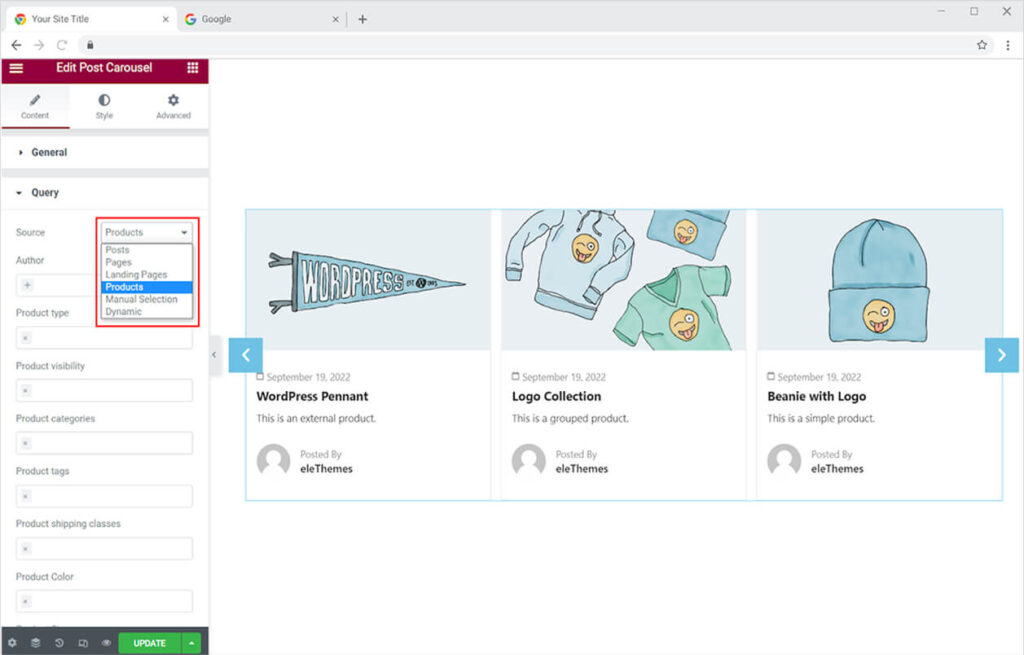
You can change the display of the post carousel widget for Elementor from the Query menu in the Content Section. Select the source for the display and the pages from that source will be displayed in the widget. You can select a display from pages, posts, products, landing pages, manual selection, and dynamic.
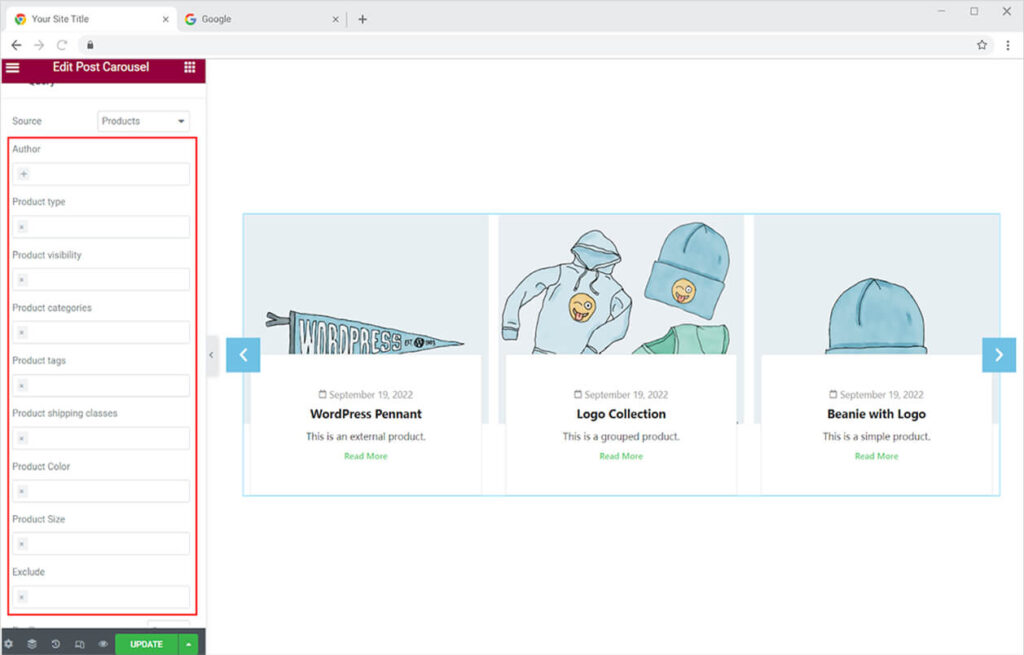
There are also other options that can help in arranging the display for you. After the source option, you have the option of Author which will help you in displaying the pages or posts of only those authors which you selected. Just like that, the product type, product categories, and other options will help you better display the posts you want.
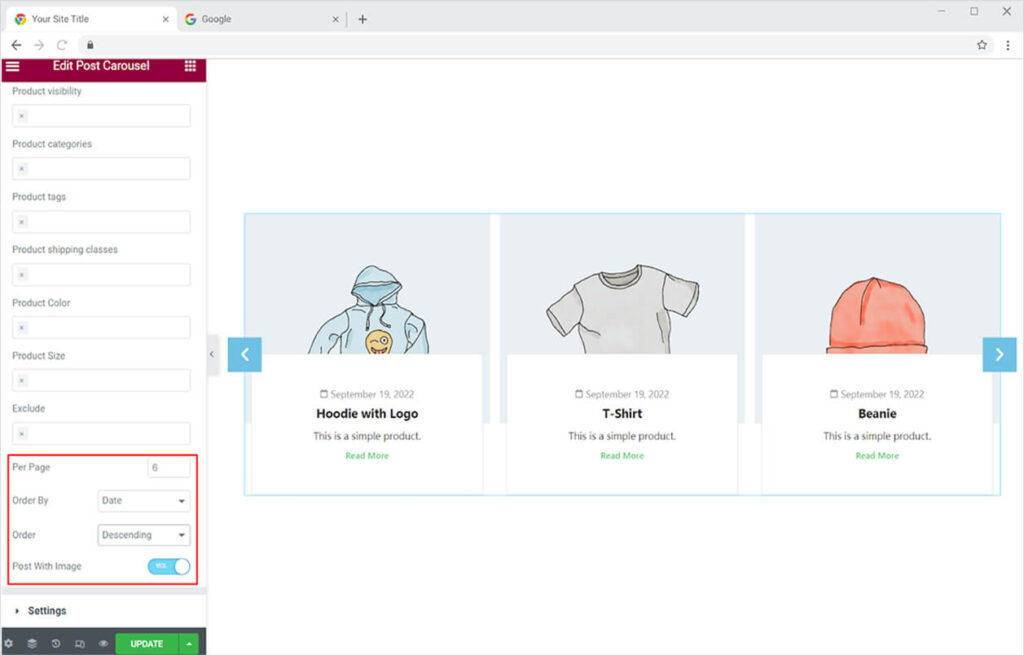
Select how many posts you want to be displayed from the per pages options. Add as many as want. Arrange the order of the display in the following options
- Date
- Post ID
- Post-Author
- Title
- Last Modified Date
- Parent ID
- Random
- Comment Count
- Menu Order
Also, you have the display option of choosing between ascending or descending order. It’s better to choose posts with images.
How to Change the Layout of Display
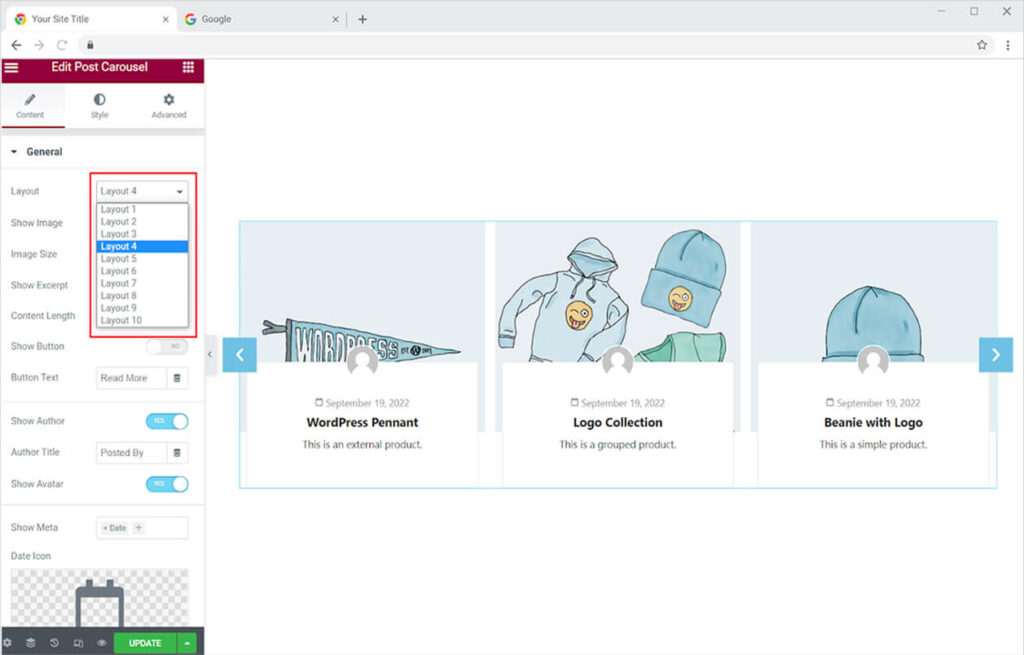
Xpro Elementor provides 10 different amazing layouts to select from. Simply click on the Layout selection bar in the General Settings of the Content Section. Select any layout from the given options.
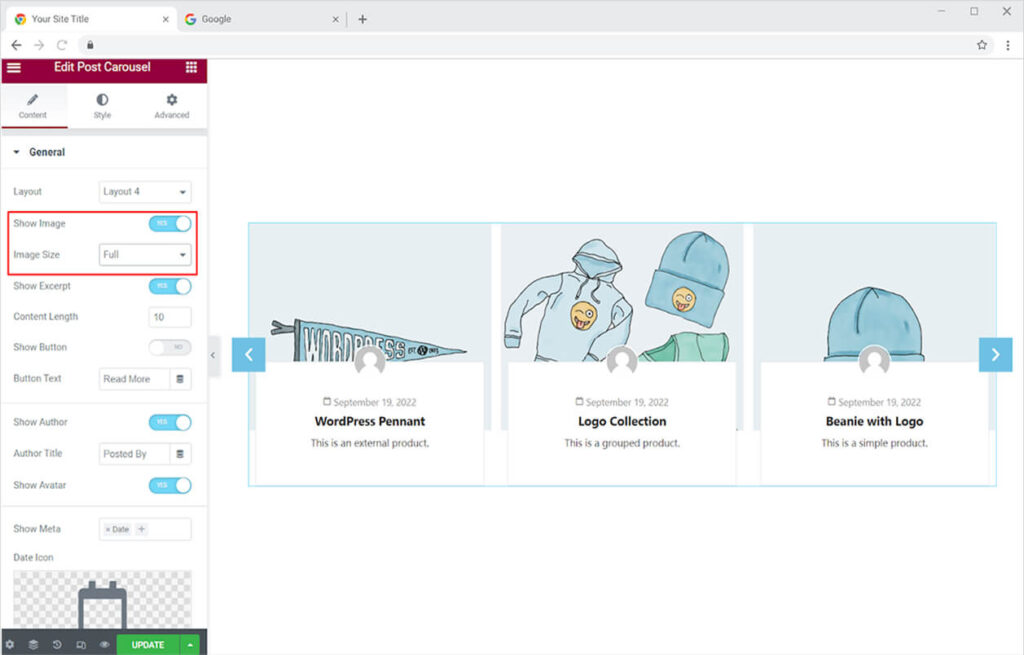
Enable or disable the image to be displayed in the widget. Change the size of the image depending on how it looks better. It’s better to enable and add images to enhance the appearance of the layout.
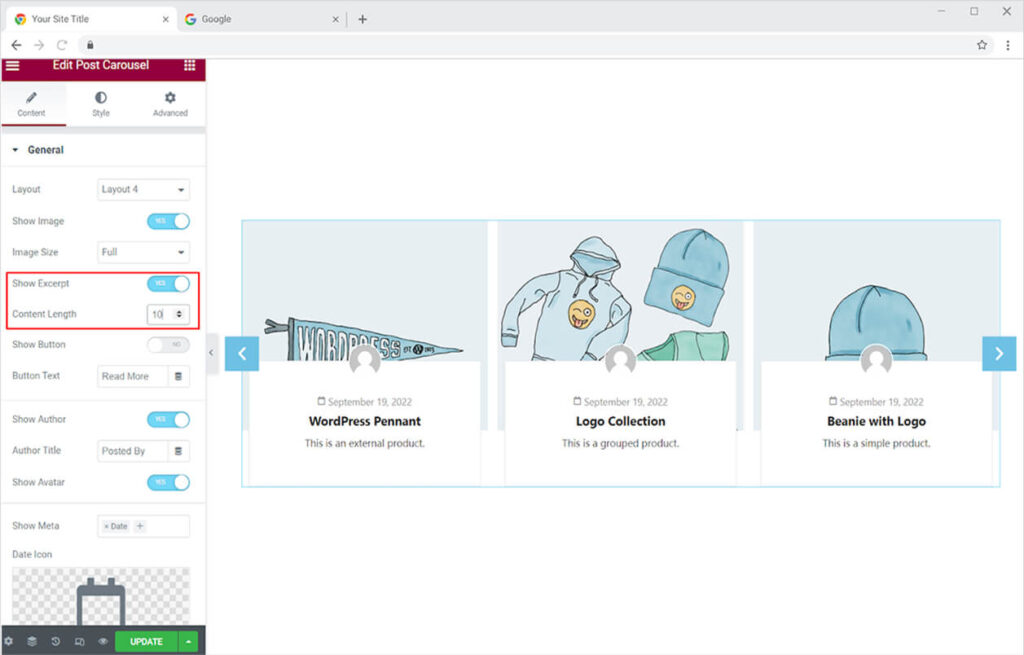
Allow the content to be displayed to add a description of the display and help visitors to understand your offering or display. Adjust the length of the content to manage the display that looks appropriate to the layout.
Enable a button to be displayed in the widget which will be supported with a link that will take the visitor to that page that is being displayed in the post carousel widget.
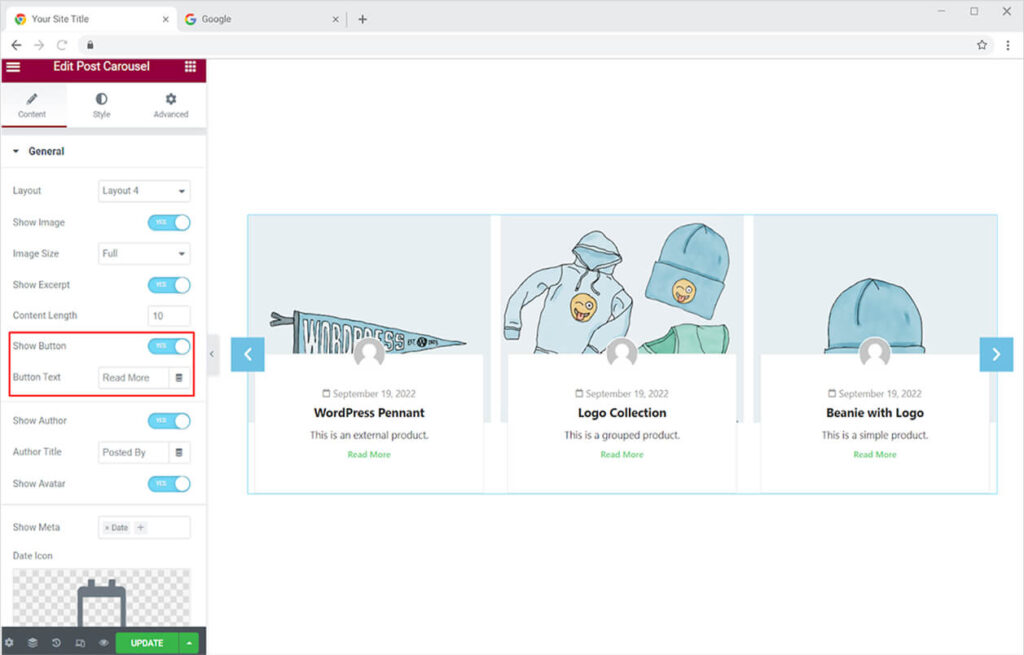
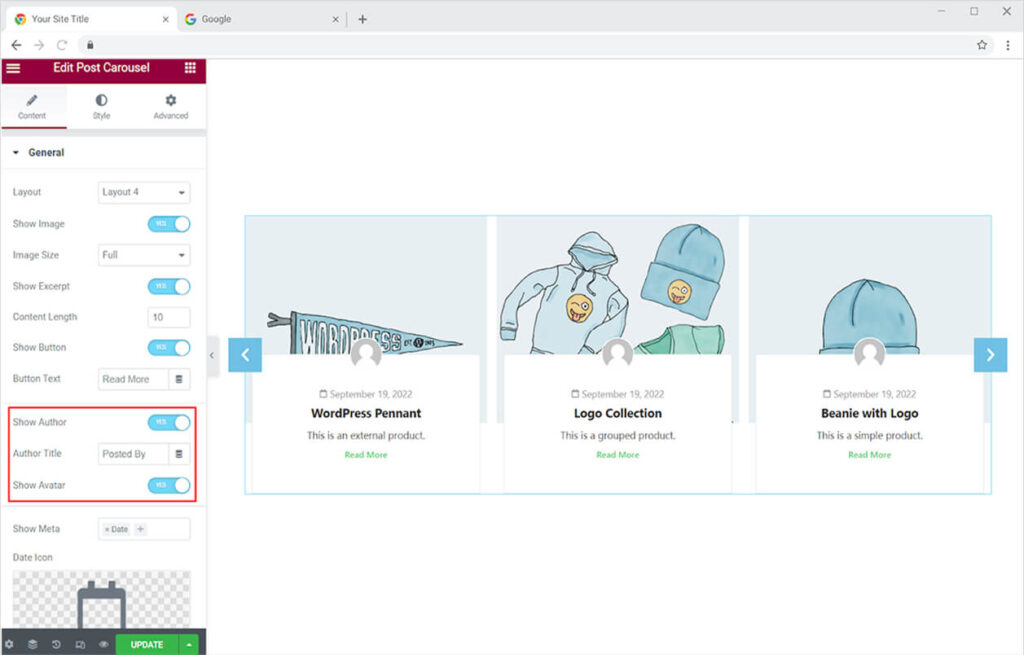
Add a shot of the author if you want to. The widget helps you in presenting information about the author. You can utilize this function while posting a blog to notify the users who wrote it.
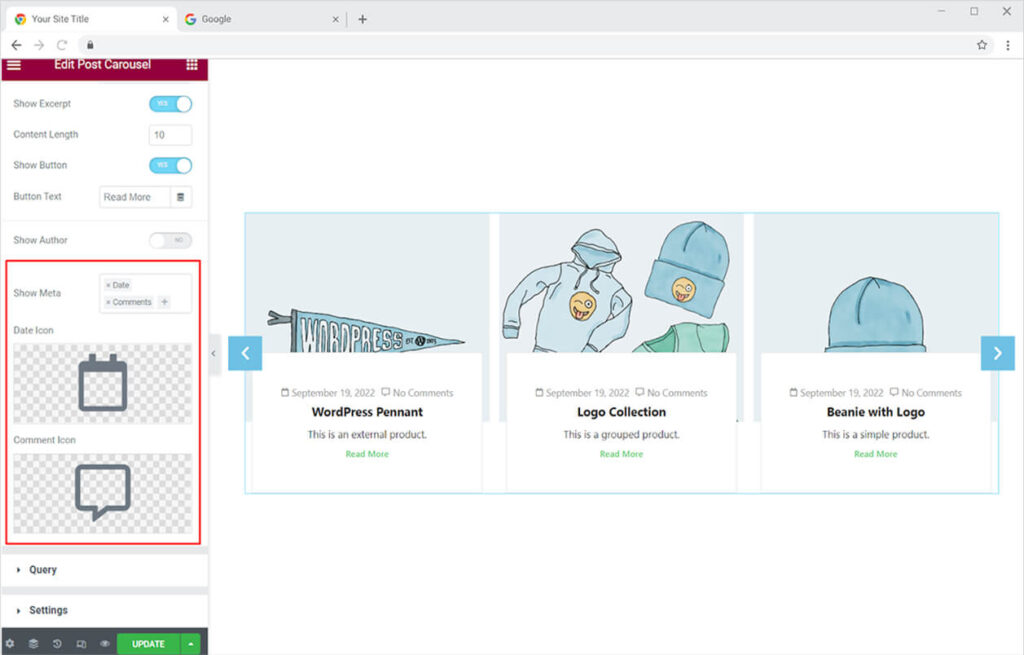
You also have the option for displaying meta options like showing dates, comments, and categories of the display. From the show meta, you can select the option for display and can also change icons for each option as well.
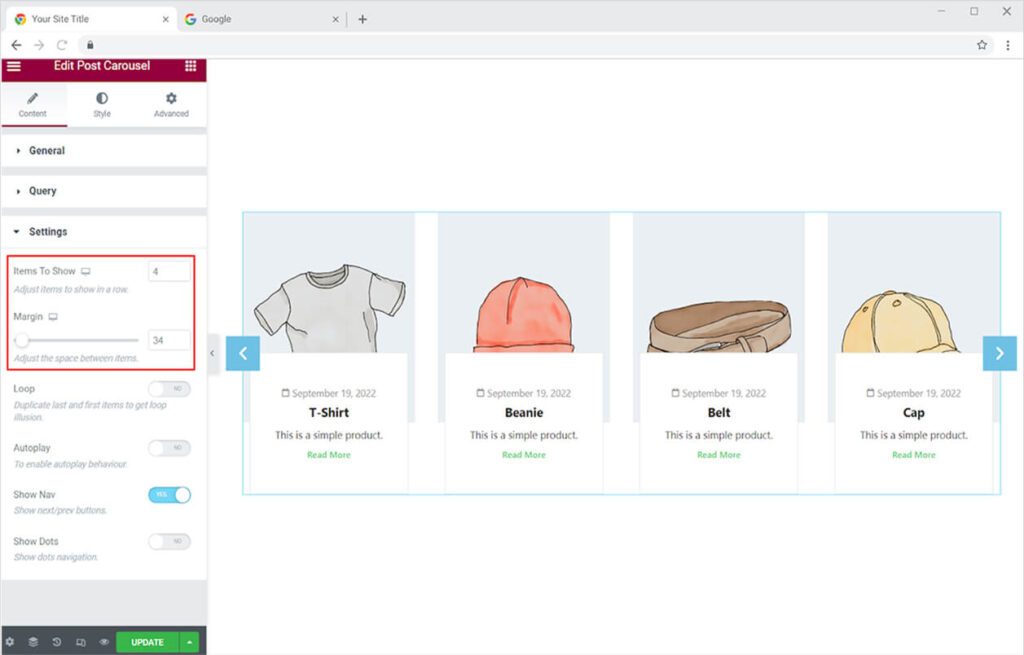
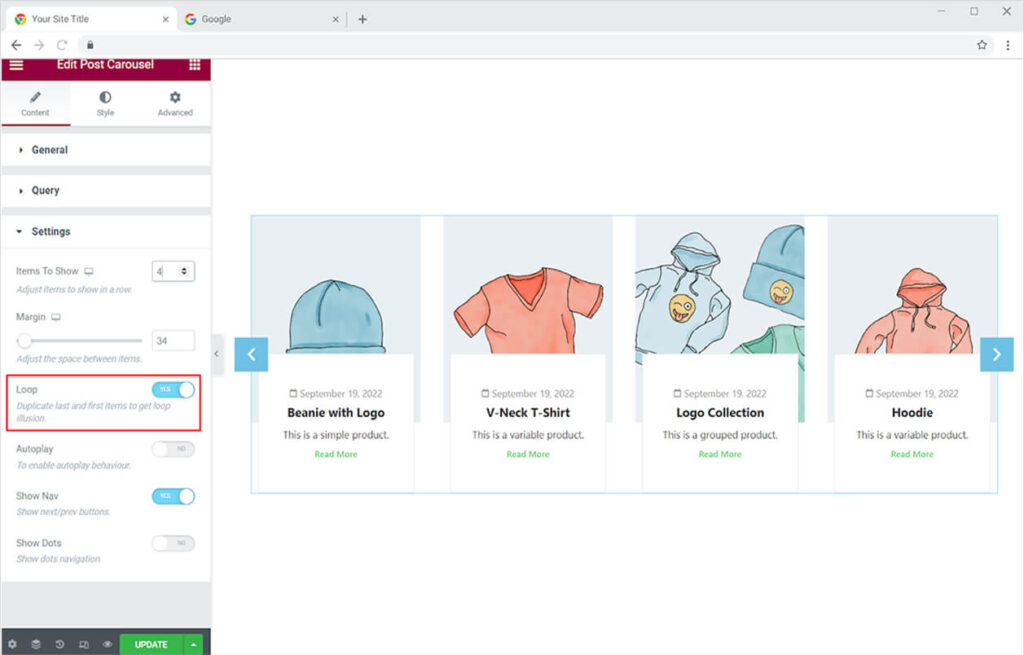
Select the number of posts you want to be displayed on the screen at once. You can change the numbers from the Items to Show option. Adjust the space between each post display from the margin option.
How to Add a Loop to the Post in Post Carousel Widget for Elementor
Adding a loop will allow the first post to be displayed after the last post. It is the best feature to add as the visitors will be looking at the post in a loop instead of being stopped at the end of the list.
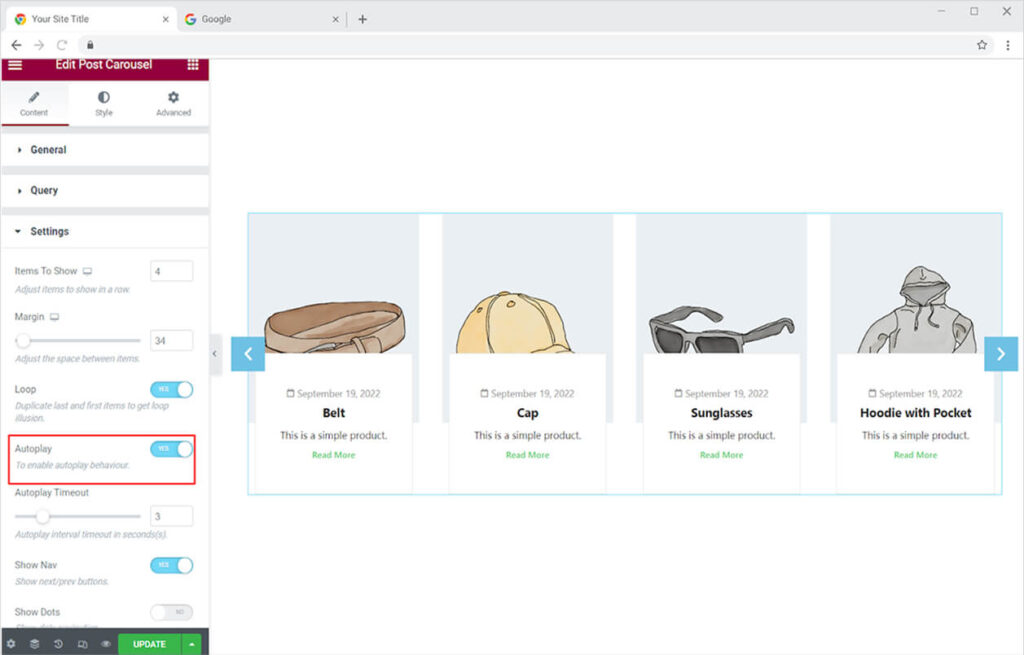
Enabling the Autoplay option causes the display moves forward on its own. To access more posts, the visitor does not even need to click on anything. Set the time it will take to shift the image.
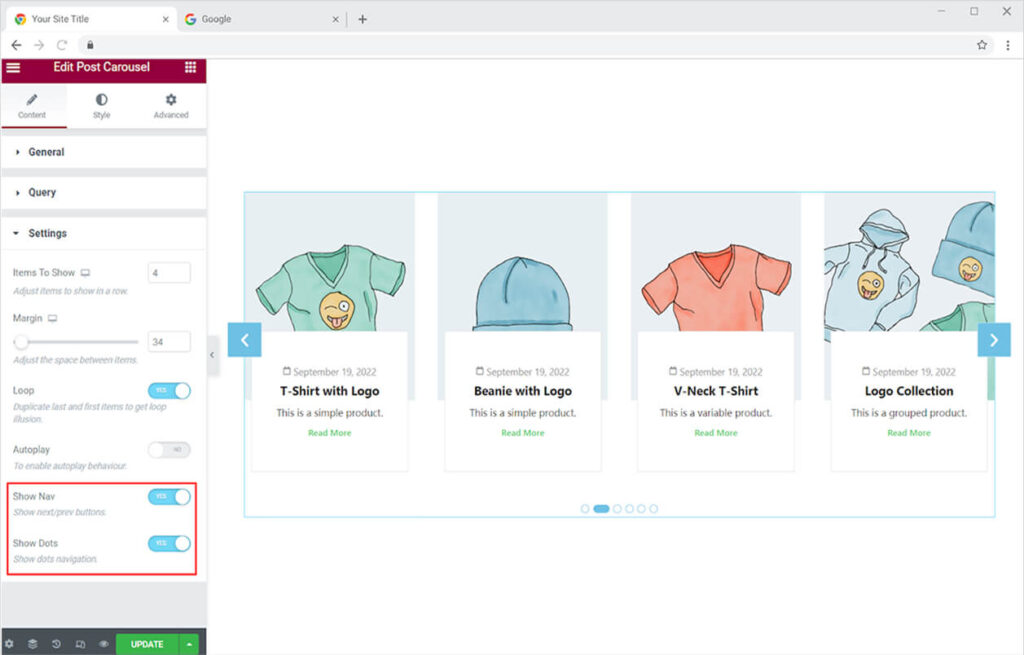
Allow the display of navigation and dots, which will greatly improve the visitor’s engagement and understanding of the presentation. The navigation arrow allows the user to navigate forward and backward to view the post display, while the dots help the user understand the display’s position.
How to Style the Post Carousel Widget for Elementor
The Elementor Post Carousel widget by Xpro can be designed in any way you want. The designing options are vast and give you all the control for making any customizations. From basic to advance, lets talk how you can style the layout.
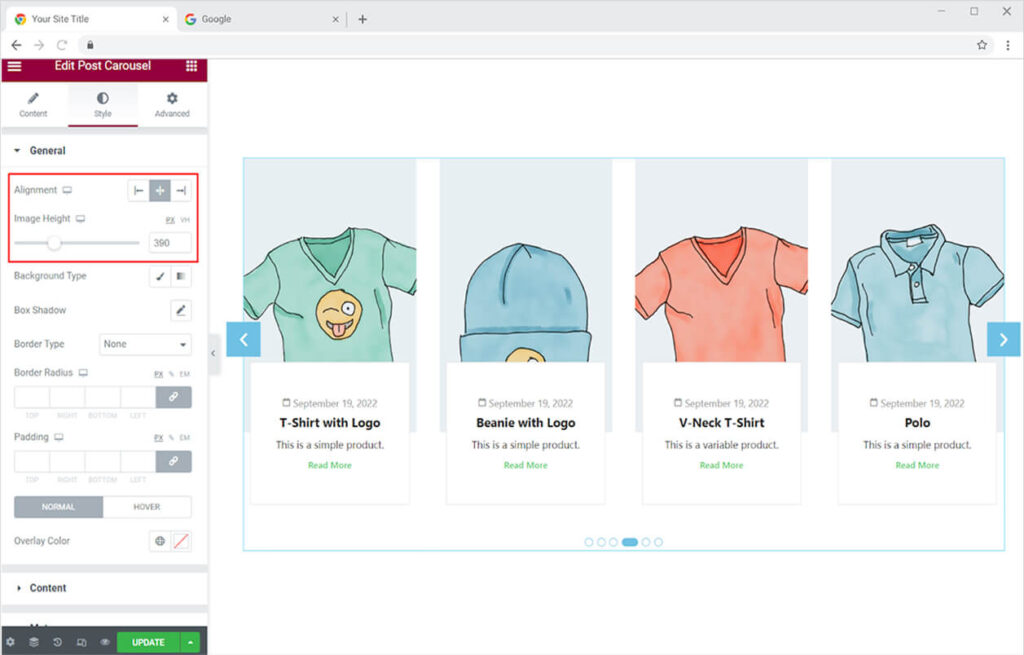
Starting with the simple styling, from the style section you can set the alignment of the content in the box to left, right, or center. Set the height of the image by making it large or small.
Design the background with classic or gradient option. The classic option allow you to add one color while the gradient option allow you to put two layers of colors. Choose what is best for you.
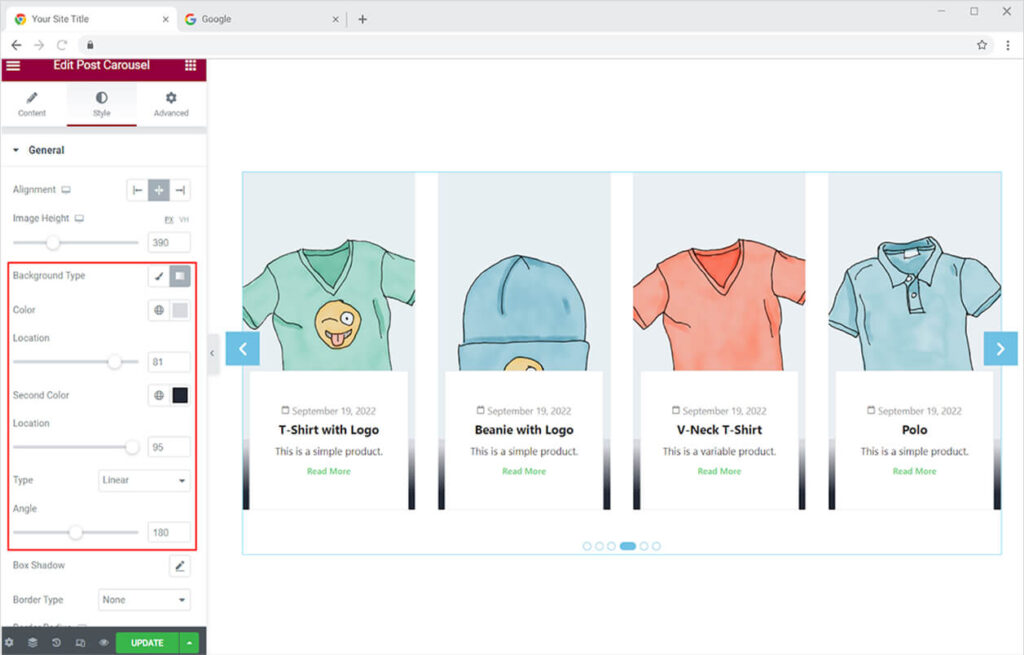
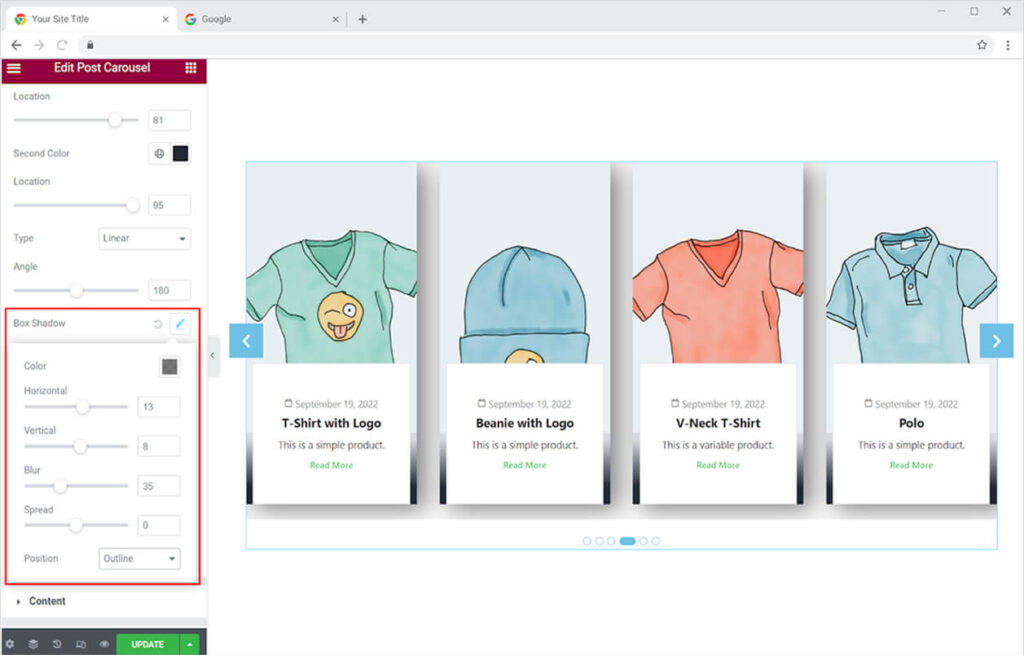
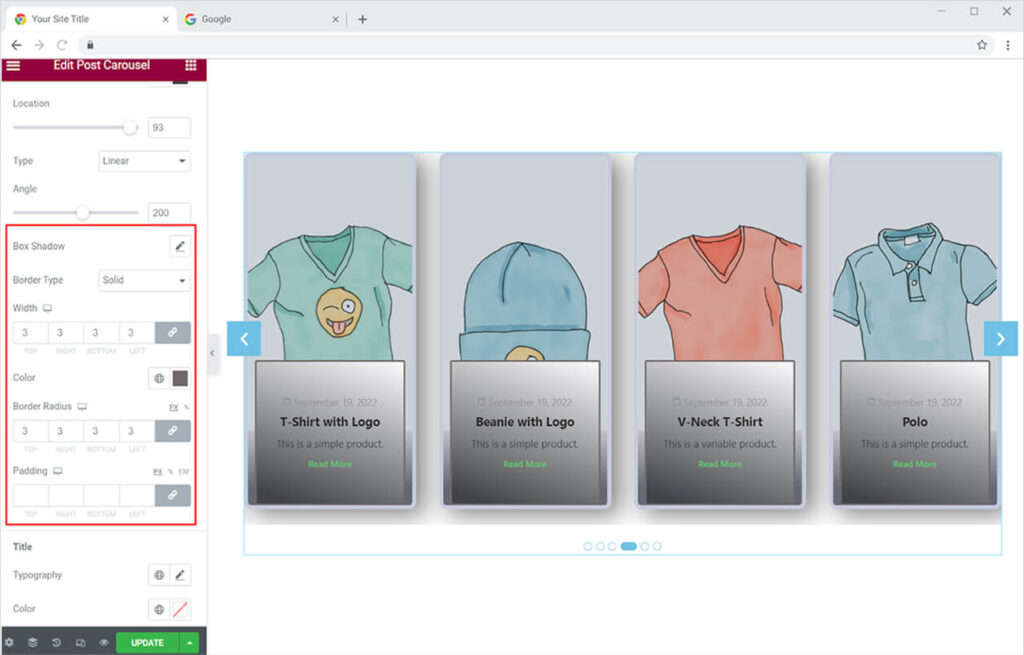
Including a shadow box might assist you in showcasing an appealing layout. Add a shadow using the shadow box option and control its look by adjusting the vertical and horizontal shadow movement, as well as blurring and spreading the shadow.
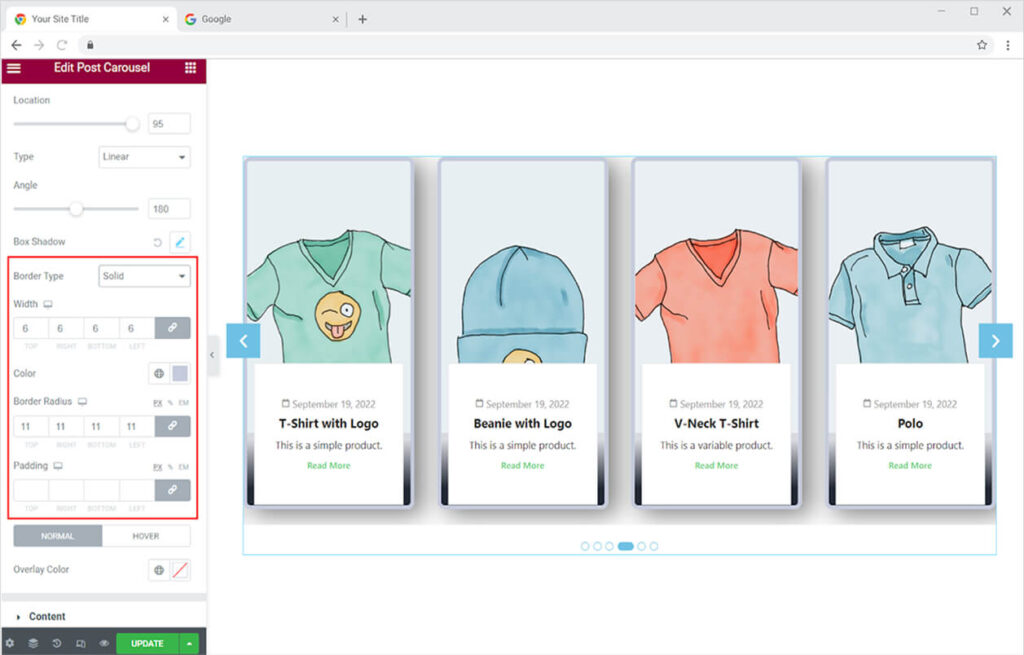
If you believe that the boxes require a border, you can add one to each of them. Choose a border style from the following options: solid, double, dotted, dashed, and grove. You can also customize the border’s color and radius.
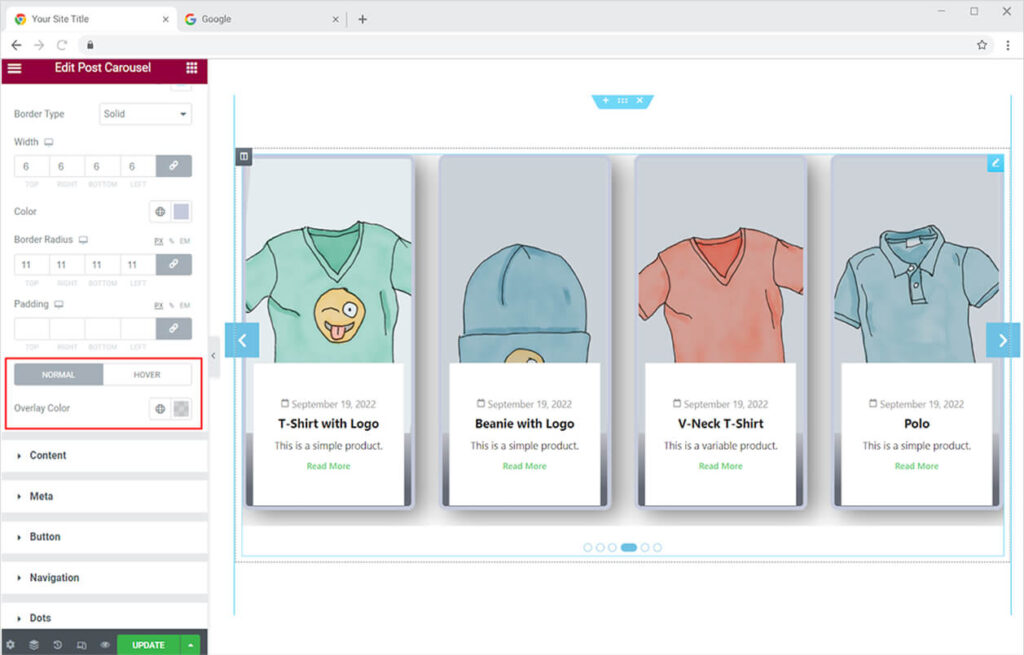
Add an overlay color for normal and hover so that the color effects change when the user drag the mouse above it. This features helps in better engagement and display of the post.
How to Style the Content in the Post Carousel widget for Elementor
When developing a website, you want everything to seem consistent with the theme and layout of the site, which is why you should style the content to match. Change the background color of the content box to a classic or gradient color.
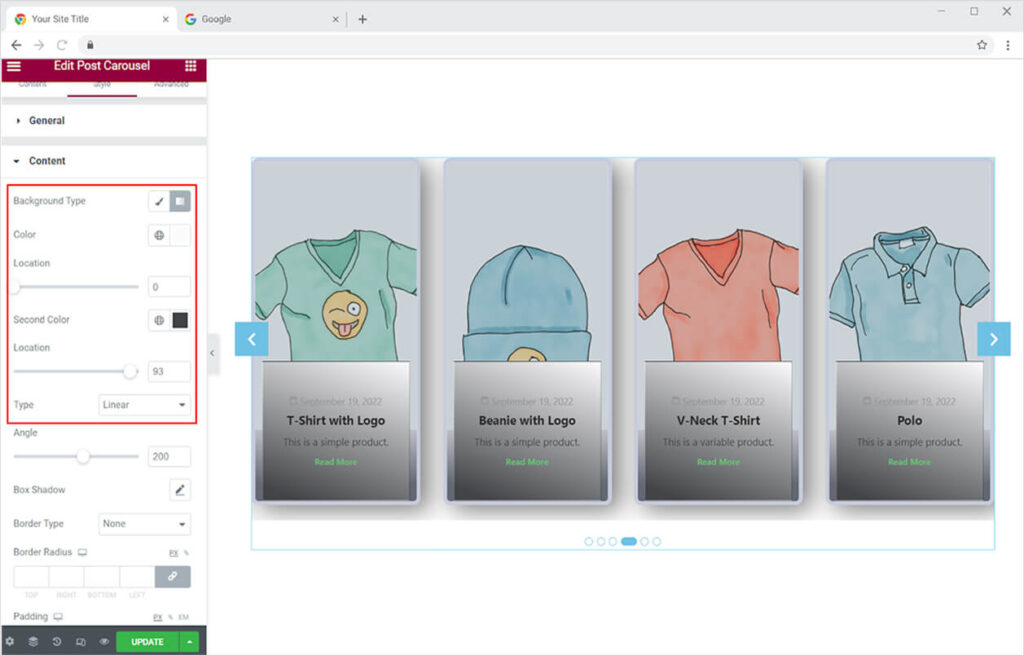
The content box, like the previously mentioned post box, has the option of adding a shadow box and a border with the same features.
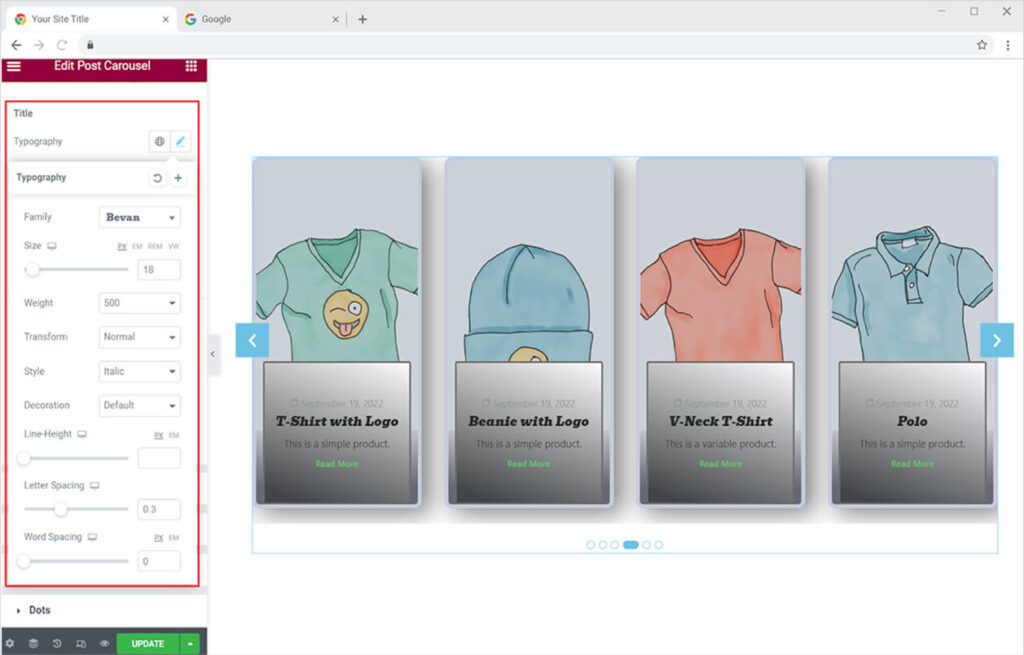
Each content type is separated into its own section so that it can be styled appropriately. The title of the content can be modified by changing its font, size, and style, among many other things.
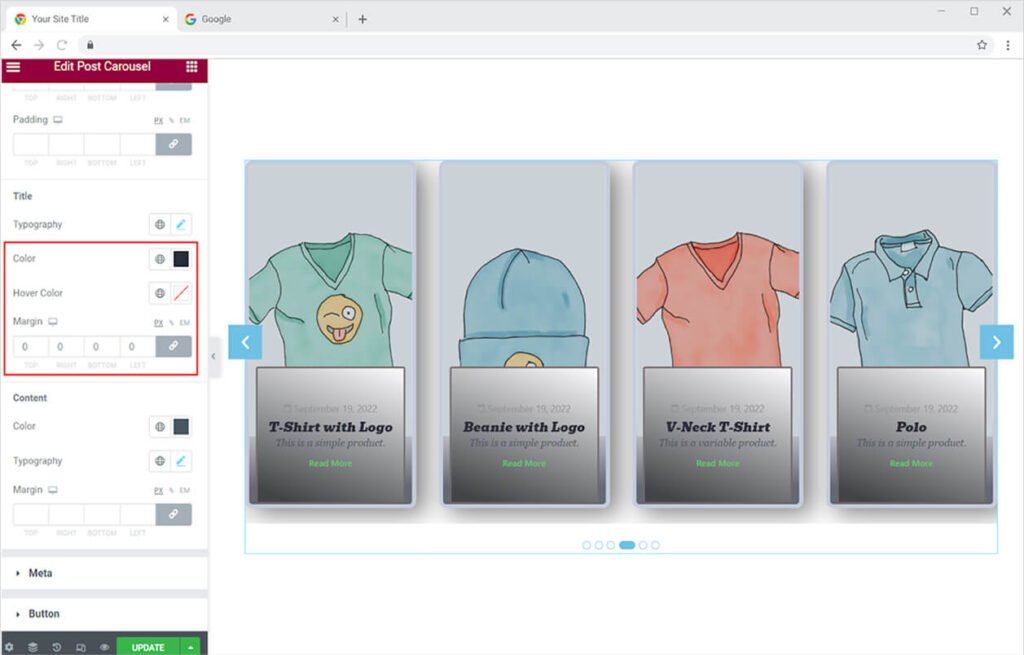
Colorize the title typography for both normal and hover states. You can also change the margin to make the appearance fit your needs.
Similar to the title, the content in description can also be styled in the way. Change the font, size, style and color of the content to make it look best with the layout.
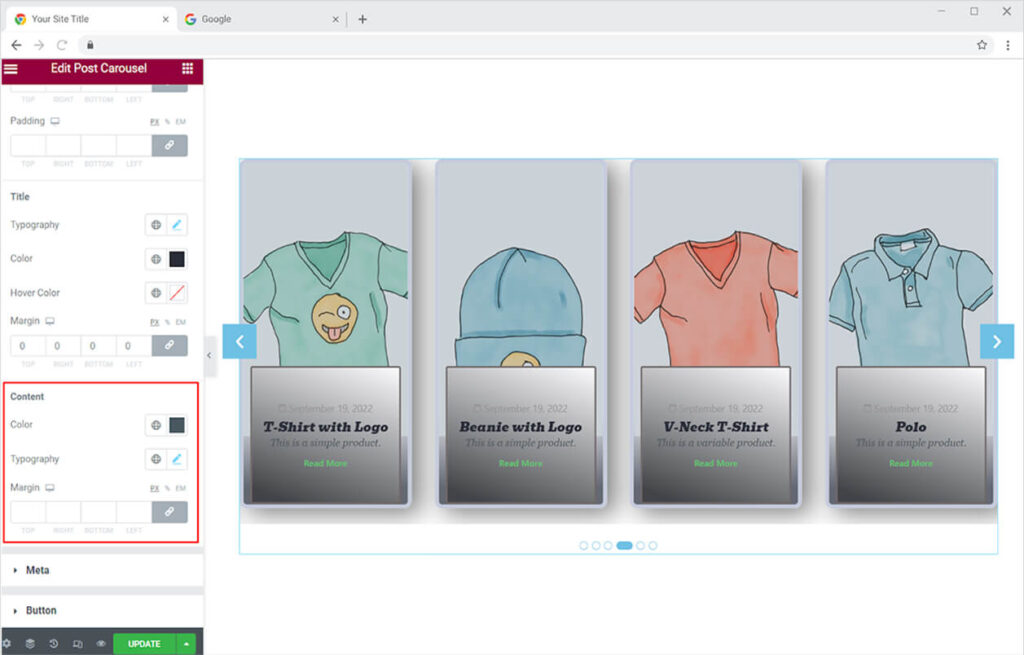
Style the meta from the meta menu. You can style the content by changing its font, size, style and color. Besides these basic features you can add a background and border to the meta and design it in a way to look attractive with the layout.
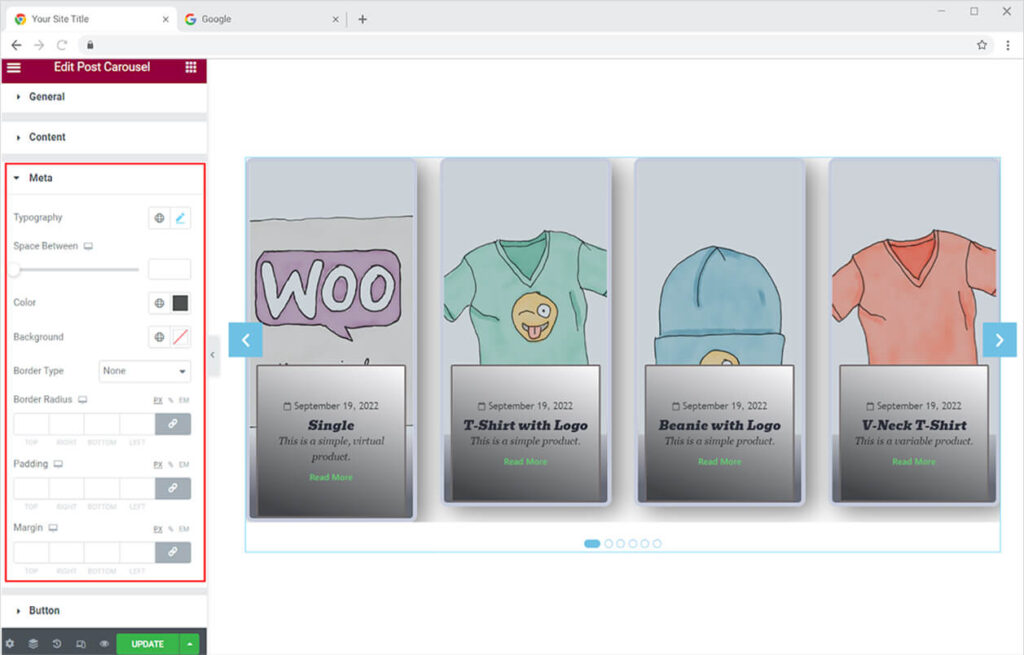
The button (Read More) can also be styled in a same way as meta. Design the typography and the background of the button. Add a border if you want to make distinctive.
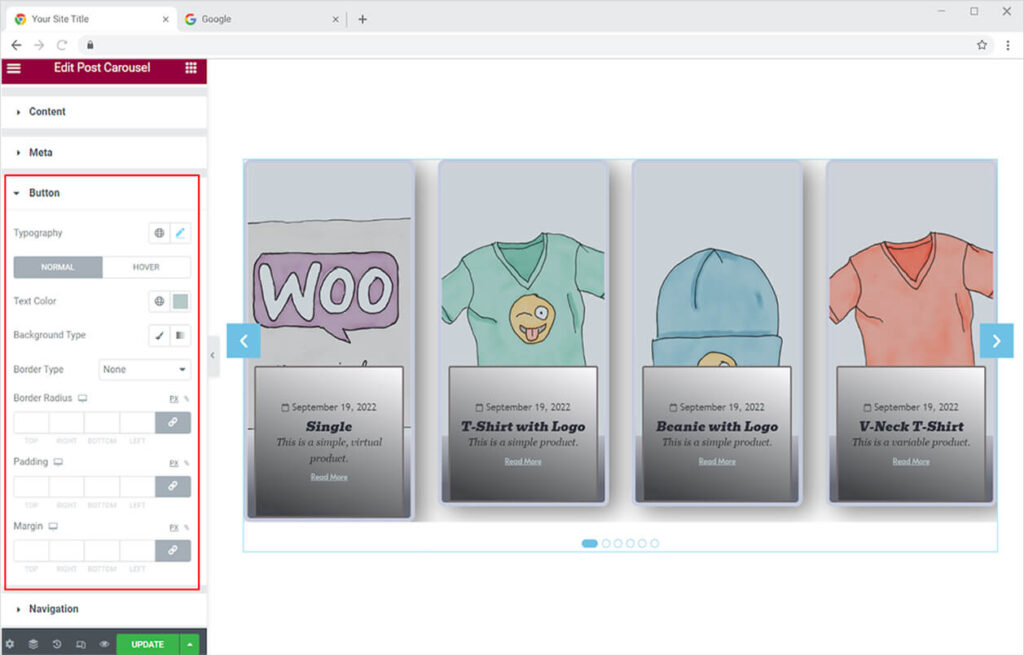
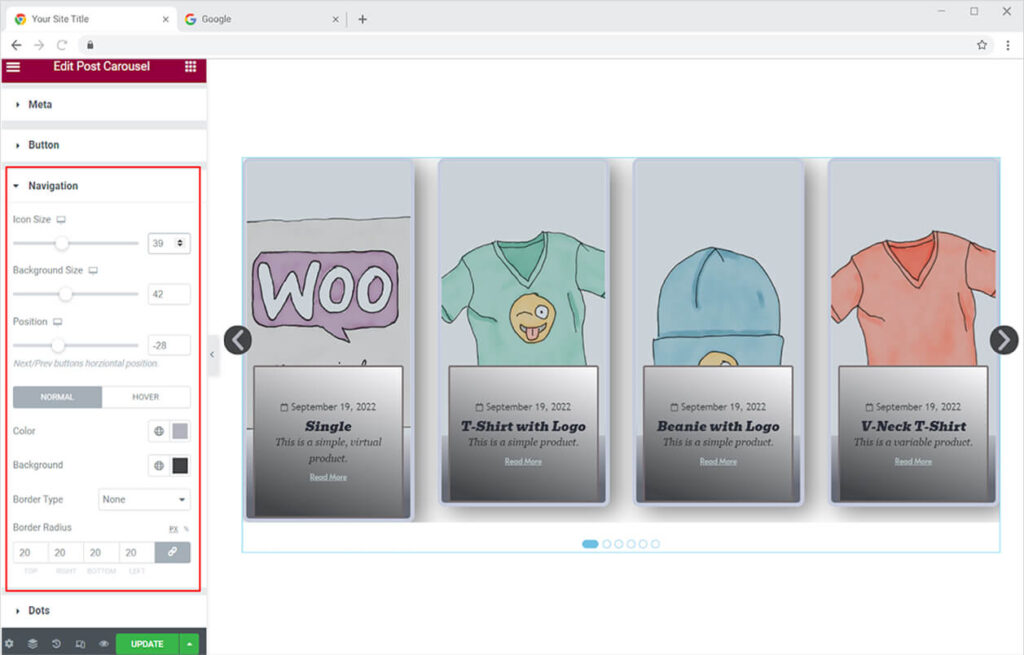
If you have added navigation arrows to the widget, you will be able to customise these arrows to match your theme. You can change the size and color of the icon and background. Add a border to it and adjust its radius.
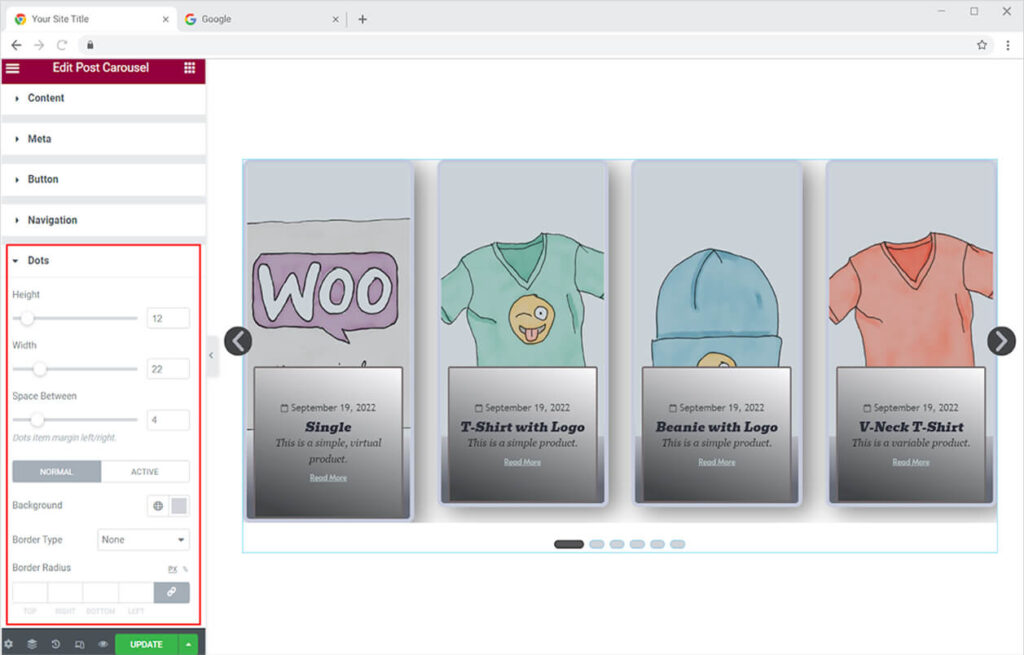
The dots at the bottom can also be customized from the style section. Adjust the size of the button from height, width, and space between option. You can color the dots for normal and active to distinguish which post the visitor is viewing.
Best Post Carousel Widget for Elementor
This is all from the Elementor Post Carousel widget by Xpro that let you design the best post carousel for your site. We hope that you fully understand the uses and functionality of this amazing product and will be able to effectively utilize it.
Xpro provides a wide choice of widgets to assist you in designing a website without the requirement for expert coding. If you want to explore more widgets like Post Carousel then check out Carousel Gallery for Elementor which allows you to create interactive carousels/sliders for your gallery items.