Introduction
Xpro Elementor Addons is packed with outstanding widgets that will help you in creating a perfectly functioning website. LightBox widget for Elementor is another example of these great widgets. This widget lets you display images or buttons and add a link to them so the visitors can view what you want to show them and guide them to the desired place.
LightBox widget for Elementor allows you to showcase images, URLs, or Youtube videos on pop-ups. The widget includes a variety of customization and design choices to allow you to create the layout of your choice.
How To Install Lightbox Widget For Elementor
Requirements
You need to install and activate the pro plugin by Xpro Elementor Addons. If you already have the plugin installed, ensure the LightBox Widget is enabled so you can find it in the Elementor editor.
To enable the widget, follow these steps:
Step 1
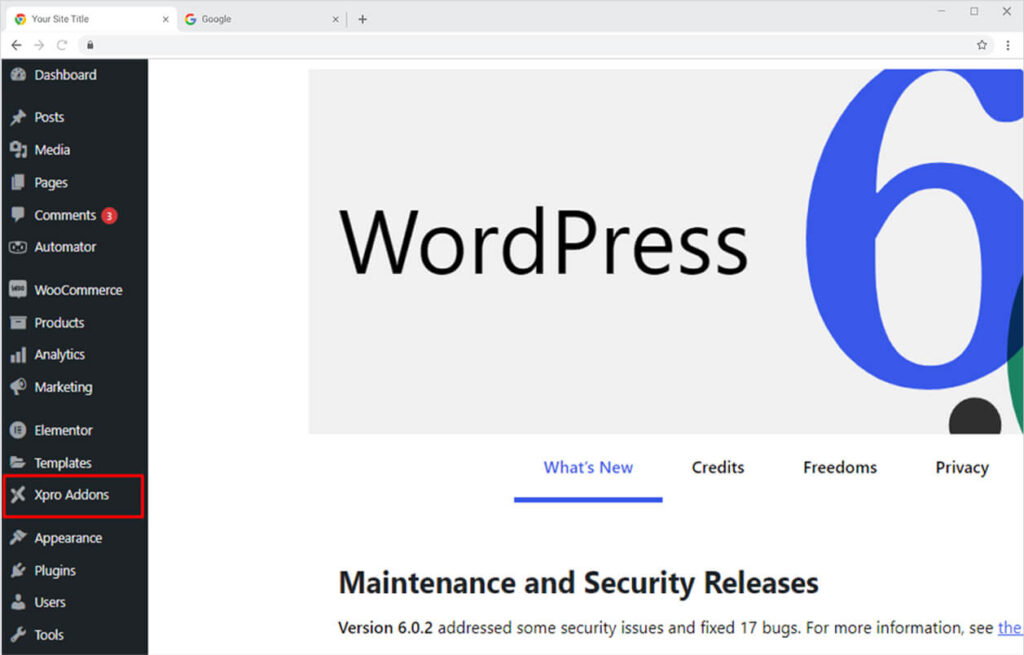
Click on the Xpro Addons option available on the WordPress Dashboard Menu.
Step 2
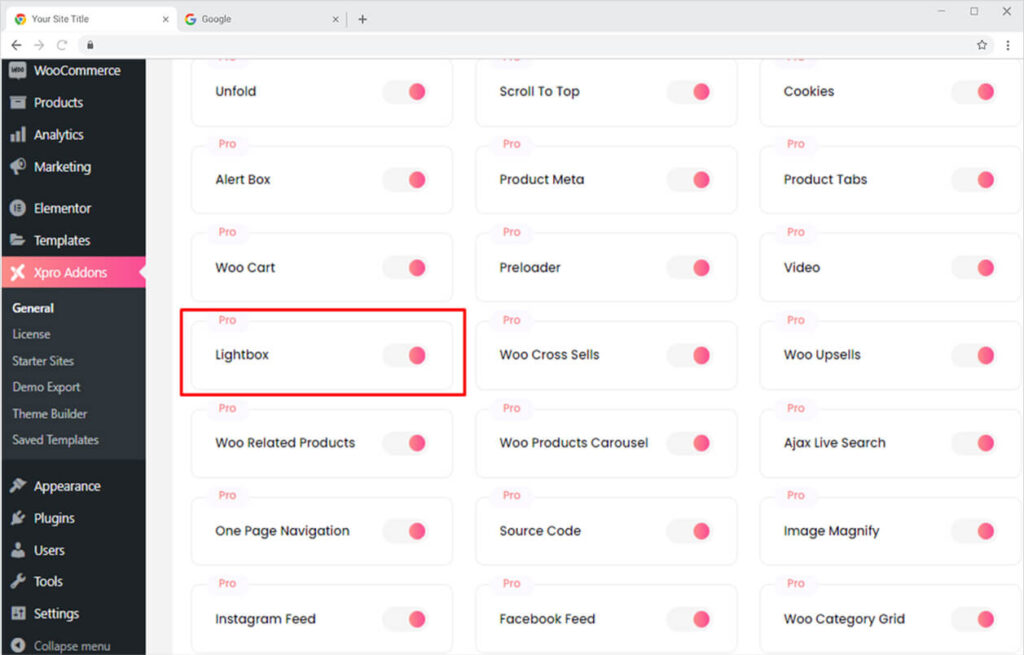
From the Xpro Addons Dashboard, click on the Widget Tab, find the LightBox widget and finally toggle the button ON to enable it.
How to Use LightBox Widget for Elementor
LightBox widget is an effective tool that can be used to guide visitors to view images or videos that you want to show them. The widget also allows you to add a Google Map link that displays your address so that your consumers can reach you.
Let’s further discuss how can you utilize this amazing widget to create a beautiful layout for your website.
Step 1
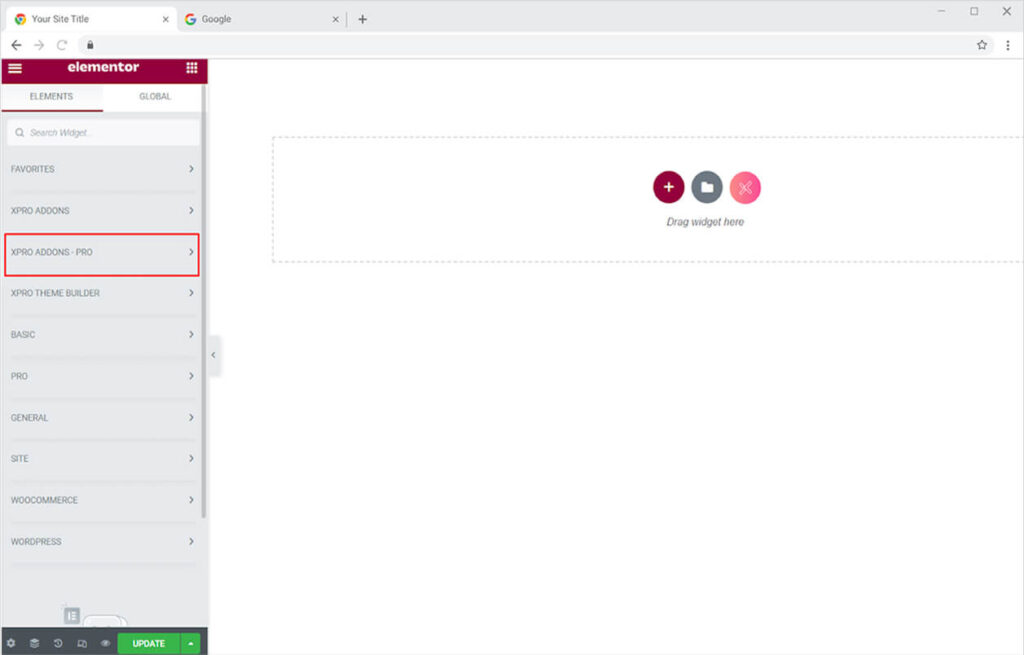
Click on the Xpro Addons – Pro section available in the Elementor Editor.
Step 2
Search for LightBox in the search bar and drag’n’drop the widget on your desired page location.
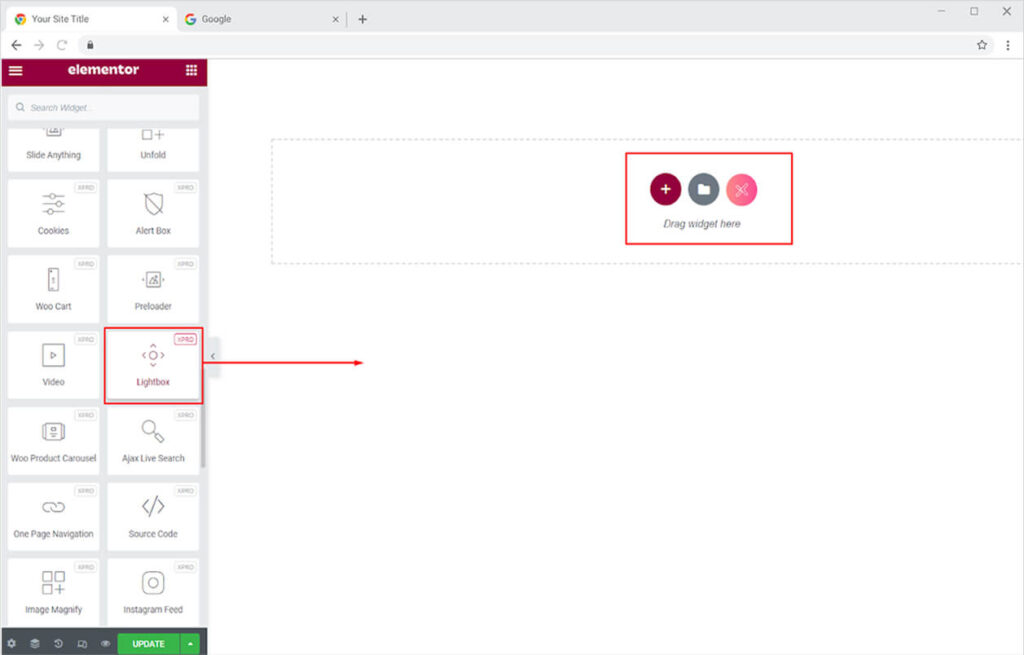
This is the default view for the LightBox Widget.
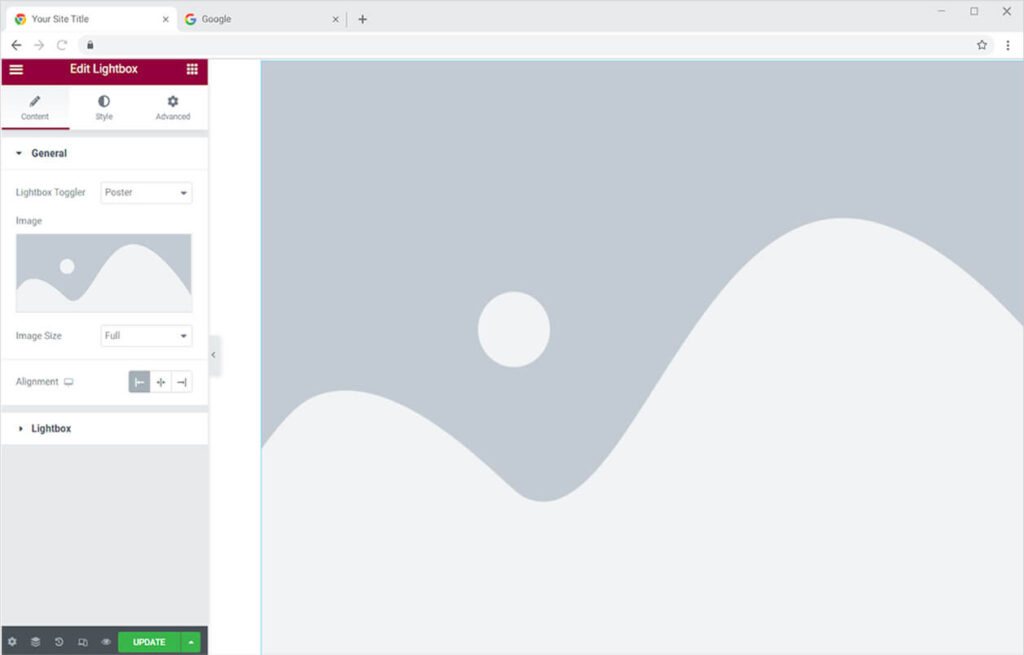
How to Add content to The LightBox Widget
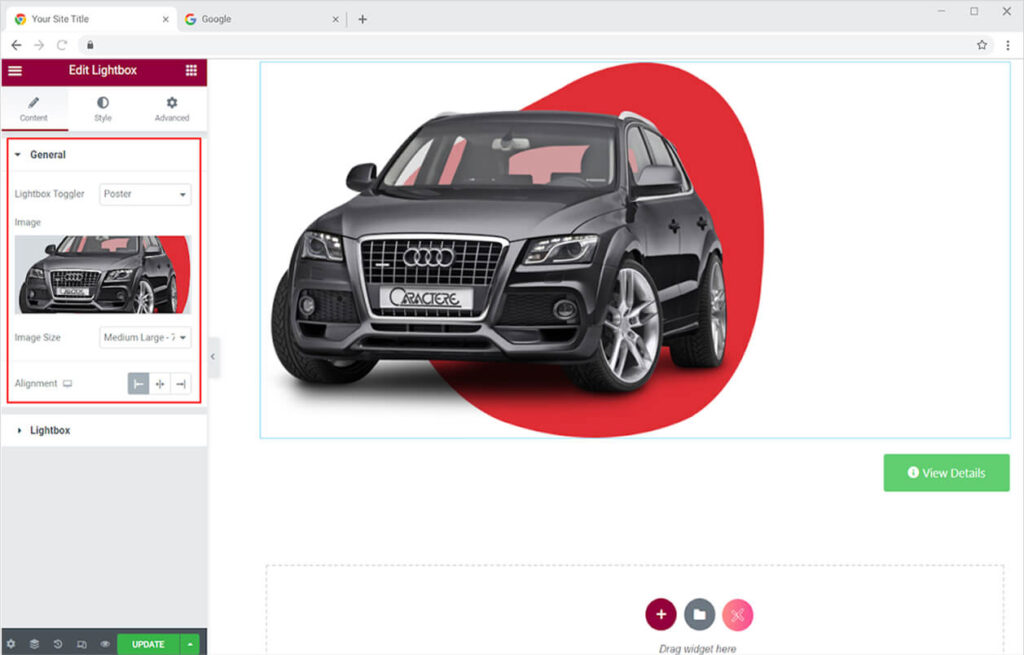
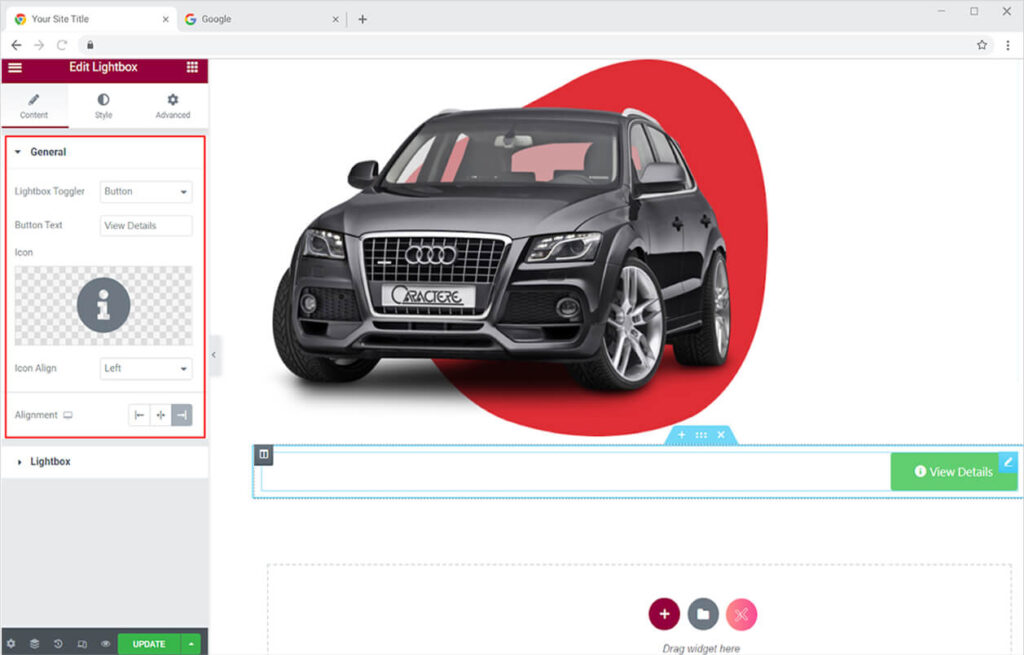
The general settings in Content Section give you two options either add an image or a button. Simply click on the icon or image option to add a media file from the media library or desktop. Set the size of the image or icon and align it to the left, right, or center of the page.
- For Image
- For Button
Drag down in the content section to open the menu for LightBox. Here you can add the media for LightBox. The LightBox content provides you with the option to either add an image, URL, YouTube link, Vimeo link, or Google Map. Selecting any of these options will further ask you to add that item. For example, if you choose the image option then you will have to upload an image.
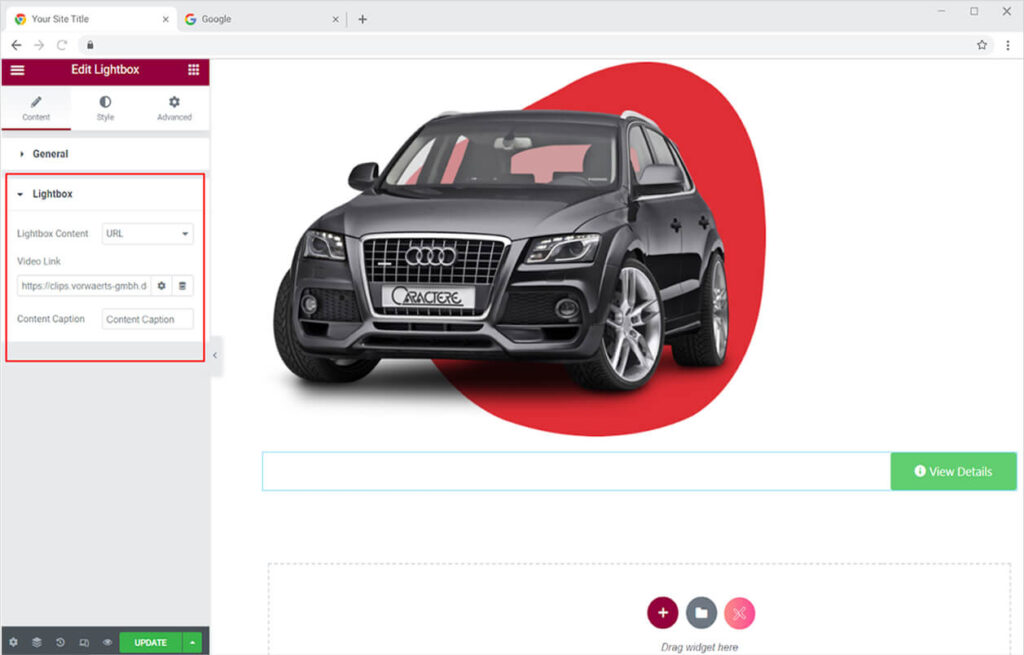
When a visitor at your site clicks on the image or button, he/she will view the image, video, or Map that you want to show them.

Style Section
How to Style Image in the LightBox Widget
Coming to the style section, here you can perform multiple designing options. Talking about the image first, you have simple styling options for adjusting the width and height of the image. Set the size of the image according to that suit the layout of your site.
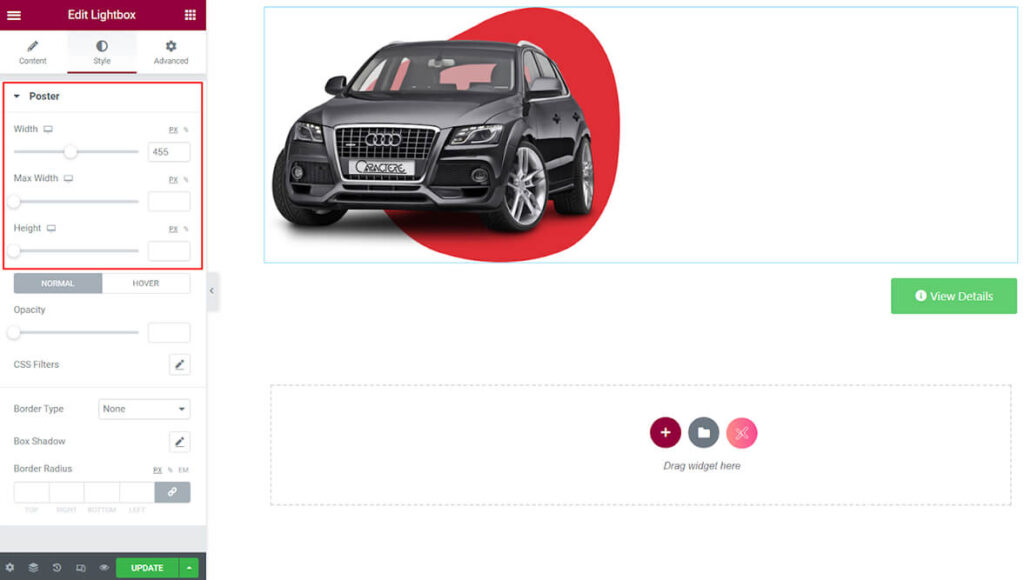
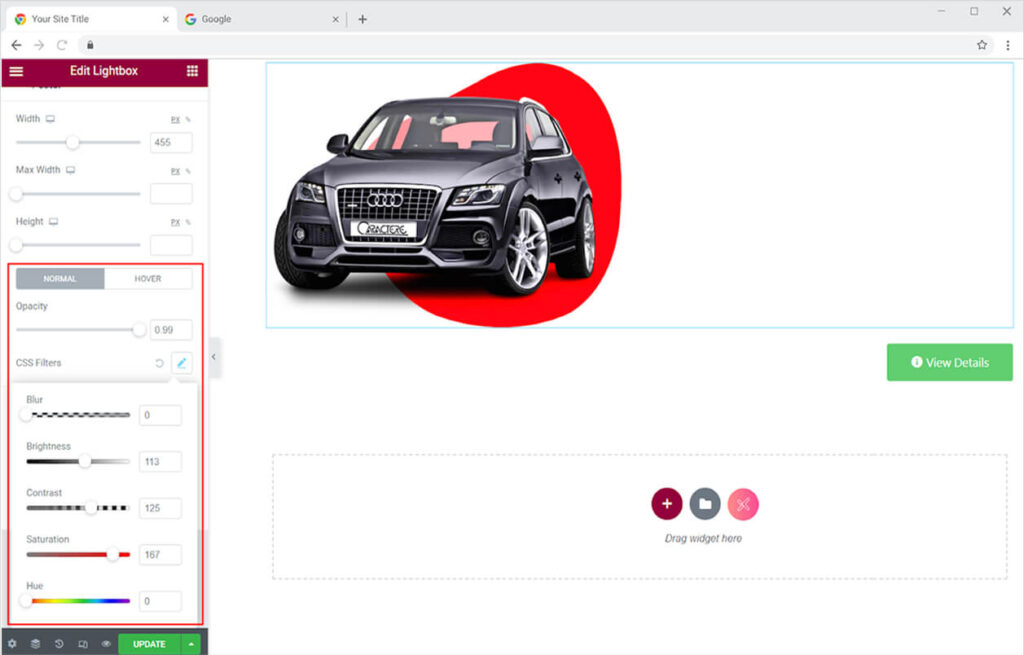
Make normal and Hover editing so that the style differs when the user drags the mouse above it. Reduce the clarity of the image for normal and hover separately. You can also include CSS filters in which you can adjust the brightness, blurriness, saturation, and hue.
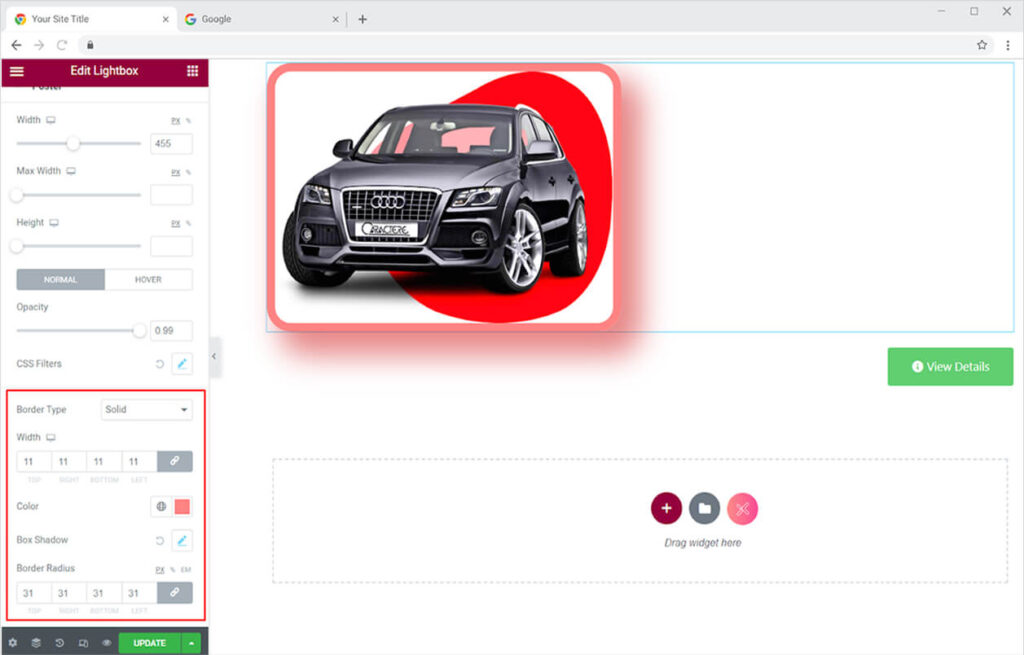
You also have the option to include a border to the image which might enhance the appearance of the image. Add a border type from the following options Double, Solid, Dashed, Dotted, or Groove. Additionally, you can also color the border and modify its radius as desired. Add a shadow to the border to make it more attractive for users.
How to Style the Button in LightBox Widget
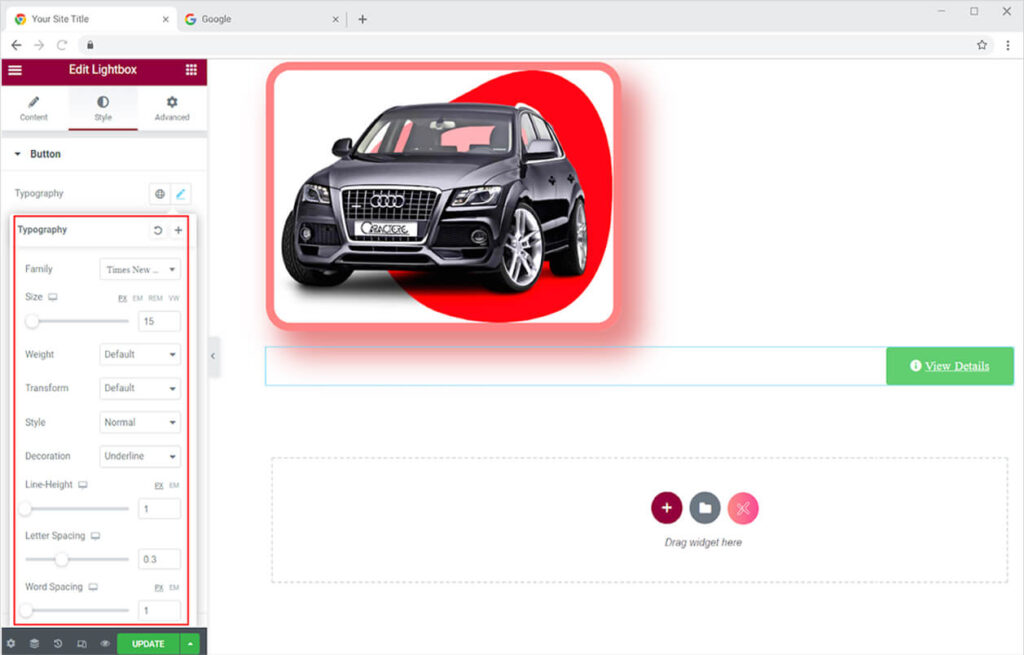
Edit the typography of the content in the button that suits the layout of your site. Change the font, size, and overall style of the content. Add a line under, above, or through the content from the decoration option. Adjust the space between letters and words from the letter spacing and word spacing option.
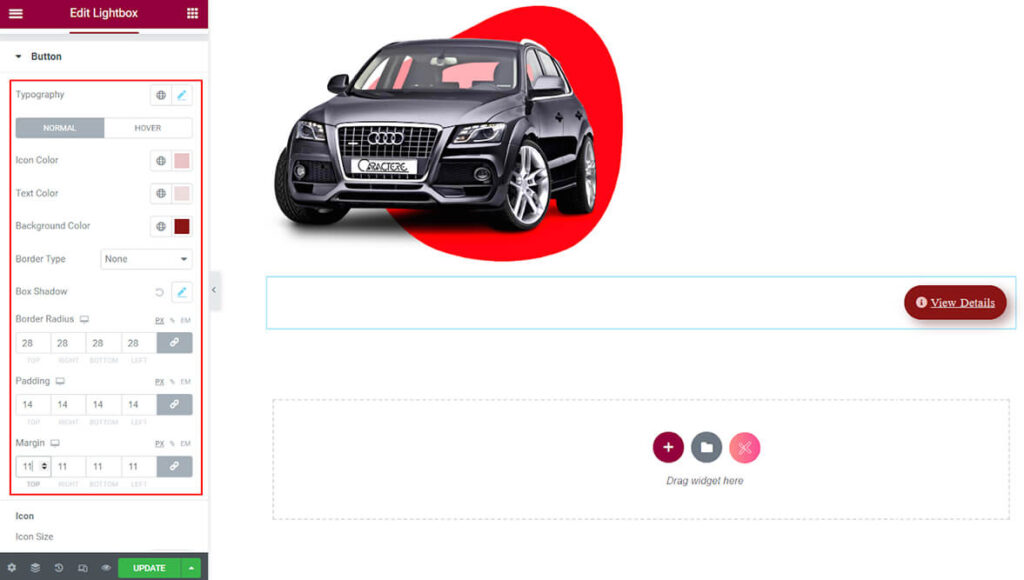
Change the color of the text, icon, and background to make it look appropriate to your website theme. You can add a border type and adjust its border radius and size as well. Add a shadow to the button which might enhance its appearance. Separately perform each designing for normal and hover.
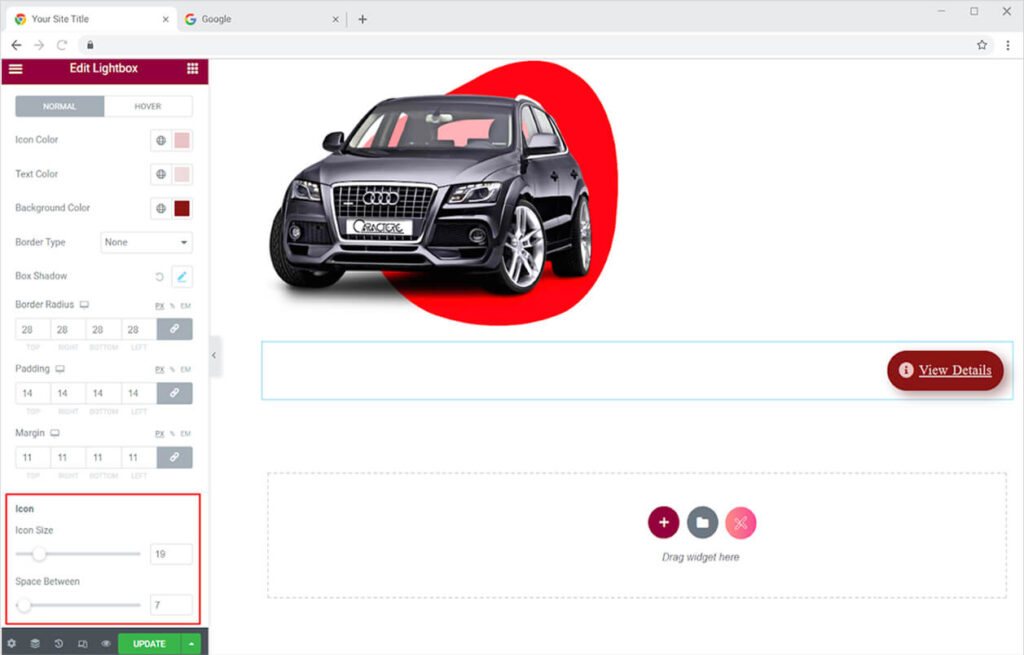
Drag down to view the icon menu from where you can adjust the size of the icon and the the space between icon and text.
Best LightBox Widget for Elementor
This is all from the LightBox widget by Xpro Elementor. We hope that you fully understand the functionality and uses of this amazing tool and will be able to create an interesting layout with this.
Xpro Elementor Addons offers a wide variety of amazing add-ons to let you create a fully functional website without the need for any coding. If you want to explore more widgets like LightBox then check out the simple gallery widget for Elementor that allows you to add images to the webpage. Also, check out our 50+ Free Elementor widgets that help you create a professional site.