Introduction
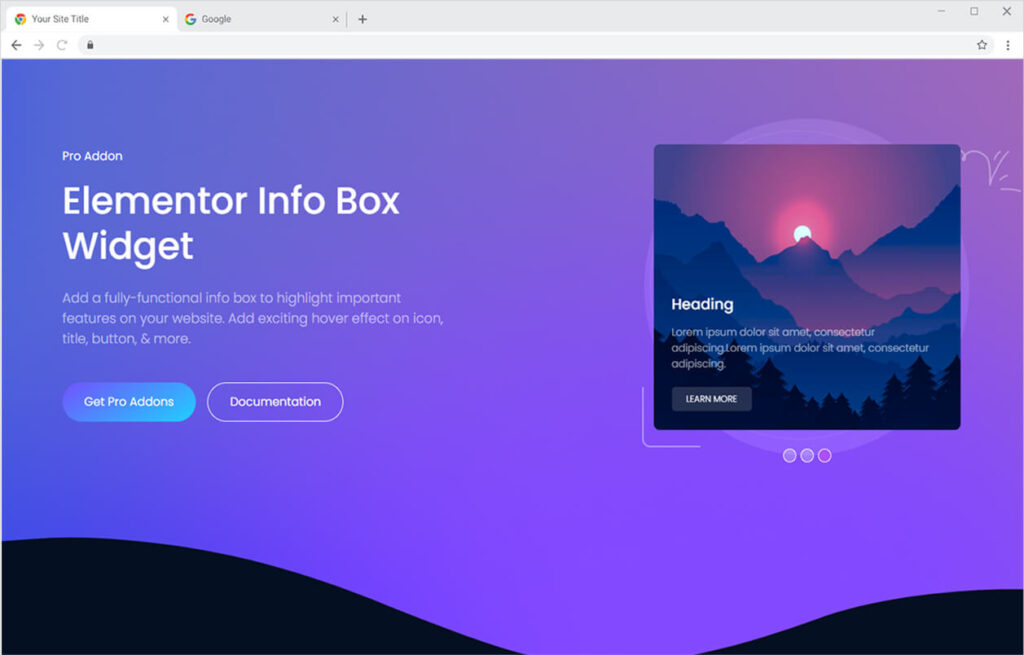
The Elementor Info Box allows you to create fully functional and visually appealing feature boxes to showcase key features on your website. Display and highlight key information such as your products, services, ideas, and more in an attractive small box. The lightweight widget consists of an icon, image, content, and a button that is fully customizable.
Many visitors skim through the long content skipping important information that is beneficial for the business. So why bother readers with lengthy and boring content when the Info Box for Elementor can convey your message effectively.
The widget is comprised of an icon or image, heading, subheading, description, and a button to present your message in a visually appealing manner. All these elements help you highlight the important part of your website such as products or services by featuring a well-designed Info box.
How to Install Elementor Info Box Widget
Requirement
You need to install and activate the Pro version of Xpro Elementor Addons. If you already have the plugin installed, just make sure the Info Box Widget is ‘Enabled’, so you can find it in the Elementor editor.
To enable the widget, simply follow these steps:
Step 1
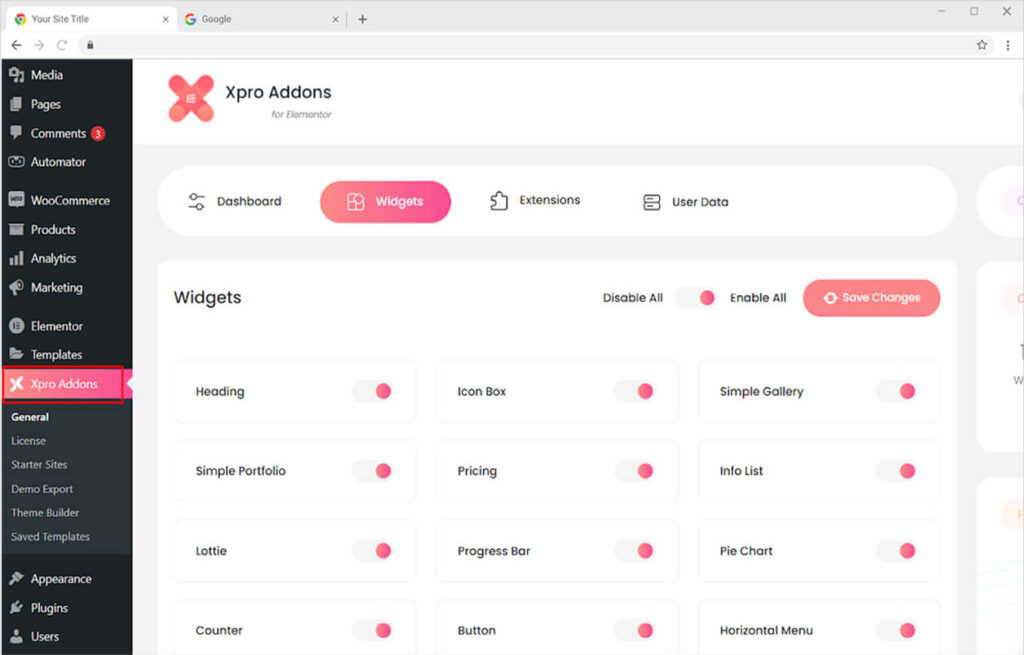
Click on the Xpro Addons option available on the WordPress Dashboard Menu.
Step 2
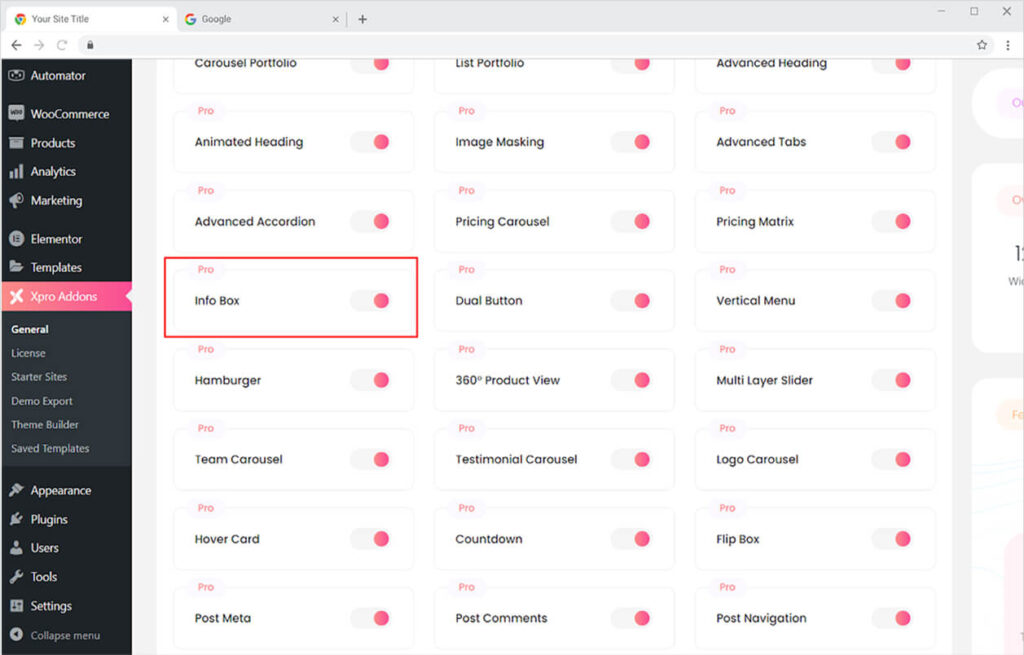
From the Xpro Addons Dashboard, click on the Widgets Tab, find the Info Box widget, and finally, toggle the button ON to enable it.
How To Use Info Box Widget
A well-design layout can have the capability to attract users to view or read what you are telling them. Elementor Info Box widget by Xpro understands this statement and allows you to create a visually appealing information box.
Make the best use of this widget and tell your customers about your offering. Share the important information in an attractive way. Let’s talk further about how you can utilize this powerful widget.
Step 1
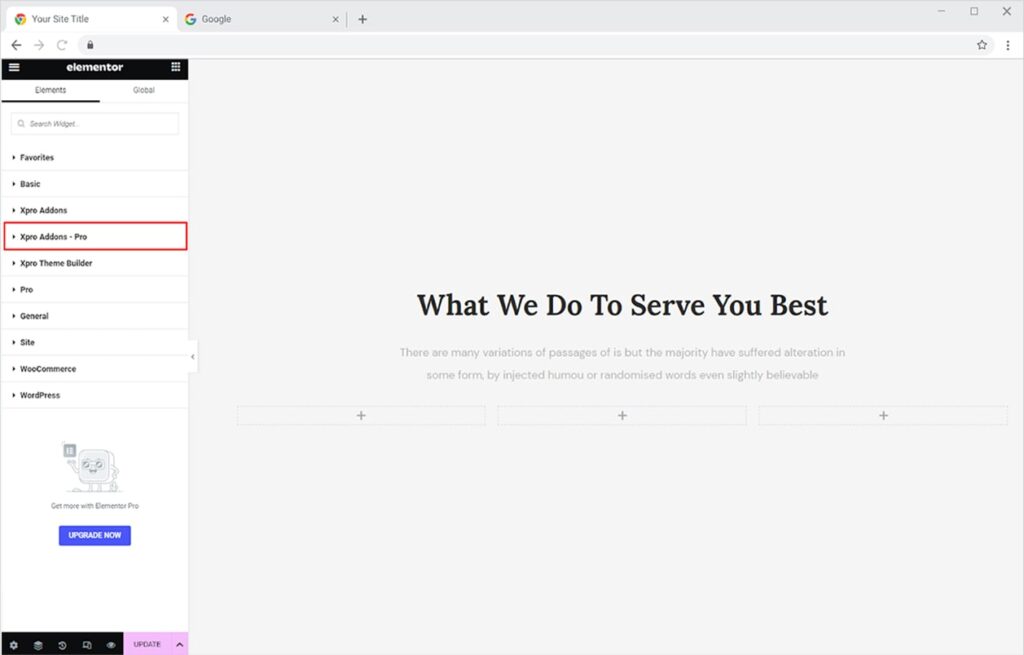
Click on the Xpro Addons – Pro section available in the Elementor Editor.
Step 2
From the Xpro Addons – Pro section, find and simply drag’n’drop the List Portfolio widget on your desired page location.
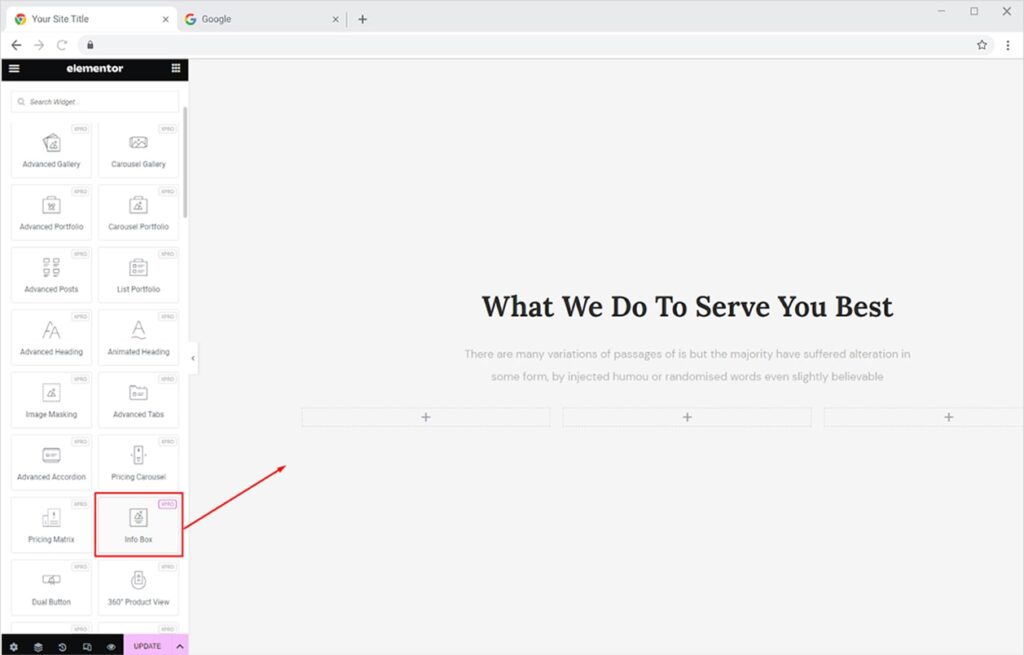
The default view of this widget looks like this
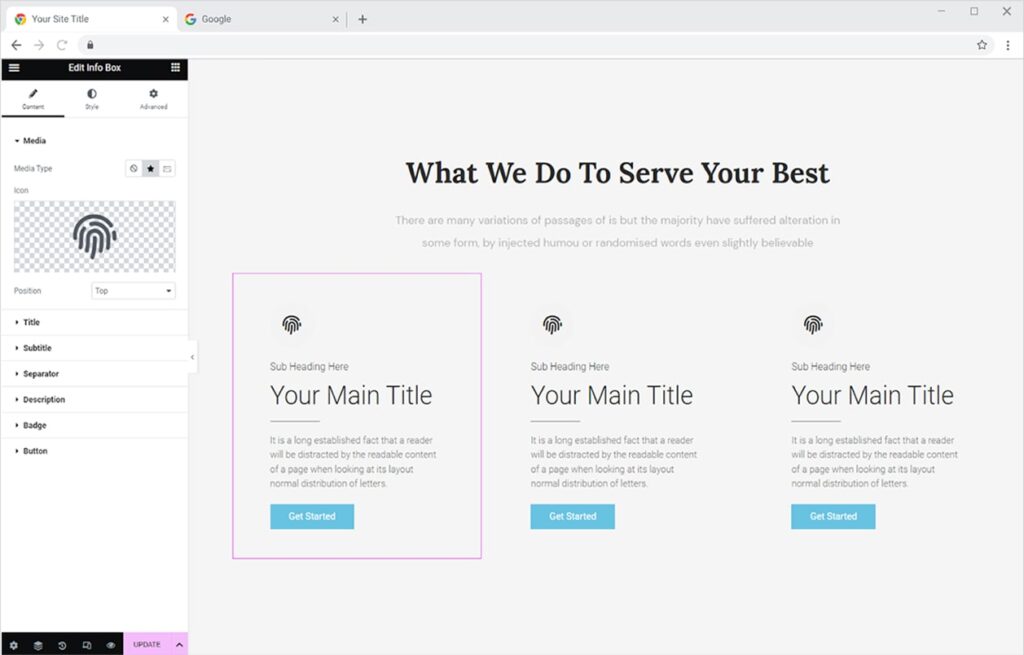
How to add Media in the Info Box
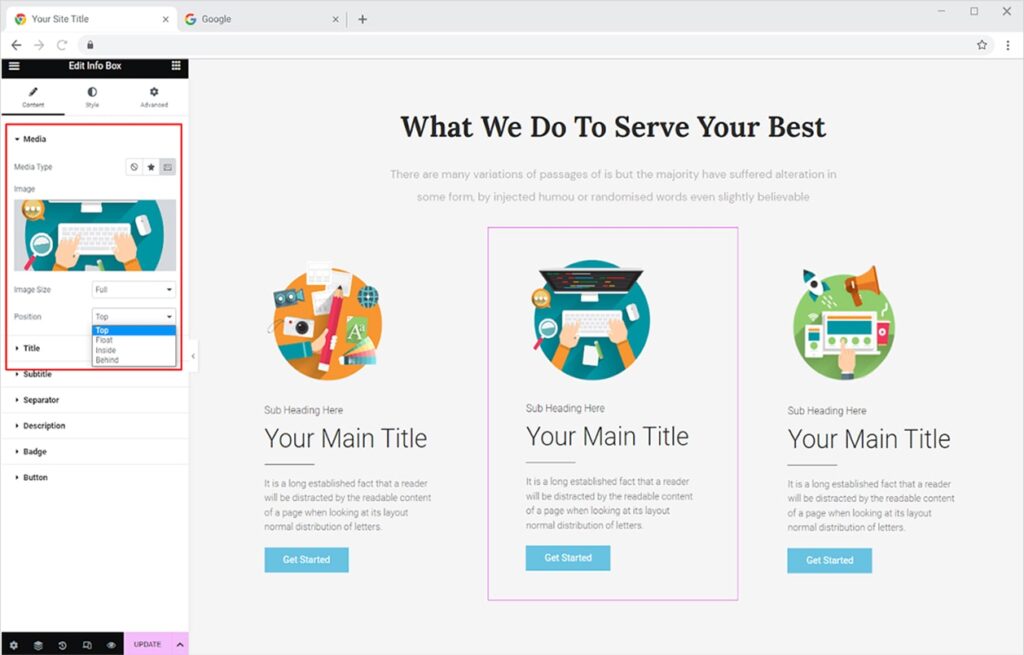
From the Content Tab, you have the option to include an image or icon in the info box widget. The media type makes your content more visually appealing and engaging for users. Select an icon from the icon library or upload it from your computer. Similarly, you can add a picture from the media library or upload it from a computer.
Select an icon or a picture by clicking on the icon or image option. You can also adjust the position of the media as you like.
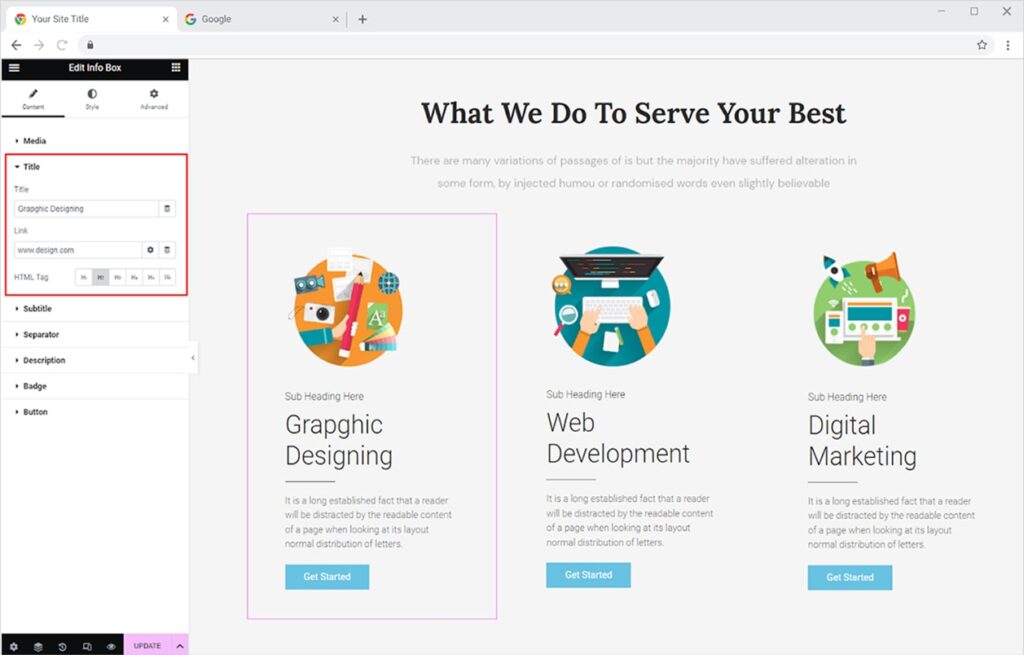
How to Add Content in the Info Box
Following the heading menu, you are provided with each section of content where you can write and manage content for title and description. From the Title drop-down menu, you can add content and can also link it to the desired page. Also, assign an HTML header tag to the title.
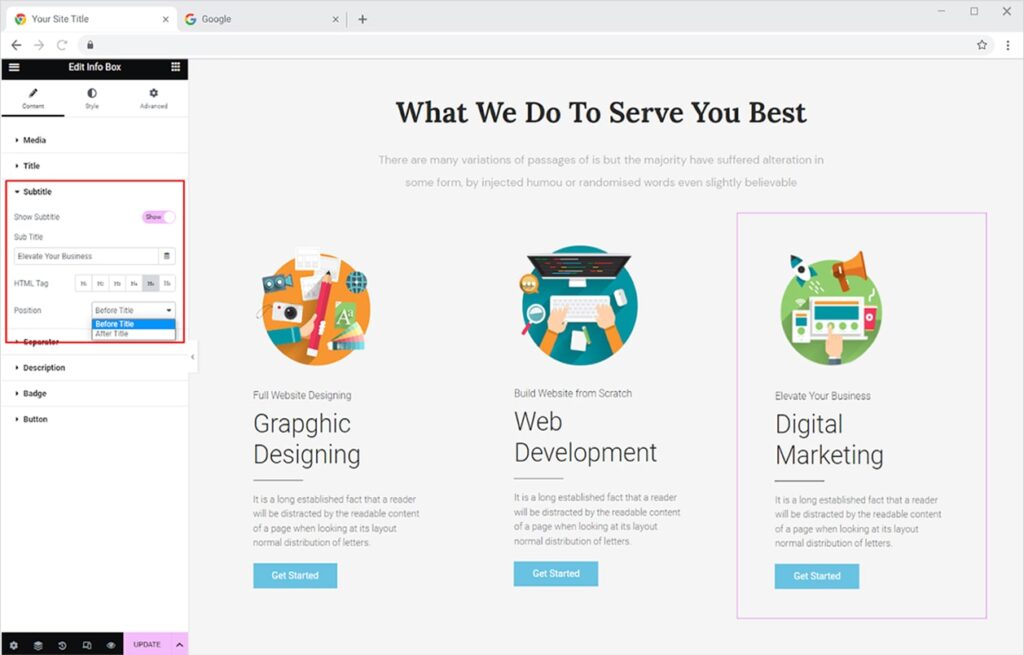
In the subtitle menu, you can add a subheading to convey your information to the visitors. Write a subheading and link it to the desired page. You can also set the position of the subheading to above or below the title. You also have the option of removing subheadings if you do not wish to add any subtitles.
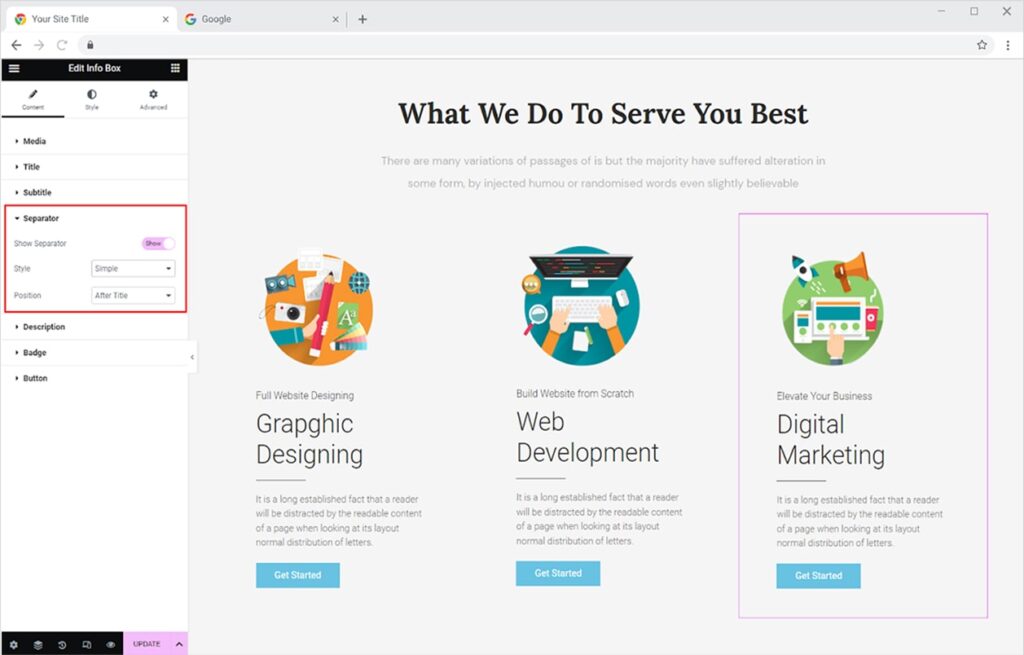
Coming down to the separator menu, you can add a line that separates the upper content from the lower content. You have the option to add a different style of line that is perfectly suitable to your website theme. Moreover, you can also change the position of the separator to before and after the title.
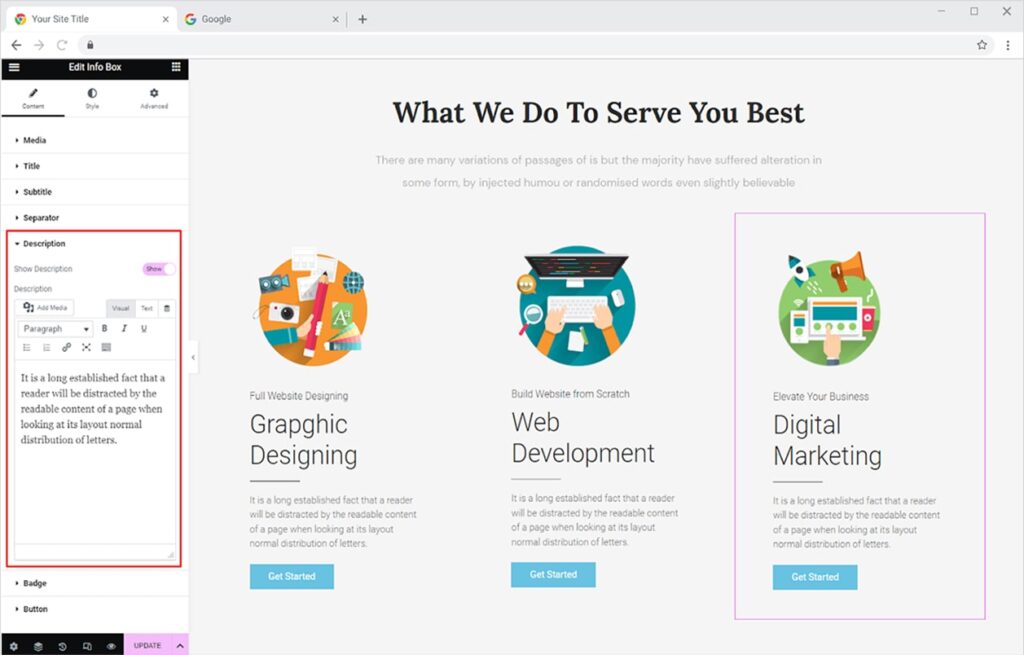
Add a description below to describe your product, service, or idea. Write engaging text and convince your visitors that your business is what they need to satisfy their needs. Include a detailed description and enhance its appearance with bold, italic, link, and other text styling options.
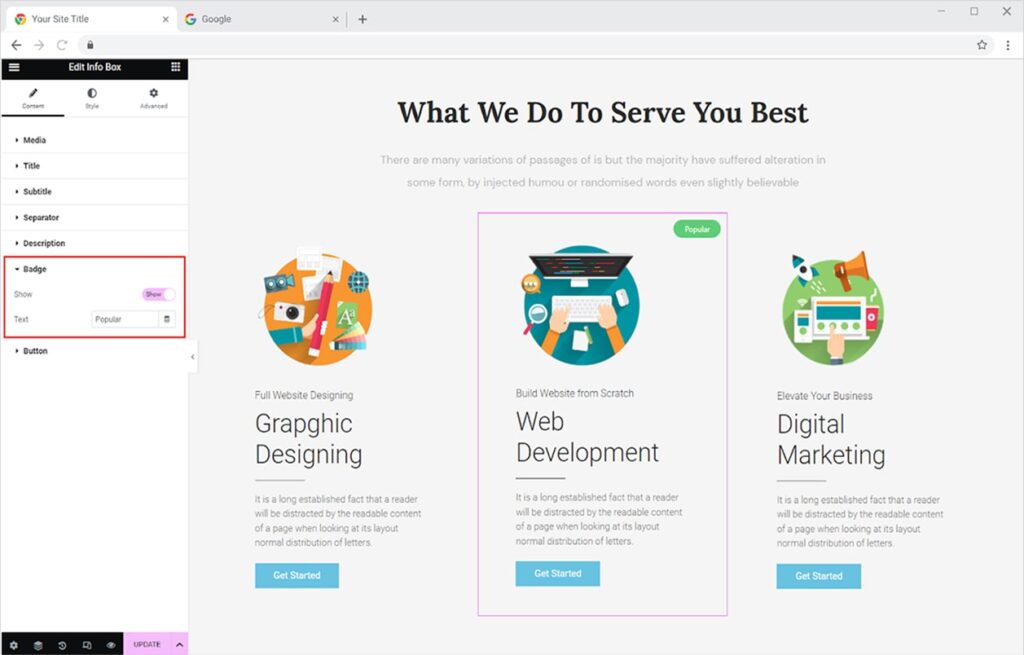
Provide a badge to the information box and effectively present the importance of your featured box. Simply enable the badge option and write a text to showcase it.
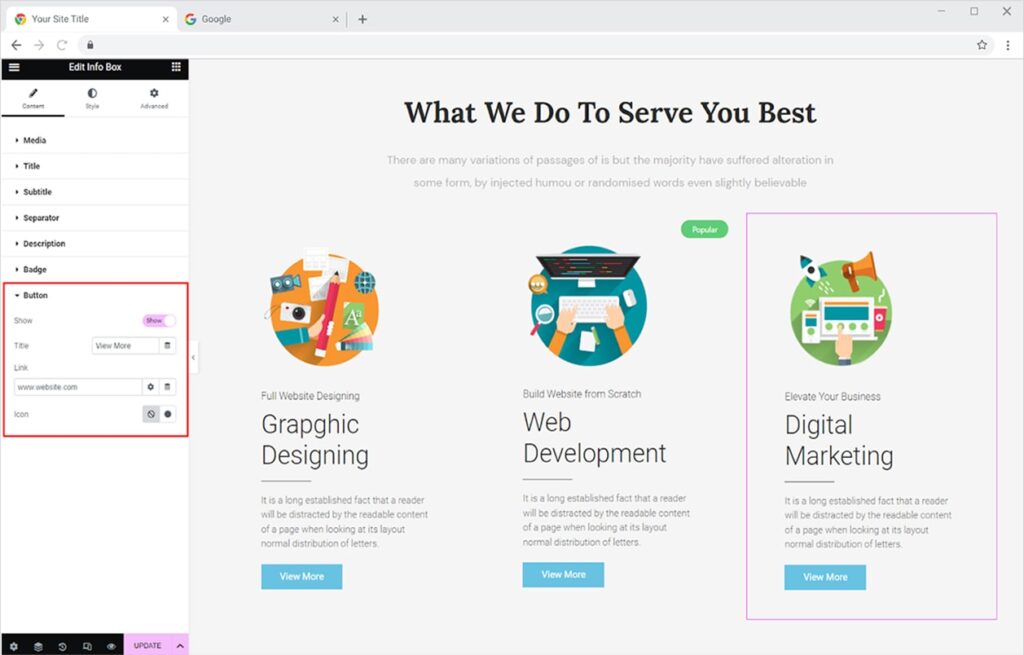
If you wish to include a button so that your reader visits a particular page after reading the information in the info box then add a button at the bottom of the widget. Add a title and link to the button. Moreover, you can also add an icon to display on the Button.
Style Section
Customize each element of the Elementor info box widget to align the design to your requirement. Utilize the full flexibility over the appearance of your Elementor featured box and create a visually appealing and engaging content presentation.
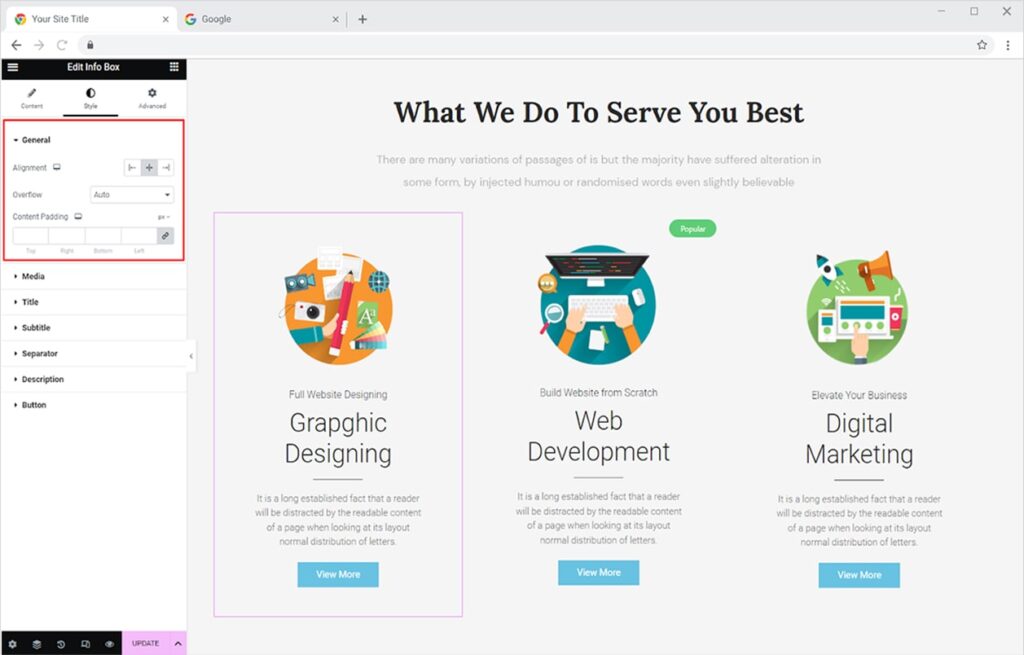
In the General menu of the Style section, you can adjust the alignment of the widget on the left, right, or middle. Set the position of the info box.
How to Edit the Media
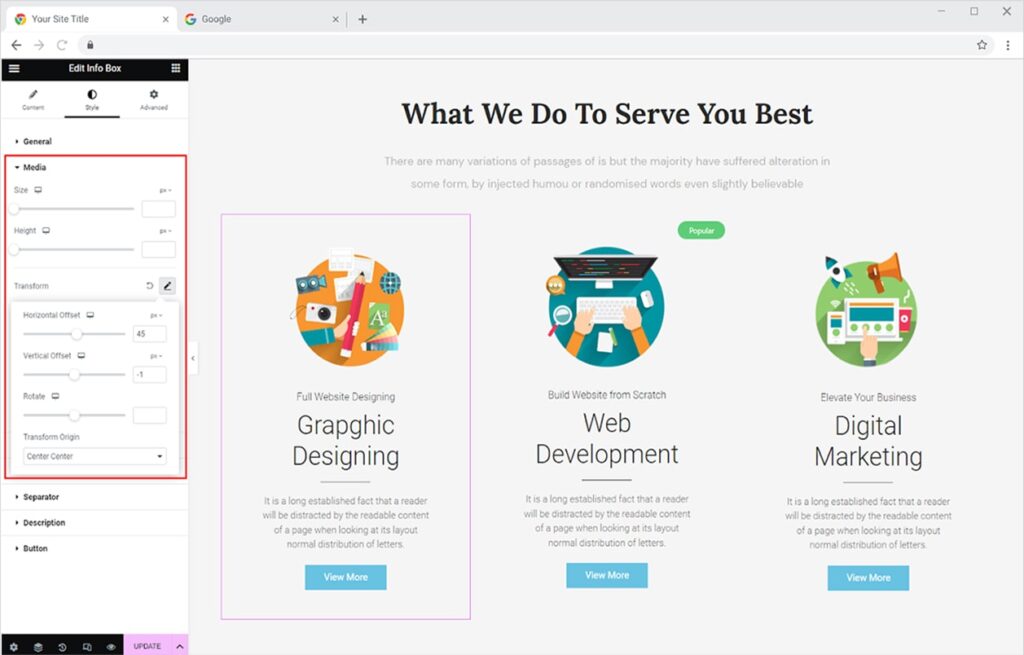
Adjust the size and height of the image or icon from the media menu. Make it look perfect by adjusting the size of an image to make it eye-catching. You adjust the position of the image in a vertical or horizontal direction and can even rotate the image.
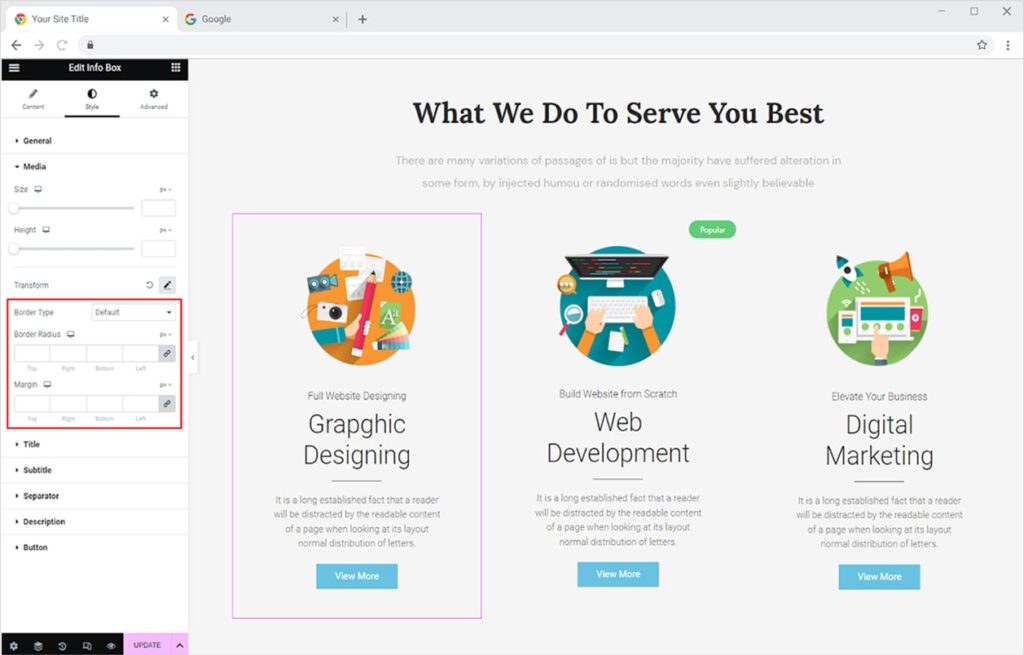
Select the border type if you wish to add a border to an image or icon. After selecting a border, you can perform multiple editing to the border like color, and adjust the border radius and width.
How to Style the Content
It is obvious that you need to style the content to make it suitable for your website theme and layout. You have the option of editing each part of the content separately from each content section.
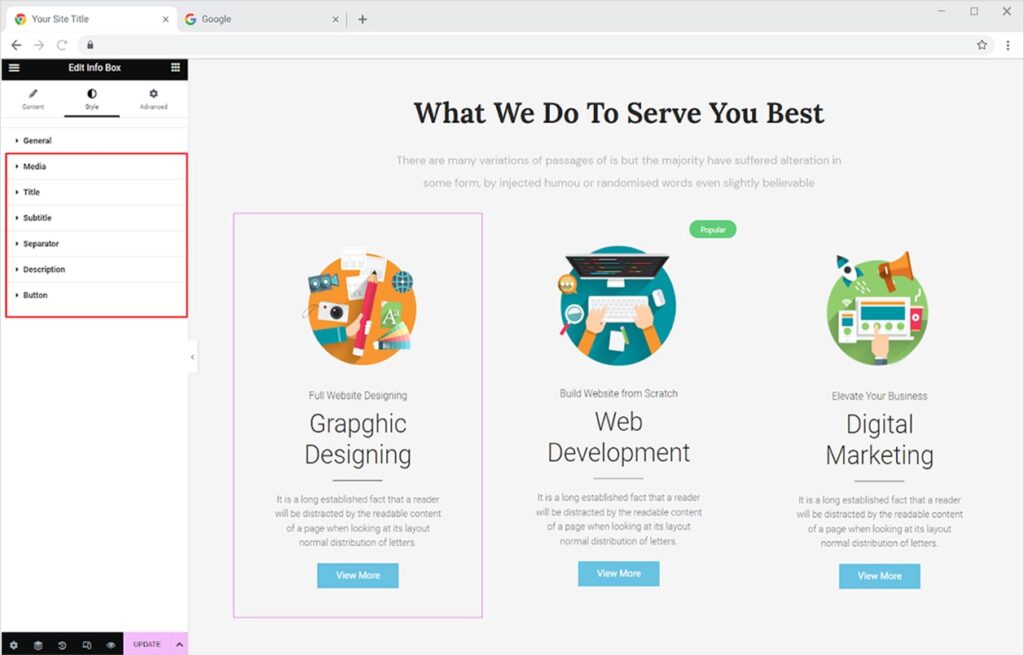
From the title menu, you can change the font, size, and other elements through multiple options. Add two layers of color to the text from the gradient colors. You also have the option of adding a shadow to make it more attractive. Editing the hover will change the style of the title when the user drags the mouse above it.
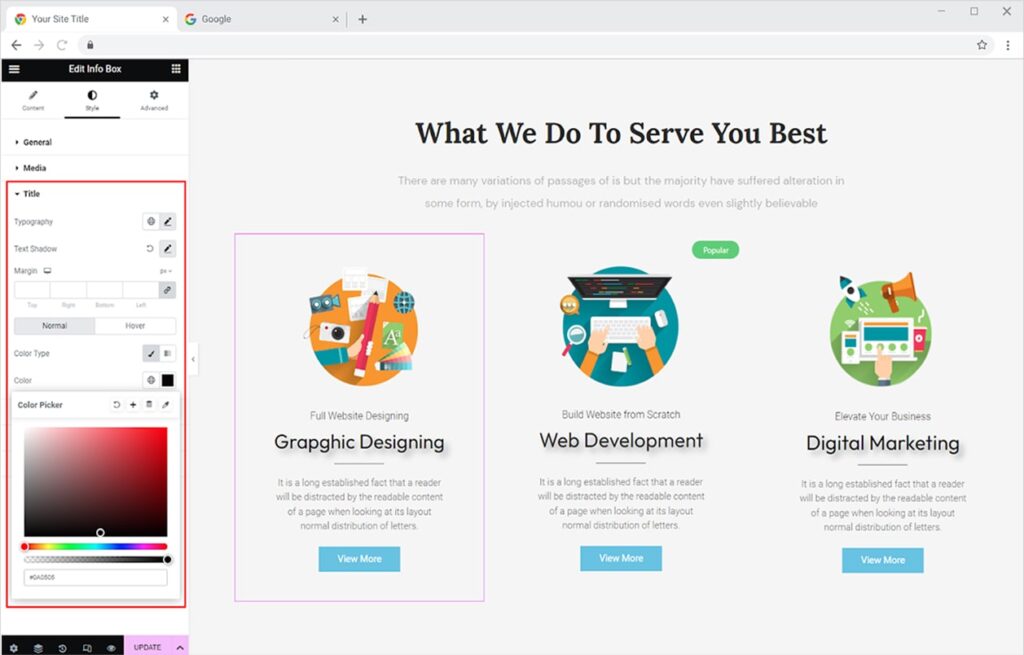
Similarly, in the Sub Heading section, you can make the same editing as you did in the title section. Change the font, and color and even add a shadow to the text. Add a hover effect to change the style as the user drag the mouse above it.
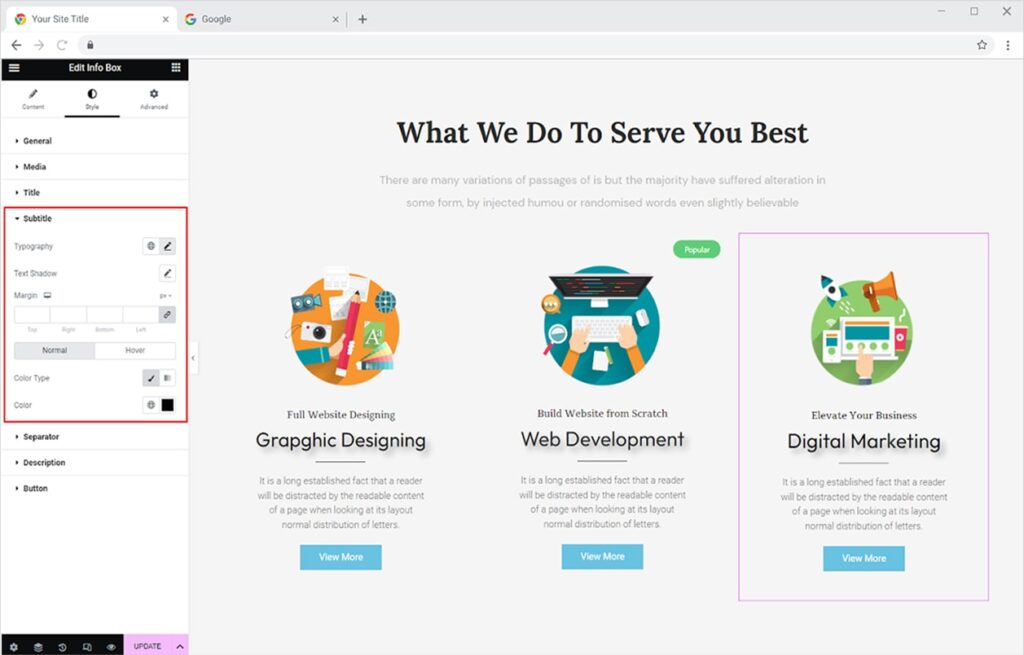
If you added the separator between the content then you can perform different editing to it to make it appropriate to your content and website design. Adjust the height and width of the separator. Color the lines and match them with your website theme.
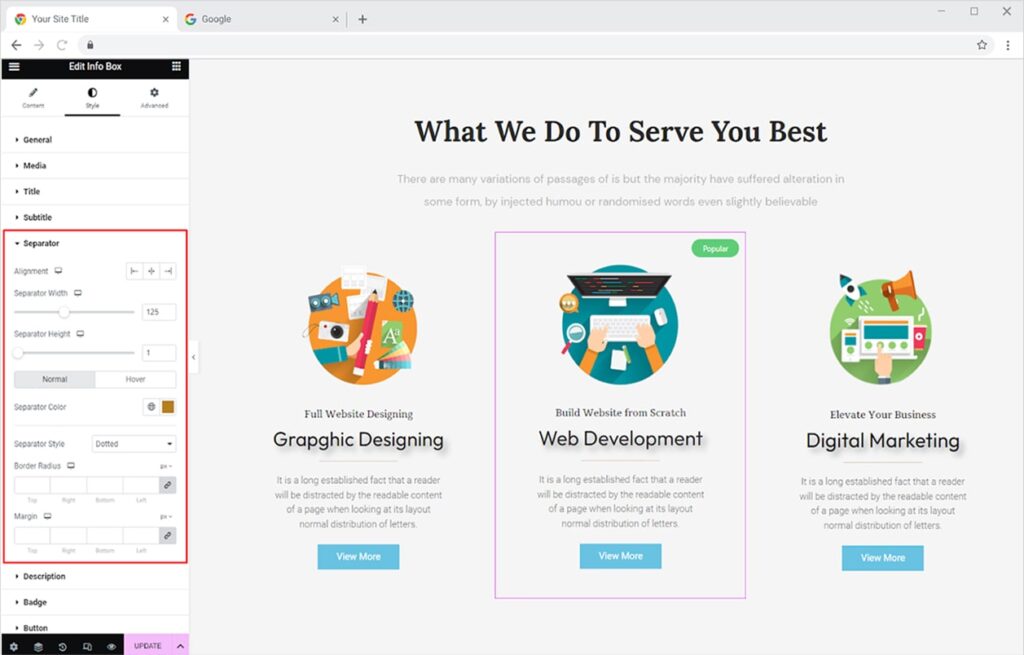
Now moving on to the description section, this menu also allows you to perform different text editings like changing font, color, and size. Like the above-mentioned content, you can add a hover effect for making it more attractive.

Moving forward to the badge section, if you have set a badge in the info box then you can style it from here. You can shift the box to anywhere in the box. Change the font, color, and size. We have every tool here you need to make this according to your choice. With the hover effect, you can also change the border and change the color of the background.
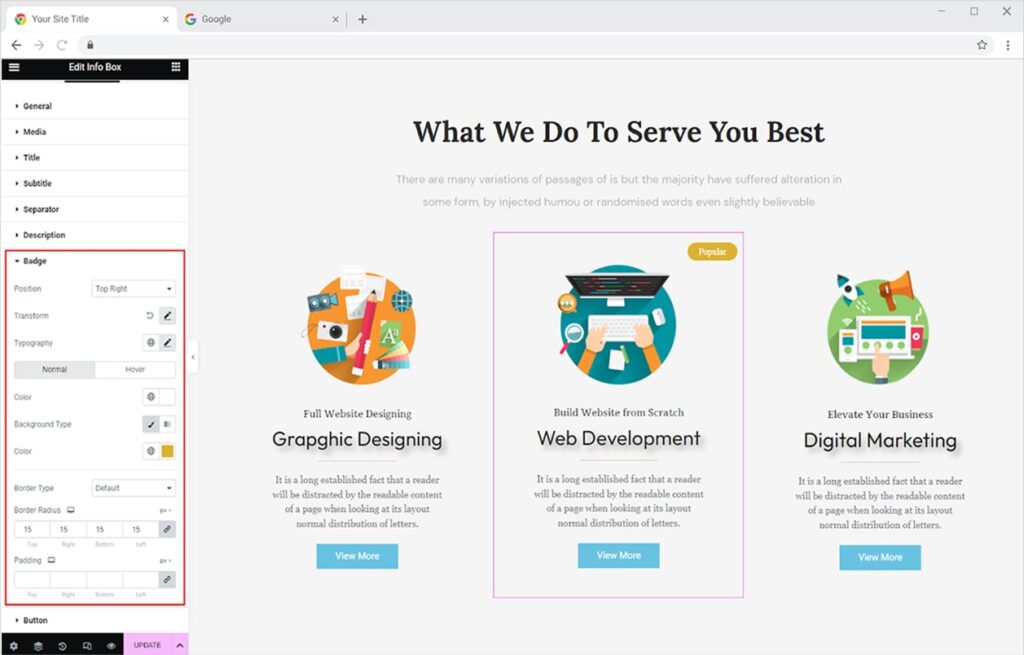
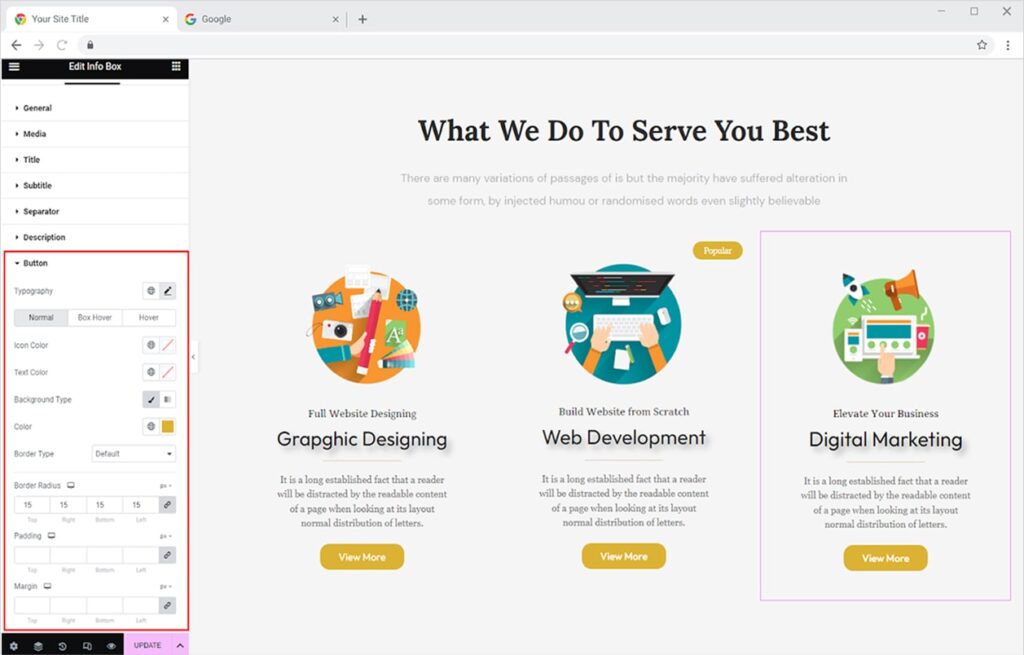
Last but not the least, the button option can be styled in so many ways. Other than the usual changing color, size, and font of the text, you can do numerous customization to the button box. Apply background color and adjust the border for normal, hover, and box hover.
Best Info Box Widget for Elementor
This is all from the amazing info Elementor Info box widget. We hope that you have fully understood the functionality and complexity of this powerful tool. By utilizing this widget you can create banners and sections that are perfect for running Google ad campaigns.
Xpro Elementor offers a wide range of widgets, theme templates, and box template for Elementor that helps you create a fully functional website without any need for coding. If you want to know more about amazing widgets like Info Box then check out the free Promo Box for Elementor.
View our complete set of stunning Elementor widgets and download the best Elementor Addon now.