How to use Xpro Post Dynamic Tags for Elementor
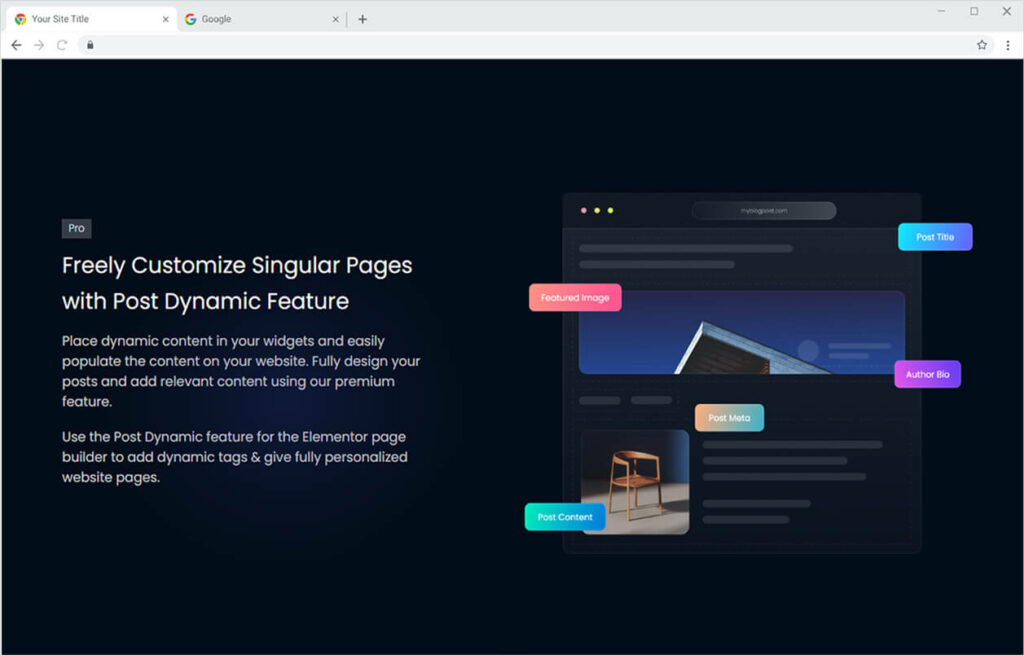
Xpro Elementor Addons offers a wide range of widgets, extensions, and theme templates to help developers create a visually appealing website. All the features are easy to use and provide a unique website design experience. The Elementor Post Dynamic tag function simplifies the process of adding content to your website. Adding content manually to the widget is optional and instead dynamically includes it in the display.
Building a website is a time-consuming process. Many factors must be considered before proceeding. Xpro Elementor intends to keep things as simple as possible. Adding information dynamically saves time and provides an easy website-building experience.
How to Install Xpro Post Dynamic tag for Elementor?
Requirements
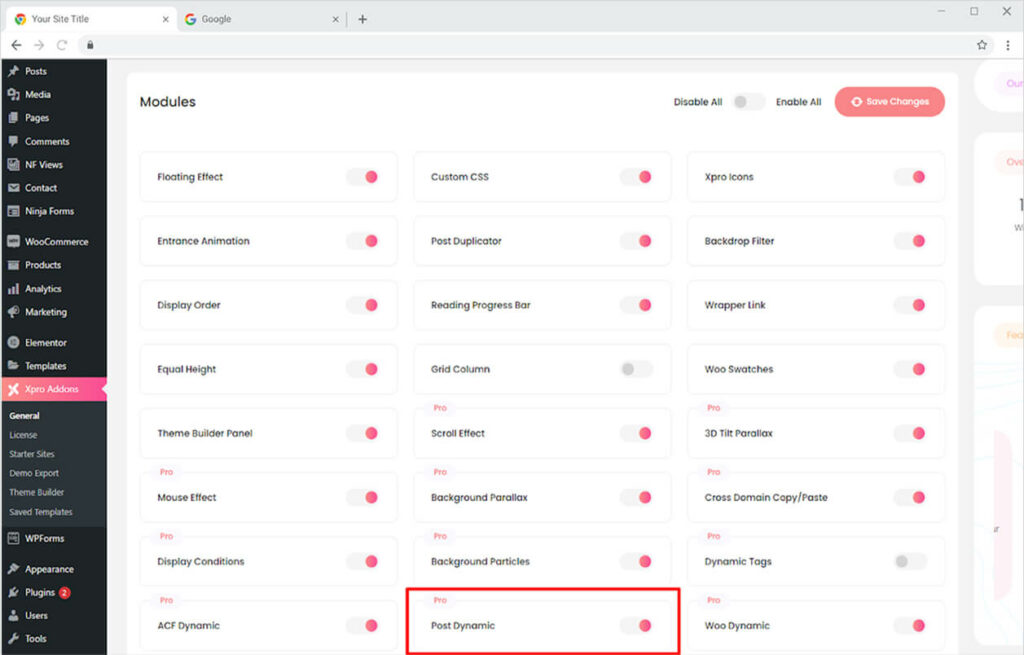
You need to install and activate the Pro version of Xpro Elementor Addons to use our Post Dynamic for your WordPress websites. Once the plugin is installed, just make sure Post Dynamics is ‘Enabled’ from the Extensions tab of the Xpro Dashboard. This way you will easily find & use the effect in the Elementor editor.
Follow the steps below to enable the extension:
Step 1
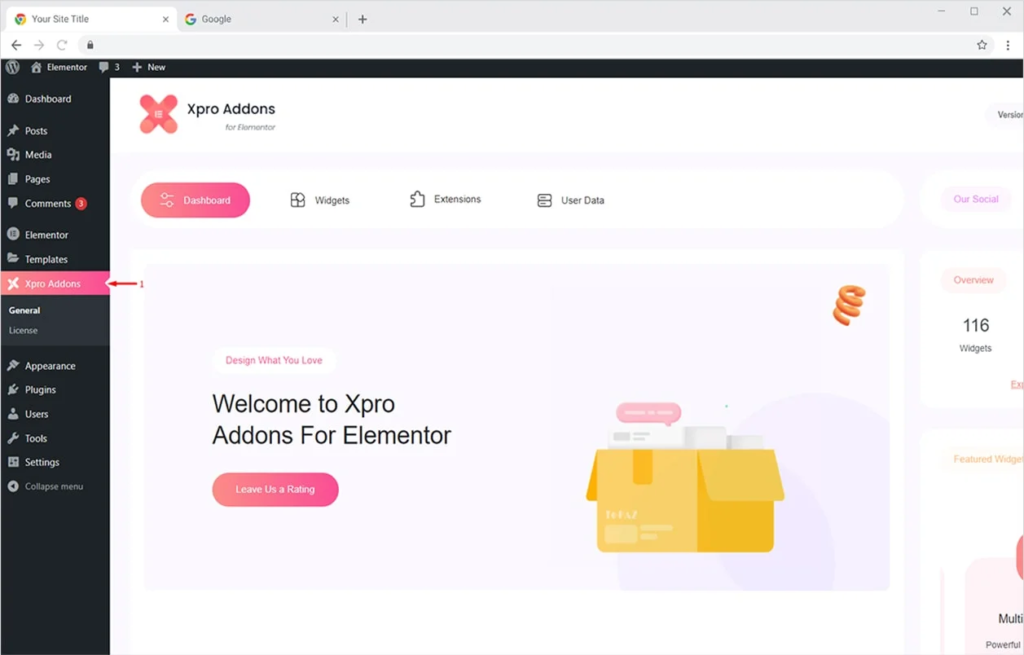
Click on the Xpro Addons option available in the WordPress dashboard menu.
Step 2
From the Dashboard, click on the Extensions Tab, find the Post Dynamic, and then toggle the button ‘ON’ to enable it.
How to Use Post Dynamic of Xpro Elementor Addon
With our premium feature, you can add dynamic information to your widget. Simply create and personalize a post. Add Dynamic content to the title, excerpt, terms, time, and featured image with ease. Let’s go over how to use the Elementor Post Dynamic Tag in more detail.
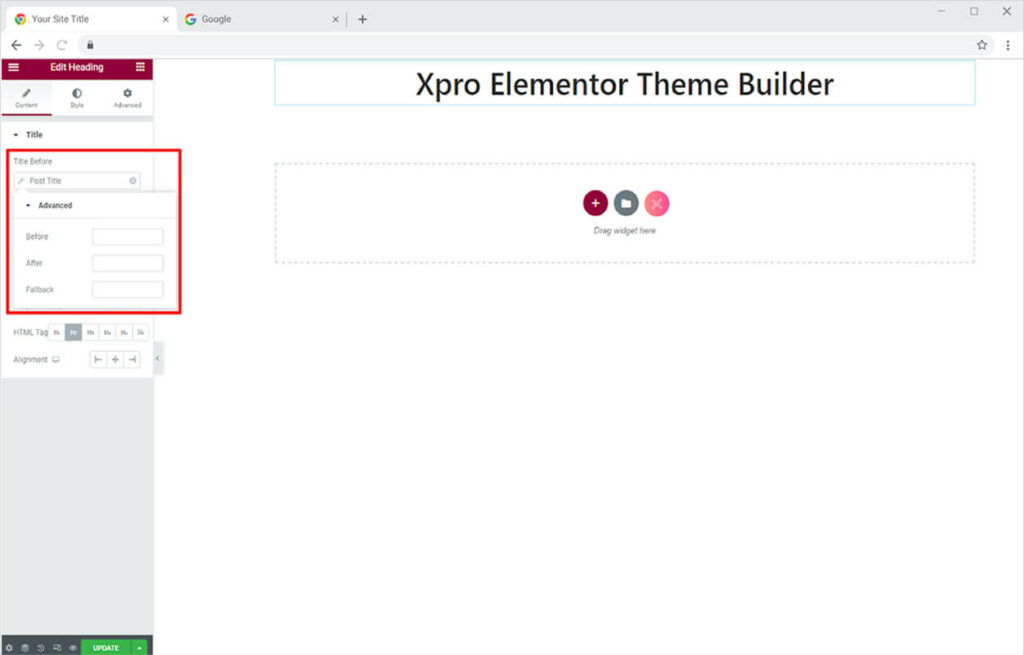
In order to dynamically add the title to the post display, drag and drop a widget for the heading. Go to the content section and click on the dynamic tag icon.
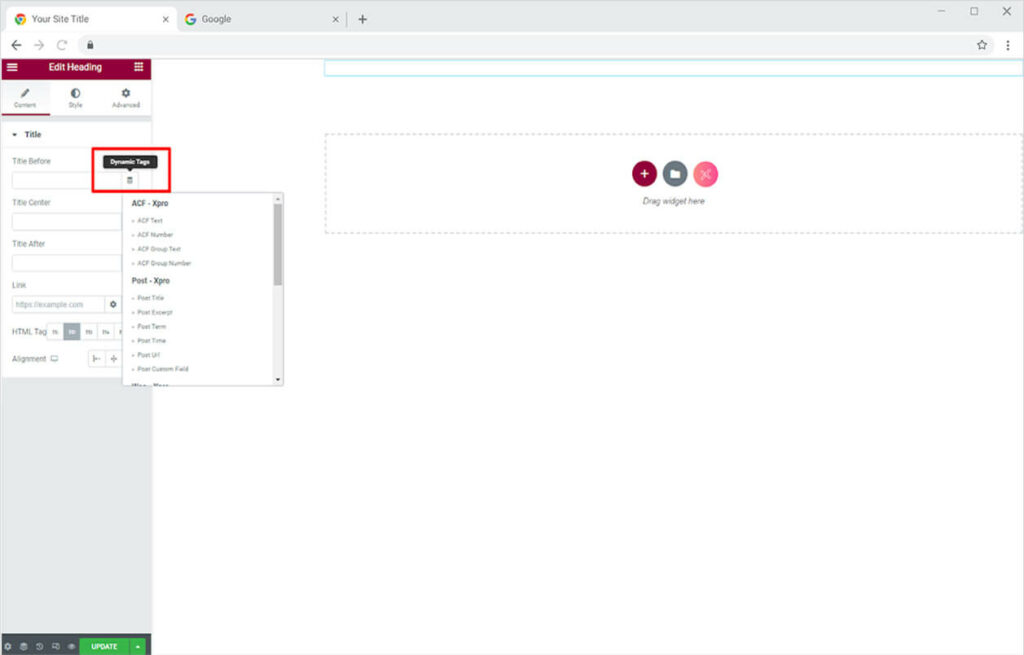
Select the post title option to dynamically add a title to the display. The system will display the title which you added to the WordPress dashboard. If you want to include any text before and after the title then click on the setting icon and perform advanced settings.
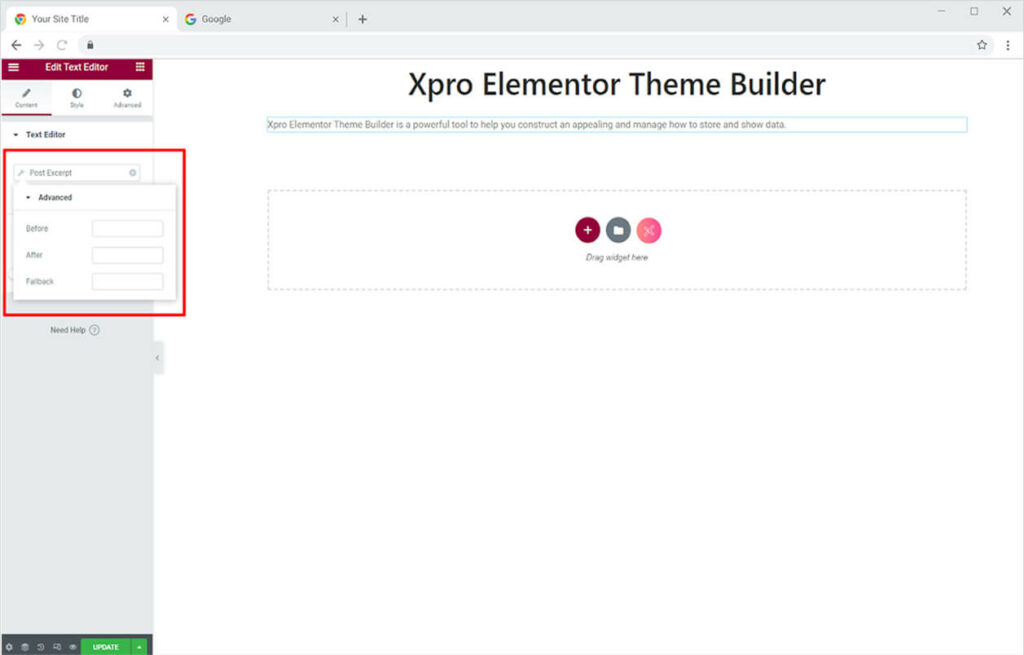
Now include an excerpt in the post. Add a Text Editor widget and click on the dynamic tag and then select Post Excerpt. Like before, you can perform advanced settings and add text before or after the excerpt.
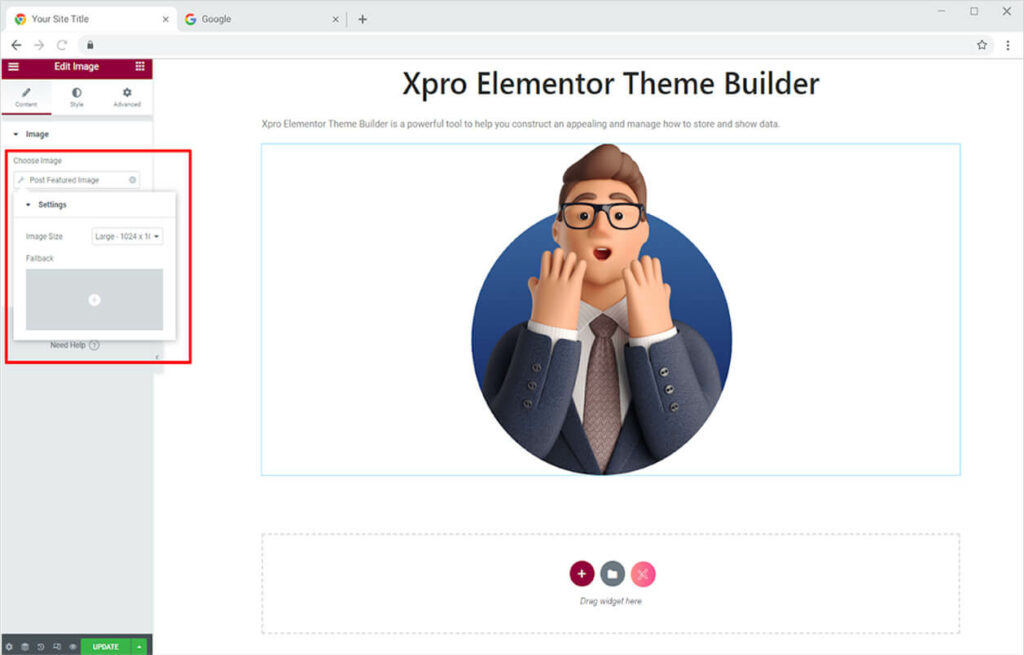
Your post needs an image to enhance its layout. Dynamically include a featured image by selecting and dropping the image widget into the page. Click on the dynamic tag and select Post Featured image under the Xpro Post option. Click on the setting icon and adjust the image size or you have the image to include a fallback image.
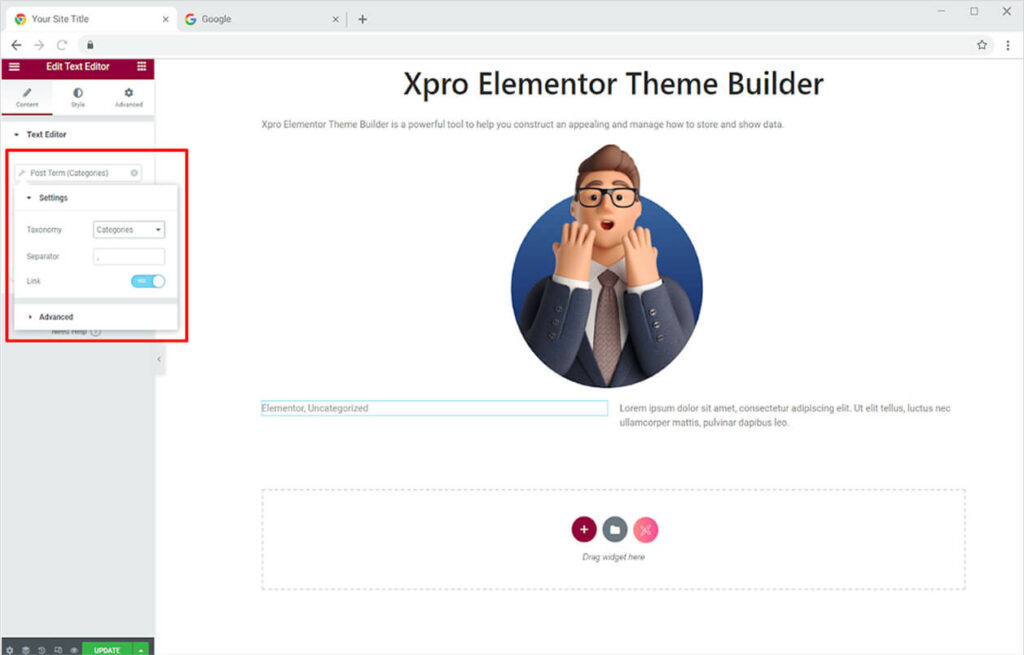
Show your visitors what your post by displaying categories and tags. Select the dynamic tag and chose the option for Post Term. Choose if you want to showcase categories or tags. Add a separator between the tags. Perform advanced settings and include text before or after categories.
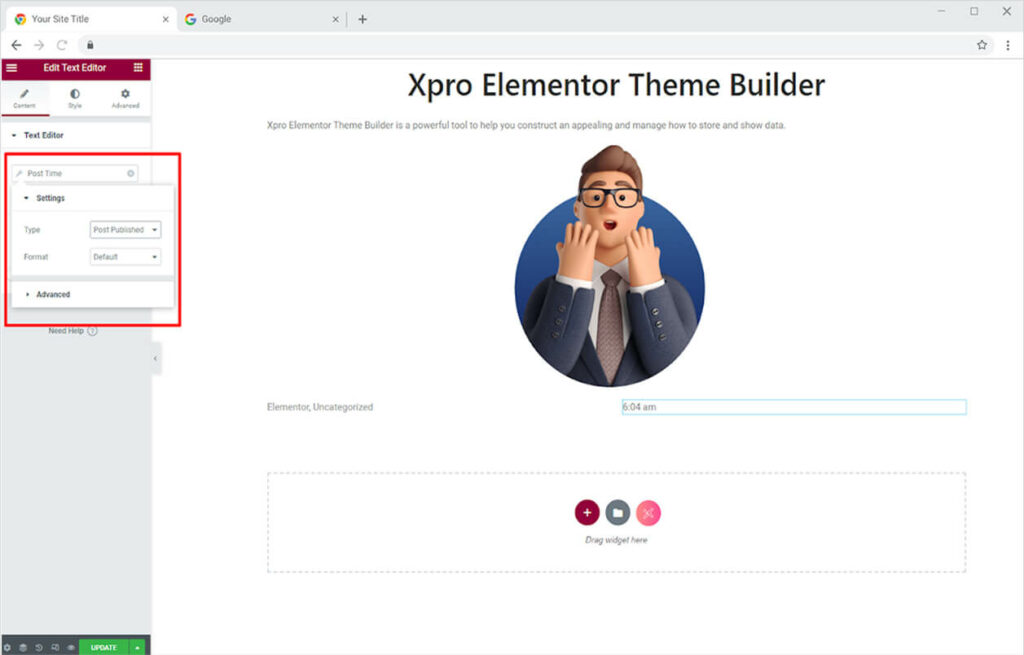
Show the time for the publishing of posts by dynamically adding time to your Elementor page. After you click on the dynamic tag, click and select Post Time. Choose the format of the time and perform advanced settings.
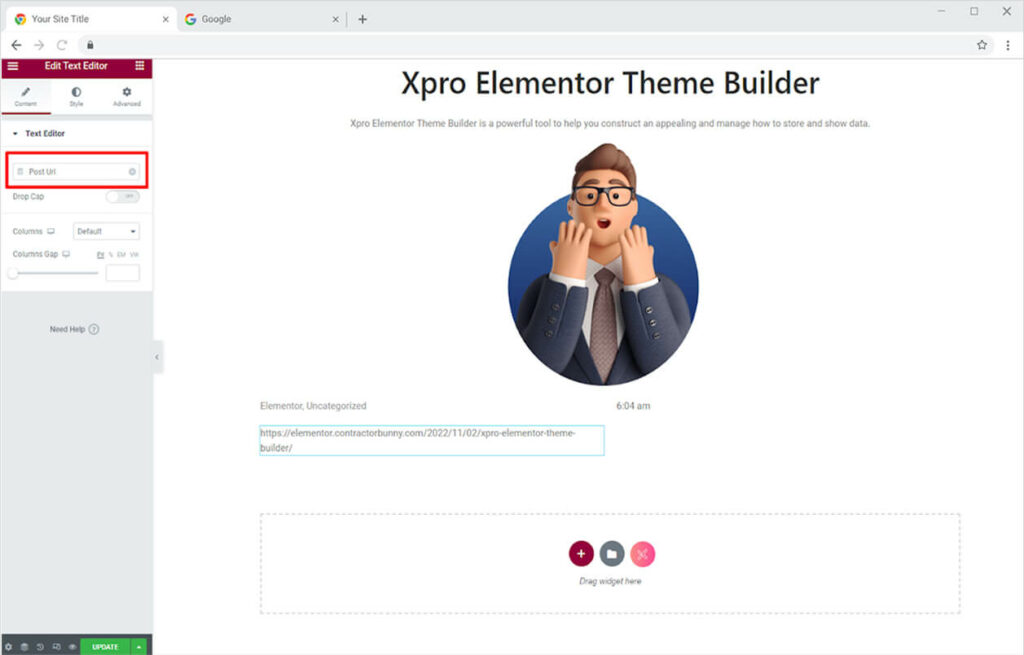
If you want to show the link of the post in your post then you don’t need to open a page to copy the link. Simply open the dynamic tag and select the option for Post URL.
Best Post Dynamic Feature for Elementor
This was all from the powerful Post Dynamic tag feature for Elementor. We hope that you fully understand the functionality and complexity of this feature. Xpro Elementor Addons consist of stunning features that help you easily create a website and include eye-catching effects. Check out ACF Dynamic Extension which let you add dynamic content through the custom field.
If you want to explore and add more attractive features then check our complete list of Elementor Extensions. We offer more than 15 free Elementor extensions that can give your site a unique look.